DIY wicker furniture

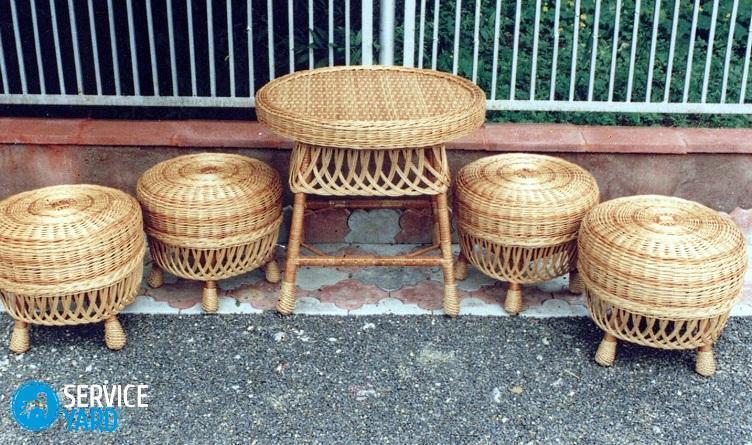
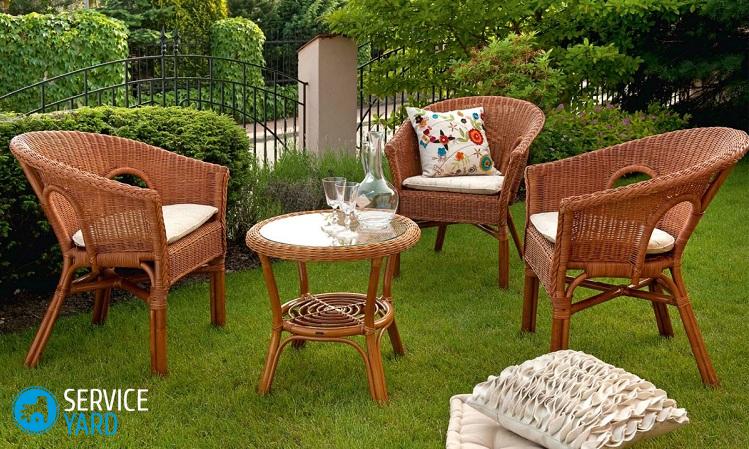
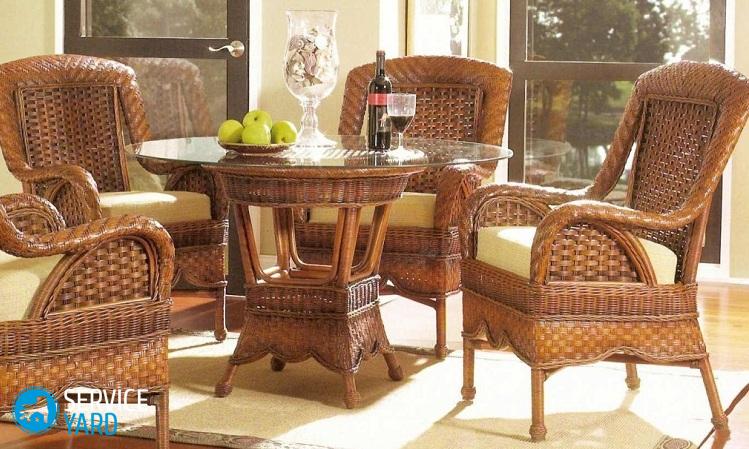
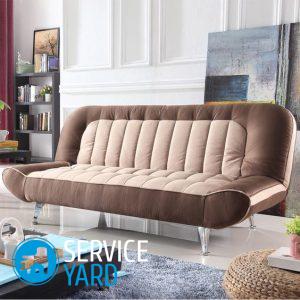
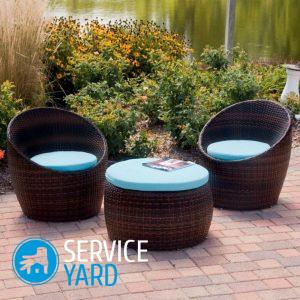
Wicker sofas, armchairs, tables and even wardrobes look great in a rural house. But they will find a place in a typical city apartment. In furniture stores you will find a number of similar furnishings. They have one drawback - a rather high price compared to similar products from other materials. This is very easy to explain. Openwork sofa or rocking chair in the English style - handmade items, often very skillful. But wicker furniture with their own hands is available to any person who has the necessary tools and enough time and patience. Read about how and what to make of it in our article.
to contents ↑What do you need for work?
Weaving furniture from a willow with your own hands is a very exciting activity. But, like any kind of creativity, you need to prepare for it. The rods are collected at a strictly defined time, but tools and additional materials can be bought at any time. You will need:
- all kinds of fasteners - nails, self-tapping screws, metal corners, loops;
- plywood;
- sandpaper;
- wood glue;
- hammer;
- drill;
- sharp knife;
- nippers;
- screwdriver.
to contents ↑Important! A good tool is an expensive pleasure, so it’s better to buy it gradually. It may be very useful organizer, it can be done independently, in which you will store all this. Still need a certain amount of free space for the workshop and something like a warehouse where you will keep the rods. To them - special requirements.
What furniture is there?
Scrolling through the catalogs of furniture companies working on individual orders, you can make sure that sofas and armchairs are very different, and it's not just the patterns and color of the rods. DIY furniture made of twigs can be:
- wireframe;
- frameless.
Important! If you decide to try yourself in furniture business, but doubt the success of creating frame products, start with frameless. We will help with this. Read on our website a detailed description of how to make frameless furniture at home.
In the first case, the framework carries the main bearing function. This type is divided into two types:
- carpentry-frame;
- just wireframe.
Important! In the first case, a wooden base is made, which is then braided with rods. In the second embodiment, the role of such a basis is played by duralumin tubes of various thicknesses. If you decide to do something in this style, you will have to look, for example, an old clamshell or something like that. Tubes can be replaced with metal rods. True, the product will turn out to be heavier.
Appearance
In appearance, wicker furniture made of twigs with their own hands can be:
- openwork;
- combined;
- single.
Openwork products look the most exquisite. The master weaves out different drawings. In the combined pattern, several methods of twisting the rods are used, and in a single - only one standard type.
to contents ↑What do you need to think about in advance?
Before you start making wicker furniture with your own hands, think about what properties objects should have that you agree to spend a lot of time and energy on. In any case, they should be:
- safe
- durable
- practical;
- beautiful.
Otherwise, there simply is no point in taking up work.If you set yourself such goals, take care to master the implementation of nodes and connections.
Connections
In the manufacture of wicker furnishings, two connection options are used:
- detachable;
- one-piece.
Detachable are easier to assemble and transport, however, when using them, the number of elements is limited. One-piece - stronger, but they are fixed with nails or glue. But if you need to transport such furniture - it can be loaded into the car only in its entirety. Accordingly, it is better to do where it will stand.
to contents ↑Do-it-yourself willow furniture - preparation
To start making wicker furniture, in addition to materials and tools, you will need a few more things:
- blueprints;
- knowledge of the features of the preparation of rods;
- knowledge of the basic techniques of weaving.
Drawings can be done independently, as well as pick up something suitable on specialized sites or in numerous books on weaving.
to contents ↑What are wicker furniture made of?
Furniture can be woven from different plants, but in Europe, willow is most often used for this purpose:
- Thin rods should be selected with a thin core. The thinner it is, the better the material.
Important! This does not mean that you need to immediately reject branches with a thick core. They are also needed, but for other purposes. They make stiffeners or even frames for small items.
- The second point to pay attention to is the width of the sheet. The leaves should be narrow, especially when it comes to openwork weaving. Branches with narrow leaves are especially elastic.
Important! You need to choose the rods in the summer, but cut them off in the late autumn, when the movement of juices has already stopped. It is best to do this in late October - early November, when there were still no severe frosts. You can do this in the early spring, when the cold gradually recedes, but life in the branches has not yet awakened. The rods cut at this time are perfectly cleaned and practically do not break. If you collect rods in the summer, they must be immediately cleaned of bark.
What else is suitable?
Willow is not the only material for wicker furniture. Branches and other plants are suitable:
- bird cherry;
- raspberries;
- hazelnut.
to contents ↑Important! For a novice furniture maker, bird cherry, perhaps, is suitable even more than willow, because it is very easy to bend and no less easily cut into several ribbons. In principle, nothing prevents the use of several types of rods for one product.
Cooking rods
Have you chosen the right rods? Now they need to be cut. This is done, of course, manually, that is, a pruner or pruning shears:
- the slice is made oblique, at a distance of 1-2 cm from the hemp, if you are preparing material in the fall;
- 3-4 cm - if you decide to do this spring or summer.
Important! The cut should be even.
Sorting
After you cut the vine, it must be sorted depending on the diameter of the branches and their length. It is customary to divide the rods into three categories:
- small, with a length of not more than 1 m and a thickness of 2-6 mm;
- medium - up to 10 mm thick and up to 2 m long;
- large - more than 2 m in length and from 10 to 15 mm thick.
Important! It is better to store the vine in a bound form, the number of twigs in a bundle depends on the category:
- small - 100 pcs.;
- medium - 50 pcs.;
- large - 25 pcs.
You need to keep such materials in a dry room, where the temperature is not particularly high, but you can do this in the open air, in a snowdrift. Severe frost will damage the cause, as will dampness. If you have harvested a lot of vines, you can make a trellised platform at a height of 40 cm from the ground. The bundles are laid in layers - for example, the first is placed across the platform, and the next along.
Debarking
The rods before weaving must be freed from the bark. You can do this at any time. If you cut the vine in the fall, there are two ways to pre-prepare:
- artificial revitalization;
- heat treatment.
Important! After artificial revitalization, the rod turns perfectly white.If you steamed the vine, over time the product will acquire a red or reddish-brown hue.
Artificial Revitalization
Having decided to apply this method, simply withstand the rods in water:
- Trim the dried ends.
- Tie a faint bundle
- Pour water into a large bucket.
- Put the bunch in water.
- Soak the bundles in water for 2-3 weeks. Before the appearance of the kidneys.
- Try to peel the bark - if it easily leaves, the vine is ready.
Important! Water should have a temperature of 14-16 ° C.
Steaming
If the artificial revitalization seems to you to be a too long process, boil or steam the rods. To do this, you need a large metal tank or boiler, although sometimes wooden troughs are also used:
- Pour water into the tank.
- Put the rods in there so that they drown completely.
- Put it all on fire.
- Bring to a boil.
- Cook from 20 minutes to an hour and a half, depending on the quality of the vine.
- Immediately after boiling the rods, place in cold water.
- Wait for the vine to become warm.
Important! The vine is steamed in special chambers. The container must be tightly closed.
Remove the bark
To do this, you need a shchemilka - a forked rod. If you have prepared everything correctly, it is enough to simply stretch the vine through the slot in the sump, and it will move away effortlessly.
Important! The free end of the squeegee is usually stuck in the ground or in a specially made slot for this (for example, in a table or in a stove in a workshop). Strongly squeeze it is not worth it.
Make ribbons
For some elements, not rods are used, but ribbons. To do this, the rod is split along with a special cleaver:
- Make a cross-shaped incision at the end of the rod.
- Insert a cleaver.
- Divide the rod - you get 4 ribbons.
Sofa
What is wicker furniture do-it-yourself for beginners? It’s probably better to start with a frame sofa. It will be durable, even if you still have poor knowledge of weaving skills and have not mastered the types of joints.
Important! If in the process of creating a wicker sofa you understand that the idea has failed, do not worry, you can still try to make a regular sofa, after studying our selection it will not be very difficult:
Prepare:
- the vine;
- sticks with a diameter of 2.5-3 cm;
- sandpaper;
- hammer;
- jigsaw;
- knife;
- hacksaw;
- roulette wheel;
- a screwdriver;
- fasteners;
- glue;
- stain.
Important! In addition, you also need foam and fabric to make a soft seat.
Training
You already have, of course, sticks and rods without bark. Therefore, they just need to be properly sanded with a sandpaper.
Important! There is no particular zeal - at this stage it is important that you do not receive a splinter.
Build Order:
- Cut 2 pieces of 60 cm from the sticks and 2 pieces of 40 cm each.
- Make a rectangle of them, firmly fasten it with screws.
- Determine how far from the floor your seat will be.
- Cut 3 workpieces of the estimated length for the front legs.
- Attach them with screws to the front of the frame.
- Add the height of the back to the calculated length.
- Cut 3 blanks for the rear legs (the middle leg can be made 10 cm higher).
- Mark the height of the seats on them - it is the same as for the front legs.
- Attach the rear legs to the frame according to the marks.
- Cut the blank for the back - it's just a stick of the same thickness as the other elements of the frame, it can be either straight or curved.
- Fasten the workpiece to the parts of the legs that rise above the seat.
- Cut 3 sticks for stiffeners - they are equal to the width of the seat.
- Connect the front and rear legs in pairs with these ribs.
- Cut 2 sticks equal to the length of the seat.
- Connect the front and rear legs with them.
- Measure the distance from the extreme front leg to the middle back.
- Cut 2 of these sticks.
- Attach them with self-tapping screws.
Important! All stiffeners are mounted at the same height.
Finish the base
You can, of course, use only rods or just ribbons to braid.But the product looks much more spectacular if you combine different types of material. You should start by wrapping parts on which hats and other not very beautiful fasteners are visible, prepared with ribbons.
Pre-tape lubricated with carpentry glue. Further, the order will be as follows:
- Take a rod and bend it with an arc.
- Fasten it with carnations to the right side of the back: one end is attached to the back extreme leg, the other to the back middle.
- The top point of the arc is fixed on the upper bar of the back frame with a small nail.
- Attach the exact same arc on the left side.
- Bend another rod with an arc, attach one end to the side front leg and the other to the middle front leg.
- Beat the most convex part of the arc with the back of the seat, in the middle between the side and middle legs.
- Do the same on the other side.
Important! The seat can be made of plywood.
Start braiding
To braid a sofa is better to start from the seat:
- Take 1 long rod of medium thickness, attach it with a nail to the back of the seat frame, bottom.
- Pass this rod over the rod of an already made arc and move it under the front of the seat frame.
- If the rod is long, wrap the front strip of the frame with one turn, then swipe it under the arc and attach it to the rear strip.
- In the same way, fill the entire seat - you get a series of transverse rods.
- From the future armrest, begin to braid these rods with other, thinner ones, passing them alternately under the existing elements and above them.
- Attach new rods from the bottom of the seat.
- When the entire upper part of the seat is full, braid the upper parts of the legs. But first, you need to lay several long rods around the entire perimeter to close the stiffeners and fasteners. And for transverse layers, it is better to use ribbons or thin rods.
Back
After the seat is braided, you can proceed to the back. The procedure will be the same:
- The space between the seat and the top of the backrest is filled with vertical bars.
- Braid them with thinner vine or ribbons, while the free ends should remain behind the back when each new “stitch” is attached. And so that they do not untangle, they can be coated with glue.
Important! The armrests can be made separately by screwing them to the existing structure with screws and wrapping the joints with ribbons.
When the entire sofa is braided, you just have to make it comfortable to sit on. To do this, just sew a pillow the size of a seat. It can not even be attached.
to contents ↑Important! Perhaps, after the first successful experience in the manufacture of furniture, you will want to continue to create original interior items, but before you study the proposed materials.
Stock footage
In the same way, you can make other objects - for example, chairs or armchairs. Surely you have already thought over the design of the room and made sure how interesting such furniture will look in the interior of any room.


