Chipboard do-it-yourself stool
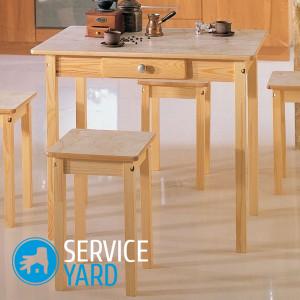
A stool in the kitchen (and not only) is a useful thing. Such a seat is very comfortable, but it has a simple structure. Making a stool with your own hands from chipboard is a simple matter, even for a novice master. The cost of such home-made furniture is small, and it will look no worse than a store. This article is a detailed manufacturing workshop. Even a novice master can do the job.
to contents ↑Preparatory stage
Before you get down to business, prepare all the necessary materials, consumables and tools.
Important! You can buy new sheets of particleboard, you can use parts from old pieces of furniture. If you have the skills to work with carpentry tools, you can cut the material yourself. In the manufacture of several products appropriate.
You will need such parts from chipboard:
- 400x300 mm - 2 pcs.
- 300x300 mm - 1 pc.
- 200x120 mm - 1 pc.
In addition, you will need:
- Ruler, square, pencil - for marking.
- Drill (drill 5 mm to it).
- Jigsaw.
- Screwdriver.
- Sharp knife.
- The stapler is furniture.
- Foam rubber.
- For upholstery - textiles or artificial leather - 410x410 mm.
From consumables you will need the following:
- Confirmates 6.4x50 mm - 4 pcs.
- The thrust bearing is furniture (the form does not matter).
- Small screws.
- Furniture corners - 4 pcs.
- Sandpaper.
- Edge tape.
- Glue “Moment” - for gluing foam rubber filler.
Drawings for a stool from chipboard with your own hands of varying degrees of complexity can be taken on the Internet.
to contents ↑Manufacturing procedure
We divide all the work into several stages:
- Make a full-size cardboard pattern.
- Apply a seat, a jumper and sidewalls to the blanks from particleboard.
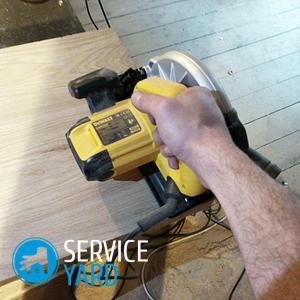
- Saw out the parts with a jigsaw and round the corners.
Important! Choose the fastest cutting speed to get clean and even edges. If there are small irregularities, treat them with sandpaper.
- Drill holes for fasteners in the parts.
- Treat the edges with a special self-adhesive edge, with a layer of glue. Select the edge by hue and width.
- Assemble the finished product. Screw the seat to the frame from the sidewalls (corners and screws).
- Fit the foam padding and upholstery (optional). Glue the furniture foam first. Fasten the trim with a stapler.
Important! When drawing the contours of parts on a chipboard, it is advisable to draw a rounding line with a compass, and not by hand. You can use a round object as a pattern.
- The final stage is the installation of thrust bearings so that the finished product does not scratch the floor. There are a lot of design options. But in any case, make sure that the seat is not wider than the base. Otherwise, the design will turn out to be insufficiently stable.
Chipboard do-it-yourself stool is ready!
to contents ↑Important! Similarly, plywood 18-20 mm thick can be used for homemade stools. In this case, the finished product will have to be sanded, primed and painted.
Tips from an experienced craftsman:
- If the seat upholstery is dermatine, the material will take its original shape for a long time due to its high density. To avoid this, drill several through holes in the seat base before assembling the product.
- The pleated dermatin fits nicely and keeps its shape longer if it is ironed with a hot iron through moistened textiles.
- The stool made according to the described technology is very durable and comfortable.In addition to its intended use, the product can serve as a substitute for a stepladder or stand for various items.
Stock footage
As you can see, everything is more than simple. It is possible that you will want to make a bedside table or a chair from chipboard with your own hands. Or maybe more complex pieces of furniture.


