DIY mirror frame
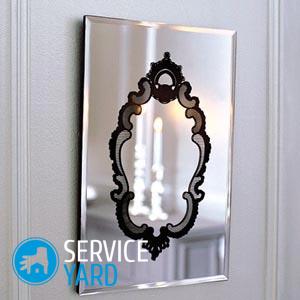
Fantasy has no limits, even when decorating a mirror! Modern creative people come up with new ideas that allow you to get unusual and very interesting combinations of mirrors with materials that we have at hand. As a matter of fact, they surprise them with the fact that a frame for a mirror with their own hands is simply and easily arranged. You just need to know what materials to use, and how to get not just handmade whipped up as a result, but a really beautiful, stylish and neat mirror accessory. This is what we will talk about in this article.
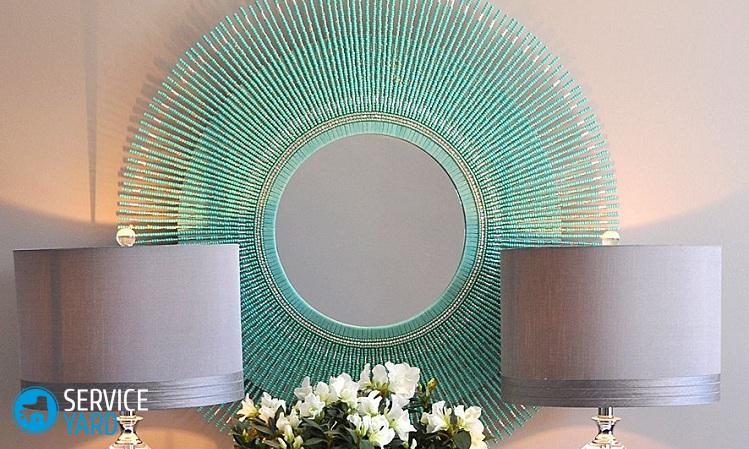
to contents ↑Art Deco Style Sun Mirror
The basis of such a decor is wooden material. If you still have pieces of boards or bars after the repair, you can use them when decorating the mirrors for the living room or hallway.
To design such a “sunny” accessory, you will need the following:
- Round mirror with flat edges (about 35 cm in diameter).
- Wooden material (approximately 200 pcs. Of thin cubes about 30 cm long).
- Base (finished frame of a round shape in which a mirror is already inserted, or a circle cut out of plywood).
- Glue on wood.
- Glue gun.
- Primer (spray).
- Masking tape.
- Spray varnish or paint.
- Sandpaper.
The design sequence is as follows:
- Glue the boards in wedge-shaped sections of 6 pieces each so that a circle forms as a result.
Important! To simulate the rays of the sun, alternate short planks with long ones, thin ones with thick ones. The main thing here is that the width of the material is the same.
- Stick the finished frame or plywood circle in the center of the wooden circle. Put the press on top of the circle and let the product dry for about 6 hours.
- When the glue is completely dry, glue the mirror sheet in the center of the plywood circle. To hide the irregularities of the transition, fix rectangular blocks of the same size in one or two rows along the perimeter of the mirror.
- Prime the finished product, then cover it with varnish (for example, colorless polyurethane) or paint - it all depends on the color scheme of the interior in which the product will be located.
 If you don’t have wooden surpluses, you can also use branches to design a mirror in the form of the sun - here the algorithm of actions is even simpler. It is more convenient to decorate the mirror with this material already in the finished frame with a small angular notch:
- Prepare the material - wash the branches, sand them, steaming in boiling water, dry, trim the edges.
- Close the front side of the mirror with paper or masking tape. From the inside out onto the frame, apply a diagonal “marking” for future rays. Using a glue gun, attach thick and long branches to it, holding each for 15 seconds until the glue seizes.
- Fill the sectors in a circle, alternating long and short branches for a more organic and spectacular look. Remove the markup. Leave the workpiece to dry completely.
- Remove glue with sandpaper.
- Without removing the protection from the glass, prime the branches with a spray and leave to dry for an hour. After - cover with paint or varnish. After a day, when the protective coating is completely dry, attach a loop or hook to the back of the base so that the accessory can be hung on the wall.
to contents ↑Important! Although the frame in the form of the sun's rays is a characteristic detail of the Art Deco style, such an accessory will fit perfectly into the interior in the Eco or Country style.
Mosaic Pieces Mirror
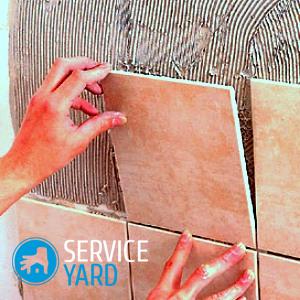
Such a frame for a mirror with your own hands for a bathroom will fit well into any style. The main material here will be the remains of ceramic tiles, which was used when facing the floor or walls. The main thing here is to choose the right pattern.
Important! For minimalistic modern designs contrasting abstractions and geometric patterns are suitable, for “rustic” and romantic styles - floral ornaments, for interiors in a classic style - floral motifs, as well as drawings imitating inlays.
To work, you will need the following:
- Pieces of ceramic tiles.
- A sheet of MDF or plywood, cut in the shape of the desired mirror.
- Mirror cloth.
- Glue for a tile.
- Putty knife.
- Tile cutter.
- Grout for joints.
- The capacity in which you will dilute the solution.
- Sponges, dry rags, gloves.
Important! Oddly enough, not a creative approach, but the materials on which each individual piece is held, play a much greater role in creating a mosaic panel. Therefore, before proceeding with creation, be sure to study the material side of the issue:
 The manufacturing sequence is as follows:
- Stick a mirror sheet on a wooden sheet. Around, draw patterns that will determine which pieces of ceramics will need to be made.
Important! Of course, the larger the size of the details of the picture, the easier and faster to arrange the frame. But complex patterns with alternating large and small pieces of mosaics look more advantageous.
- Using a tile cutter, cut out the tile fragments of the required shape. Fold the finished pieces on the frame.
- After making all the elements, evaluate the result. If the pattern matches the “reality”, fix the fragments with glue and leave to dry for a day.
- After drying, process the seams. To do this, cook the grout: dilute the mixture with water to the consistency of thick sour cream. Next - apply a mass between the details of the drawing, using a spatula for this and helping with your fingers.
- Remove the grout with a damp sponge and polish the finished mosaic with a dry cloth.
Mirror in the style of Provence, Country, Pop art
For the design of such products, a smooth, wooden frame (preferably wider) without a thread or other ornaments is ideal. If you can’t find the finished one, you can make a frame for the mirror from a piece of MDF or plywood.
Decorative elements should be selected based on the interior theme:
- For Art Nouveau, Vintage, Pop Art, Swarovski crystals, glass stones, pearl beads, coins, buttons are suitable.
- For Country - plant roots, burlap, cloth rags, dried flowers, coffee grains, pumpkins, sunflowers, buckwheat, beans, curly pasta, cinnamon sticks.
Important! It's no secret that a stylish interior is made up of details and individual objects. Therefore, they should be given special attention:
- To create a Mediterranean-style seabed corner, stock up on pebbles, small shells, dried seaweed and starfish.
To make such a framework you will need the following:
- Acrylic primer.
- Masking tape.
- Universal transparent glue (if the decor is massive, for example, a rapan shell, it is better to use super-glue).
- Scissors and tweezers.
The phased sequence of work is as follows:
- Thoroughly rinse decorative elements (especially if you use natural materials).
- Use paper and scotch tape to cover the mirror sheet so as not to stain the surface with glue.
- First, attach large-sized elements to the frame - preferably symmetrically.
- Using tweezers, fill the voids with smaller elements. For the smallest details (sand, beads, groats), you can apply the spraying technique: apply glue to the frame, pour filler, gently press with a brush, wait until the glue is fixed. Shake off any remaining material by simply turning the frame over.
- After complete drying, apply a colorless varnish - such a coating will additionally strengthen the structure and give it a light shine.
to contents ↑Important! If you decide to create an interior in the Provence style, you must master the first hundred - the color palette, the second elegant attrition. How to implement the task, read in our other articles:
Stucco mirror
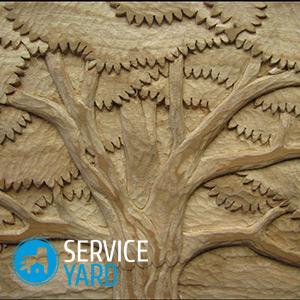
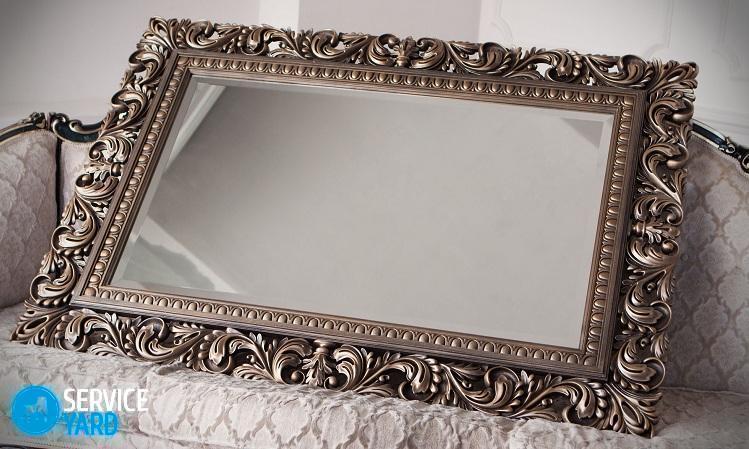
For the Retro, Empire, Classic, Baroque styles, gypsum stucco molding or its modern imitation - moldings with beautiful curls that can be covered with gilding are perfect as interior decoration.
To decorate a mirror in this way, you will need the following:
- Mirror cloth.
- 2 sheets of plywood or MDF.
- Silicone sealant.
- Elements of stucco molding.
- Plasticine.
- Gypsum powder.
- White acrylic paint.
- Mother of pearl, silver or gold powder.
The design sequence looks like this:
- To make a frame, cut out two holes in the plywood sheets: one - in accordance with the size of the mirror, the other - 1 cm less for the gap under the fasteners.
- Paint the tree with white paint.
- You can also prepare some of the modeling elements yourself (for example, oval medallions). To do this, remove clay molds from the finished fragment with plasticine, cover them with silicone sealant, smooth with a brush and leave to dry for a day. After - fill out the forms with a plaster mix diluted with water and get the finished parts.
- Attach the elements of modeling, and remove the remaining glue with a sponge.
- “Silver” or “gild” the molding to your taste, carefully painting over all the fragments.
- In order to give the product the effect of “antiquity”, apply a green or pink nacre to the base with a sponge.
to contents ↑Important! If you are still thinking about how to decorate the walls of your home, then you should pay attention topaintings in the interior of the living room. And it is not necessary to spend fabulous sums on them, you can do everything yourself:
Stock footage
A beautiful DIY mirror frame made of simple materials that are at hand will be a wonderful decoration for your home. There are just a huge number of decor options, we presented you only a few. And using your imagination, you can create a real masterpiece.


