Do-it-yourself round table
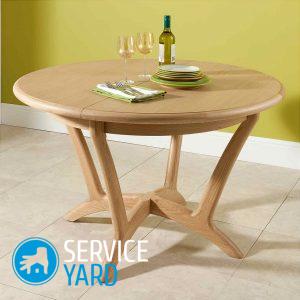
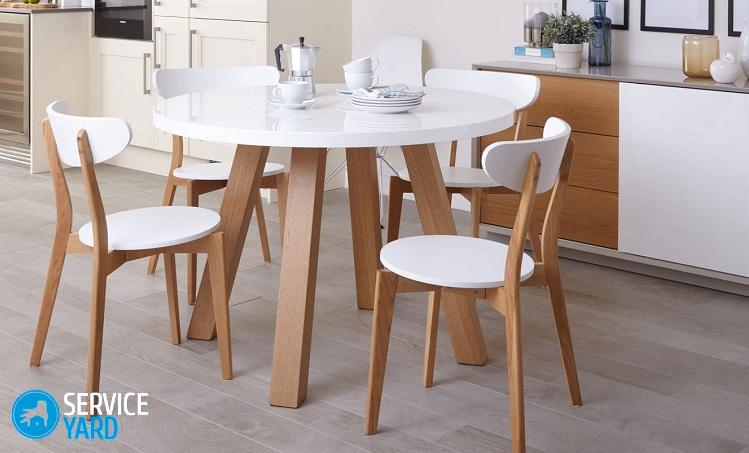
A circle is a perfect figure. That is why it has the largest number of analogues in wildlife - the sun, the moon, fruits and vegetables, round in section, annual rings present on trees when cutting. Psychologists note that this harmonious form contributes to the psychological comfort of each person. To create an informal, laid-back atmosphere, it is no coincidence that round tables are used in negotiations and business meetings. Such an object will fit perfectly into any interior, and it does not matter if it is a spacious living room or a small kitchen. Due to the lack of sharp corners, such tables look elegant, but also cost a lot. To get such an interesting piece of furniture and save money, you can make a round table with your own hands. In today's article, we will tell you how to prepare all the necessary details and assemble such a design from the most popular materials.
to contents ↑Varieties of Round Tables
It may seem right away that making round tables with your own hands is a simple matter, but in reality there are many nuances that should be taken into account. It would seem that there is an ordinary round tabletop on the most ordinary legs. But modern manufacturers offer a huge selection of such products, so it is very difficult to decide on any one option.
Supports
Maximum attention, of course, is given to the number of supports. There are several options here:
- large central pedestal or foot;
- three or four legs;
- several legs in the middle at once.
Equipment
But the design differences of the round tables are not limited only to the number of supports. The design may have:
- stand;
- shelves;
- add-ons;
- drawers.
Important! Like constructions of a different shape, they can be sliding, folding, transforming. On sale you can even find a barbecue table for a barbecue or a bonfire, a card table, folding or in the form of a book.
Materials Based
Naturally, the material from which the product is made is of great importance:
- In the classic version, it is a wood massif. Wooden furniture looks solid, beautiful, fits perfectly into modern and classic interiors.
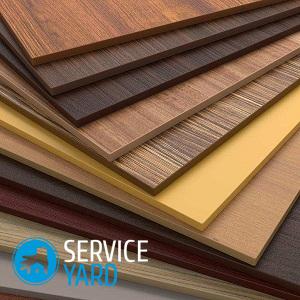
- Less commonly used for their production are particleboard conventional and laminated, plywood, MDF, artificial or natural stone, plastic, glass, metal.
How to make your own round wooden table?
Have you decided to take up the work yourself and make a round table with your own hands from wood? Drawings - this is the most important thing that you will need, in addition, you should decide on its dimensions, because it can be large, medium or small. It all depends on what you want to get as a result - a coffee or dining table. Also taken into account is such an important factor as the dimensions of the room.
We will give an example of making a small wooden table with three legs.
Materials for work
It is necessary to prepare such tools and materials:
- Boards.
- Timber.
- Special wood glue.
- Metal corners, based on 3 pieces per leg.
- Self-tapping screws.
- Lacquer.
- Waterproof impregnation for wood processing.
- Ruler.
- Pencil.
- Roulette.
- Saw.
- Electric jigsaw.
- Screwdriver or screwdriver.
- Drills and drill.
- Brushes.
- Clamps.
- Sanding machine and sandpaper.
- Construction compass.
Assembly
Make the table as follows:
- Coat the sides of the boards with wood glue, attach them to each other. Fasten the structure using clamps.
Important! To further strengthen the table, from the wrong side fasten the boards with slats.
- Draw a circle of countertops using a building compass. If you didn’t have it, then you can use the following scheme: screw the two bars at the desired angle with a self-tapping screw, attach an awl to one bar, and a pencil to the other bar. Then draw a line, measure the resulting circle with a ruler.
- Carefully cut out the resulting circle with an electric jigsaw.
- Grind all surfaces of the countertop. This must be done especially carefully so as not to miss anything. Sand the edges of the table. It is important that there are no chips on the ends and countertops.
- Round the bottom and top edges of the edge of the countertop.
- Make the legs of the timber. Cut them to a length of 70 cm, then sanded with a machine and sand. Round the corners.
- On each leg on three sides, attach a metal corner. They must be fixed in one plane. To do this, place the foot on the tabletop on a flat surface with the attachment point. Attach the corners and mark their location with a pencil. Screw the corners to the leg with screws. Perform all actions with each leg.
- On the countertop, mark the location of all the legs. To ensure full compliance, you can turn the countertop over, then put it on its legs. Attach the legs to the countertop with screws.
- Make jumpers from the bars of the same size, attach them to the legs with self-tapping screws.
- Treat all elements of the product twice with water-repellent impregnation. Cover it with varnish in several layers.
So you have learned how to make a round table of wood with your own hands. If you adhere to this scheme, then everything will certainly work out. You can leave its surface natural, decorate or only slightly emphasize the beauty of natural wood.
to contents ↑How to make a glass round table with your own hands?
If you are tired of the classics, you might like the next workshop, which will describe how to make a round table with your own hands made of glass.
As for the glass itself:
- Basically, for the manufacture of such structures use shockproof tempered glass with a minimum thickness of 5 mm. This material is able to withstand a huge load - to break it, you have to inflict a strong point impact in the rib. In addition, tempered glass does not shatter into small fragments, it falls in rectangular pieces that are not dangerous to humans. That's just to work with him, you need special equipment.
- At home, it is better to use triplex, tinted, frosted or ordinary glass.
Important! If you have never cut it, then it is better to entrust this work to a professional so that he cuts the countertop of the required diameter.
You must do the following to get a beautiful glass round table:
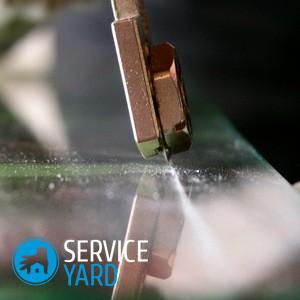
- Draw a circle on a sheet of glass with a compass, sticking a suction cup directly in the middle, sticking a needle in its center.
Important! You can also use a template cut from a sheet of paper. Just attach it to the material and circle it with a marker.
- Turn the glass over to the front side, thoroughly clean from dirt. Wipe it with a microfiber cloth or cotton. Keep the surface perfectly dry and clean.
- Lay the glass on a hard, even surface, and slide its edge close to the edge of the surface. Start cutting from the farthest point of the resulting circle.
Important! Cut in one continuous motion.
- Lay a soft cloth or towel under the circle, gently break off the structure.
- Strip the edge under running water to soften machining.If large notches have formed, then you can remove them with a file. Sand the rest with sandpaper.
- To grind the surface, use a grinder or a drill. Glue sandpaper with coarse grain on the nozzle. Walk in a circle and finish sanding with fine grit sandpaper. Round the edges of the bottom and top.
- Use a polishing paste or a felt wheel to polish the countertop. If you prefer frosted glass, then the paste is not required for polishing.
- The table supports can be made of chromed legs with nickels that are glued with a special glue to the countertop, then fixed with an ultraviolet lamp. In principle, using this method, you can fix the legs of any other material.
to contents ↑Important! Before you make a round table, decide on the option of fixing the legs, because you have to prepare the necessary materials and tools in advance. You can use another way - from a chipboard to make a circle of the same diameter as the countertop, insert screws with suction cups around the perimeter. Such a connection is much better held if gluing is not done with ordinary glue, but with a special one for ultraviolet lamps.
Stock footage
It doesn’t matter at all, deciding to make a round table of plywood with your own hands, give preference to glass or wood as the main material, because a successful decoration will turn it into a unique piece of art.


