Installing the drain hose of the washing machine
Proper installation of the drain hose of the washing machine is the key to its successful operation. It is necessary to perform this so that the waste water freely flows into the sewer. To carry out this work is not difficult, it is quite possible to do without an invitation from a specialist. How to choose the components and assemble them into one system - we will describe in this article.
to contents ↑Connection Methods
There are several methods for connecting the washer drain to the sewer. Each has its advantages and disadvantages. These methods are:
- Tie down the drain.
- The descent of water through a nozzle with a branch, which is located above the siphon.
- Direction of washing waste through a siphon with a tap.
- The discharge of waste water over the edge of the toilet bowl, bathtub or sink.
Important! The determining role in choosing the method of arranging the drain and location of the washing unit. Most often it is in the bathroom or in the kitchen. In the kitchen, the drain is routed through a siphon or sidebar, regardless of how far the communications are. It is unacceptable to equip the drain over the edge of the sink for sanitary reasons.
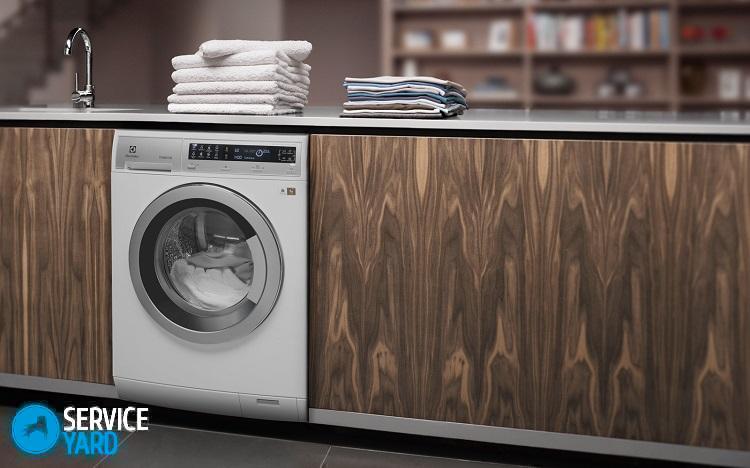
There are much more options in the bathroom:
- Near the bathtub - over the edge of the bathtub.
- Near the toilet or washbasin. Options are possible through a siphon or insert. The most inexpensive way is through the edge of the toilet or sink.
- Instead of a washbasin - through the sidebar or siphon.
In all these cases, it is possible to optimally connect the drain.
to contents ↑Tool Supplies
The choice of tool depends largely on the material for the manufacture of sewer pipes. The classic toolbox is as follows:
- Wrenches, adjustable spanner.
- Screwdriver, drill.
- Pipe cutter - when working with a metal-plastic pipe.
The list of consumables depends on which particular drain method you have chosen. It usually includes:
- Hose. Its length depends on how far away the communications are from the washing machine.
- Ball valve.
- Sealants.
- For connecting over the edge of the bath - self-tapping screws.
- Tee.
- Siphon equipped with a branch pipe.
- Liquid rubber, silicone based sealant.
to contents ↑Important! With the further operation of equipment, its individual elements may become clogged over time. Attention should be paid to this and timely preventive measures should be taken. Find out, how to clean the drain filter in the washing machine, and use these instructions. Can also perform cleaning with CM Domestos.
To the sink, toilet or bath
When organizing the drain in this way, a curved drain hose is hung on the edge of the sink, toilet bowl or bathtub, and at the end of the wash it is returned to its original place. The disadvantage of this method is that the drain can accidentally disrupt, then the flood cannot be avoided.
Important! This method of organizing the discharge is considered the most economical and simple. The set of tools and consumables here is the smallest, since the washing unit is equipped with almost everything you need to work.
The very procedure for organizing the discharge is extremely simple:
- Drill a hole above the bathtub under the plug so that the edge of the mounted hose is in the bathtub.
- Screw the screw into the hole.
- Disconnect the corrugated hose washer from the back of the washer with a plastic bracket and mounting hole.
- Hang the hose on the screw.

Important! This mount allows the hose to hold well, without tearing off and not moving away from the vibration of the washing machine or from careless movements.
The method also has quite significant disadvantages:
- You can not bathe in the bathroom while washing.
- Waste water after washing contributes to the contamination of the bathtub or sink, and also destroys the coating.
- Cleaning the bath after washing is required.
Through the tee
In this case, a special nozzle equipped with a tap is mounted under the sink. The procedure in this case is as follows:
- Disconnect the drain pipe that comes from the sink.
- Install the tee as high as possible (well, if under the hole in the sink). This is necessary to prevent the reverse discharge of water.
- Return the equipment to its place.
- Connect the pipe to the extension hose.
Important! In order to prevent an unpleasant odor from appearing in the washing machine’s tank, twist the hose near the connection point in the form of the letter S without creating any obstacles to the free movement of water. To prevent damage to the joints, place and secure the tubes so that they do not interfere with free movement.
Siphon equipped with check valve
If you properly mount such a system and find out how it is made washing machine care, you can forget about such a problem as the appearance of an odor. And the built-in non-return valve creates an obstacle to the reverse penetration of waste water.
The connection nuances are as follows:
- The tee is replaced with a new siphon. Put a hose on the branch of the tee.
- The connection to the pipe is fixed with a sealing sleeve - it can be supplied. If not, it is purchased separately.
- The insertion site is treated with a sealing compound. This is an added protection against sewer odors.
Draining water through the sidebar
If the pipe has an additional outlet, a pipe cutter will be needed to install the drain. After the most time-consuming work is completed, the further algorithm is as follows:
- Twist the drain or extension hose with the letter S. This twist replaces the missing check valve.
- Push the sleeve onto the end of the hose so that the tip of the hose protrudes approximately 50 mm.
- Insert a pipe with a sleeve on it into the outlet.
Stock footage
If you have correctly installed the drain hose of the washing machine, then convenient washing and comfort in the room where the washing machine is located are guaranteed.


