Top-loading washing machine repair
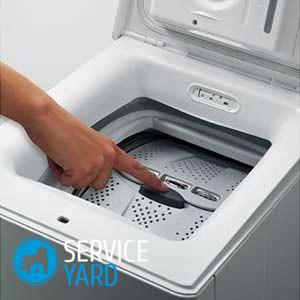
Top-loading washing machines are very popular today due to their compactness, ease of use and space saving in the conditions of a catastrophic shortage of square meters by lifting the hatch up and not to the side. Many are confident that vertical models last much longer and require less repair work due to design features. But in reality, everything looks a little different - such washing machines, like other household appliances, also fail. Therefore, users will not be amiss to learn how to repair washing machines with vertical loading.
to contents ↑Leaks
Of course, for vertical models, common frontal problems are also relevant. But there are also their own “special sores”, which are caused by the design features, as well as the location of the nodes of such machines.
Important! The main feature of the repair is to gain access to the internal parts of the device by dismantling the side walls. However. Before you begin, be sure to find out aboutwarranty repair of the washing machine.
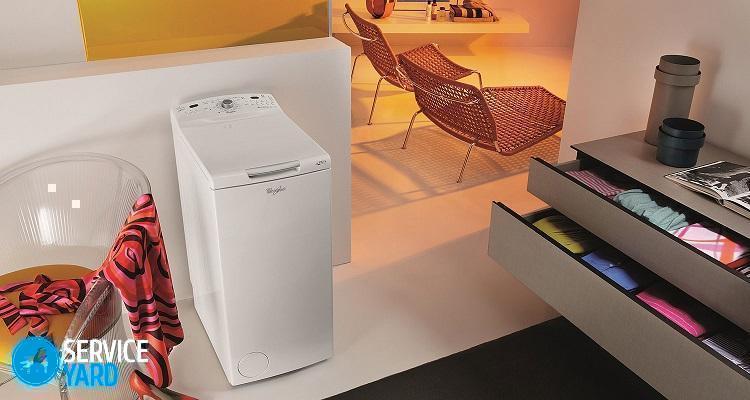
Contrary to the opinion of many, vertical washers are much more likely to experience such a malfunction as a leak. And this can cause other, more serious problems. But first things first.
Leaking drain filter
Everything is clear here - check the tightness of the filter installation, as well as the condition of the seal. Of course, cleaning does not hurt. If the filter is dry - go to the top cover of the vertical washing machine.
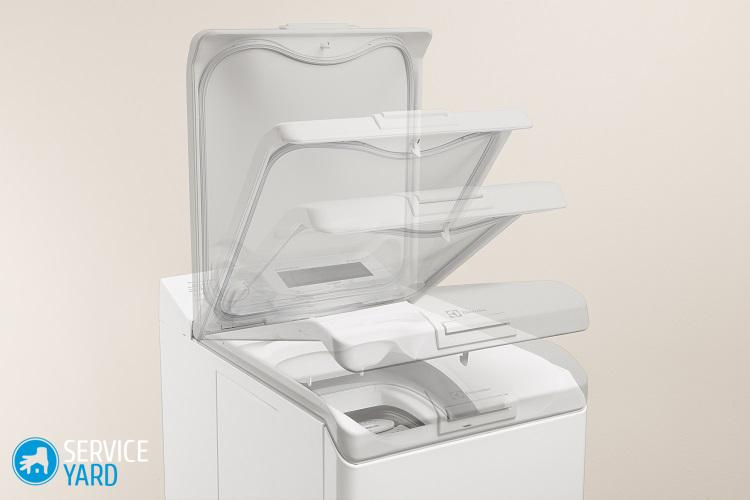
The rubber seal of the top cover is deformed or worn
If a puddle forms under the washer, first check the condition of this seal. If you remove the control panel of the device, rust will immediately be visible on the case. This means that the water passing through the upper door is not held up by the rubber band and falls under the control panel or into the sunroof lock. Of course, such a malfunction can lead not only to a puddle under the unit, but also to much more serious problems that are associated with the repair or replacement of expensive blocks and parts. Until it comes to this, immediately eliminate the leak - it is not necessary to replace the entire seal completely. As a rule, it is enough to put rubber in the place of leakage, which will slightly raise the seal, with the help of which the tightness will be restored.
Important! It is worth adding that it is not difficult to remove the control panel - just unscrew the screws on the sides that hold it.
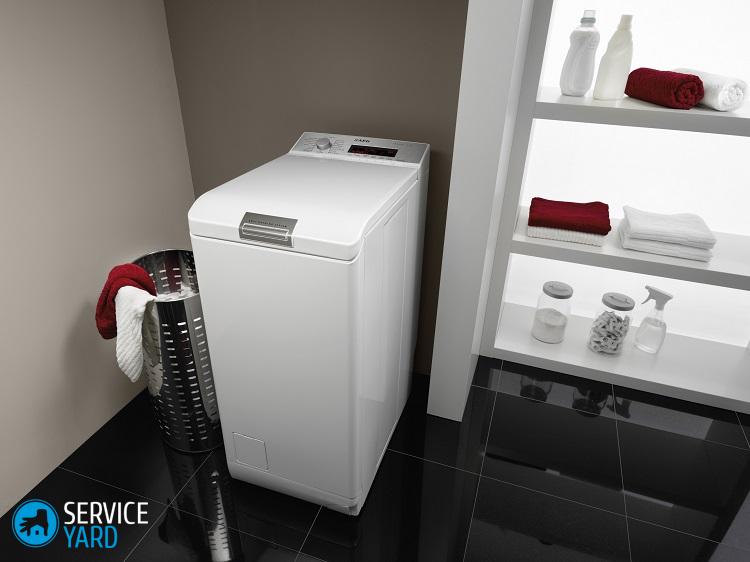
Now, for further inspection and repair of the top-loading washing machine, remove the side panels. To do this, just unscrew the screws on the back wall on which they are mounted, slightly pull the bottom edge down and slide it down and back. After removing the side walls, you can remove the front ones - so you get access to the screws holding it.
Important! To remove or not to remove the front wall of the device depends on the purposes of disassembling the case. So, after access to the internal nodes is obtained, continue to check for leaks already inside the machine.
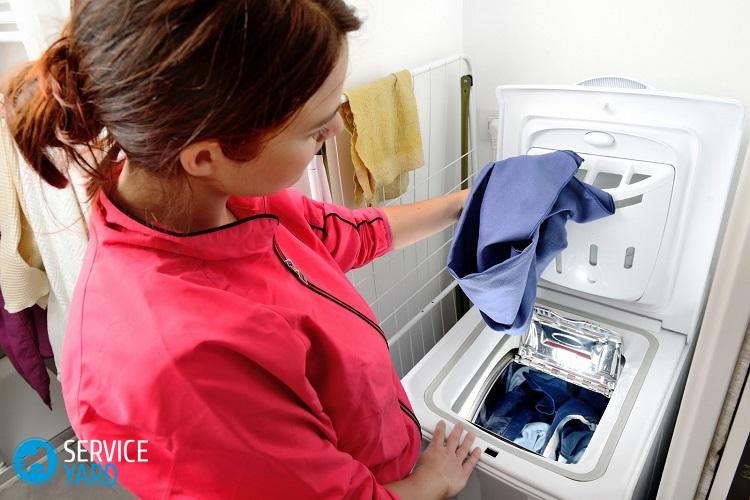
We are looking for other reasons:
- If there are traces of moisture, then remove the tube, grease it with silicone and reinstall by tightening the clamp.Then inspect the integrity of the entire rubber tube to where it fits to the top of the unit. If everything is dry, look for another reason.
- Inspection of the rubber drain pipe and drain hose. Here, all actions are similar - check and if there is a leak, eliminate.
- Do not forget the rubber cuff at the top. Be convinced of its integrity and reliability of fixing of a collar which holds it.
- The tank may leak. It is very possible that the screws with which it is connected are loose and need to be tightened.
Important! It is important not to overdo it and not to collapse them completely. If a small hole appears in the tank body, carefully solder it.
- Water may leak from under the drum bearing seal. It is very likely that this will provoke the need to replace the bearing, as we can do this, we will consider below.
Arbitrary opening of the hatch for loading during operation
As a rule, this becomes possible due to an imbalance in the drum of the device. If the front models of machines in such a situation begin to vibrate too much, then the same problem with vertical bars can lead to much more serious consequences, and then serious repairs to the washing machine with a vertical load cannot be avoided:
- The opened shutters simply cannot but come into contact with the heating element, which, most likely, will disable it. The drum is blocked and may be damaged (both it and the tank of the device in which it is installed).
- Damage to the drum and tank of the machine can lead to the need for their complete replacement, and then many will think - isn’t it easier to buy a new washing machine? But this is an extreme, do not think about the bad.
- If the matter is limited to the breakdown of the heating element, then this is not the biggest trouble. It can be easily replaced and this process is carried out in the same way as in frontal machines.
- A worn drive belt can also be easily replaced with a new one.
- But bearings may also fail. For models with top loading method, bearing replacement is slightly different from the same process in front types of washers.
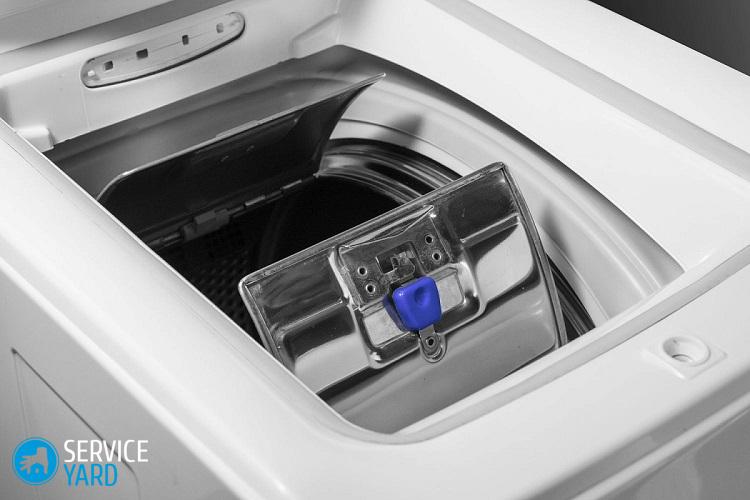
How can bearings be changed?
To ensure stable operation, the drum of the machine with vertical loading is held on two axles, which are equipped with two bearings. These bearings are mounted on the outside of the apparatus tank.
To replace them, do the following:
- Remove all power wires.
- Remove the pads on the sides of the drum, behind which the calipers with bearings are hidden.
- First remove the bearing from the side where there is no pulley. Remove the caliper - from this side the thread will be right-handed standard - unscrew counterclockwise. After removing the part, replace the bearing and stuffing box.
- On the other hand, remove the drive belt, and then the pulley and ground block.
Important! On this side, the left-hand thread is used on the caliper, so you need to unscrew it in the opposite direction from the usual direction - clockwise.
- In both the first and second cases, the installation site of the new bearing should be thoroughly cleaned and lubricated, the calipers put back in place, and then reassemble.
Important! In cases where disassembly of the tank is required, the screws that secure the lid are simply unscrewed and carefully separated at the solder points.
If you couldn’t fix the problem, but still decided to purchase a new household appliance, then to make it easier for you to determine the model, check out our rated washing machines for quality and reliability.
to contents ↑Stock footage
For some reason, many service masters believe that for the repair of washing machines with a vertical load, you need to take more money. But only if the hands are in place, and there is also an understanding of what needs to be done, it is not necessary to pay money to an outsider.The main thing is to carefully approach the solution of the problem, and everything will work out.


