DIY LG washing machine repair - bearing replacement
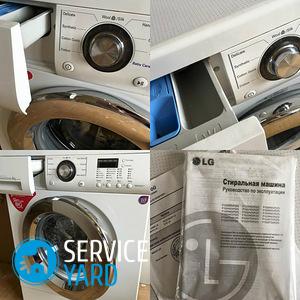
South Korean company LG produces wonderful washing machines with direct drive. The use of this technology helps to increase the working life of the motor and moving elements. But at the same time, it cannot be said in any way that the construction is completely “indestructible”. It has its own specific damage. In this article, we consider possible malfunctions and how to solve them. Some require a specialist call. And sometimes it is possible to repair the LG washing machine with your own hands: replacing the bearing, for example.
to contents ↑Symptoms
According to experts, all the details of the washing machines of this brand are quite durable. The engine of the device is especially reliable. If it fails, then the cause of the malfunction is most often a factory defect. The “weak link” of the LG washing unit are:
- TEN.
- Bearings.
- Pressostat.
- Terminals, wires.
- Filling valve.
- Pump to drain the water.
These malfunctions are manifested by various signs. It is important only to analyze them correctly in order to accurately diagnose the home assistant. So, these are the signs:
- A failed TEN manifests itself as an error code, which is displayed on the display. If the error is not displayed, the health of the heater can be estimated by how well the laundry is washed, whether the washing powder is completely dissolved. Measurement of voltage at the contacts of the heating element allows you to accurately determine whether the heater is in good condition.
- If the pressure switch is faulty, it often happens that the water drains by itself. Water is drawn into the container and immediately flows out of it. The sensor does not signal that the tank is full, and the process of pouring and draining water occurs continuously. To fix this problem is not so difficult - just replace the pressure switch.
- If the bearings fail, during the operation of the unit there is a roar, creaking and other extraneous sounds. Sometimes the rumble is so strong that neighbors will know about the breakdown of your washer. Turn the washing drum from side to side. If there is a creak and a knock, then the problem is clearly in the bearings.
- Spontaneous shutdowns of the device, reboots of the control module of the washing machine indicate that the fault lies in the wires and terminals. A malfunction of the control module itself is quite rare. Burnout and shorting of wires to the sensors are a much more common occurrence.
- Drain pumps for LG washing machines have a not entirely successful design, therefore breakdowns of this part occur more often than in washing machines of other brands. Due to the poor structure of the drainage path, the pump clogs quite often. As a result, a blockage prevents the normal drainage of water, and the error code OE is displayed.
- Cuff of the filling valve. If the filling valve is faulty, water is supplied to the tank even when the unit is turned off. If you hear a murmur of water while the washing machine is turned off, the problem is with the filling valve.
to contents ↑Important! Before you start repairing your LG direct drive washing machine, take a look at the unit at all stages of washing the laundry. Do not forget to read the instructions in advance, and also learn about warranty repair of the washing machine. Any deviation from the norm is a reason to be wary.
Repair of electric heating elements and electricians
To provide access to the heater:
- Unscrew the fasteners that hold the back of the washer.
- Remove this wall.
- Pay attention to the bottom of the tank. There are 2 paired contacts with a centrally located screw. This is the mounting of the heater. Check the contacts with a multimeter.
Important! If the resistance value does not exceed 20 Ohms, then the heater is considered faulty.
It is easy to remove the heating element. Loosen the screw, and prying the rubber seal, remove the heater. You can evaluate the health of the heating element immediately. Dark spots are clearly visible on the defective part. Often a breakdown occurs due to the accumulation of scale. Among the causes of the breakdown are also water that has got into contacts, or power surges.
It is impossible to repair the heater: it can only be replaced by purchasing a branded spare part from the manufacturer. When installing, you must not forget about installing sealing rubber. To make it better to sit in its place, lubricate it with machine oil.
Important! If the sealing rubber sits in the hole loosely, then water will seep onto the contacts of the heating element, and it will burn quite quickly.
Electrician
Repair of electrical breakdowns begins with a test of all wires. Testing can be visual and with a multimeter. All defective terminals and wiring must be replaced immediately.
Filling valve
If a problem is found with the filler valve, proceed as follows:
- Unplug the washer. Rotate it 180 degrees.
- Shut off the water supply to the machine.
- Unscrew the hose through which water enters the tank.
- Pull out the filler valve filter. It is possible that he was clogged.
- If the filter is working, disconnect the valve. To do this, unscrew the screws holding it.
- Check valve rubber bands. Most of the faults are associated with them. If necessary, replace the rubber bands.
- If everything is normal with the rubber bands, then the control valve electrics are faulty. In this case, it cannot be repaired. It is only necessary to replace.
Drain pump
It is possible to provide access to the drain pump without disassembling the machine. Just put it on its side. You can get to the pump through the bottom. First of all, check the pump sensors with a multimeter. If the sensors are working, then the problem is in the pump itself. Now proceed according to the algorithm:
- Remove the bottom of the washer panel (front).
- Unscrew the fasteners holding the pump.
- Substitute a basin, since when removing the pump from the washing machine, water remains.
- Disconnect the plugs, remove the wires together with the indicator.
- Disconnect the nozzles, drain the water. Set the pump aside.
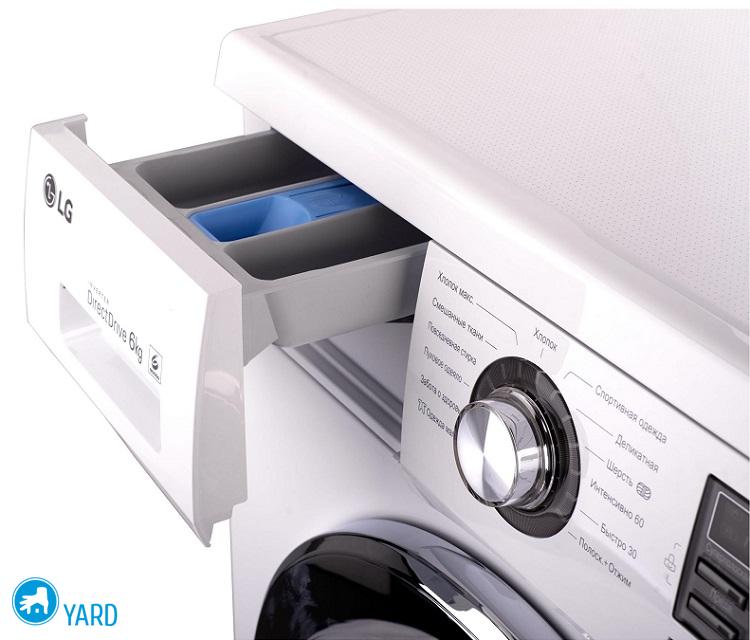
Important! Before turning the washing machine on its side, remove the washing powder compartment. This is necessary so that the remaining water in the compartment does not damage the control unit by spilling on the electronics.
It is advisable to return the drain pump to a specialist for testing and repair. Only the master can tell whether the drain pump is repairable or if a new one is needed. Assembly of the unit is carried out in the reverse order.

Bearings
One of the most common types of repair of the LG washing machine with their own hands is the replacement of the bearing. If a bearing failure is detected, repair must be done immediately, as loose parts can damage the tank. Then you have an even more time-consuming and expensive repair. Consider this type of repair in more detail.
Essential tool
For work you will need:
- Hammer with a metal handle and a bronze impact part.
- WD-40 Grease
- Screwdrivers - flat and cross.
- Pliers.
- Wrenches - open-end and adjustable.
- Car sealant.
- Metal stud 40 mm long.
Body dismantling
Before reaching the bearings, the housing must be dismantled. For this:
- First, remove the top cover, and then the upper and lower panels.
- To remove the top cover, remove the fasteners that are near the back wall.
- After the screws are removed, the cover can be easily removed.
- After that, removing the powder compartment and unscrewing the mounting screw, remove the top panel.
- Disconnect all wires with which the top panel connects to all electrical units of the washer.
- As for the bottom panel, it is removed in a slightly different way, since it is fixed on latches. In this case, you need to disconnect the special rubber cuff.
Perform further dismantling in the following order:
- Inlet valve mounts.
- Discharge pipe.
- Wires TENA.
- Motor wires.
- Wiring of the priming pump.
- Upper and lower balances.
- Branch pipe from the water level indicator.
- Shock absorber mounts.
Important! After you dismantled all of the listed parts, the tank is easily removed. It is advisable to carry out this work with an assistant.
Tank dismantling
The tank in the LG washing machine consists of two halves, interconnected by latches or screws. After you divide the tank into 2 halves, the drum pulley and its mount are exposed. This mount must be removed.
Important! It often happens that some bolts do not loosen, even if you make an effort. In this case, the WD-40 grease helps a lot. Put it on the mount, wait 10-15 minutes and try dismounting again.
Unscrewing the pulley mount, pull out the pulley, and screw the bolt back into its original place. This makes it possible to remove the drum without damaging the shaft. Put a metal stud on the screwed-in bolt and strike it with a hammer (very carefully!). The task is to knock the shaft out without damaging it.
Important! You can not forcefully hit the hairpin with a hammer, since this is fraught with another repair, by the way, very difficult.
Estimate how worn the shaft is. If there is even slight play between the bearing and the shaft, the shaft can be replaced.
Bearing replacement
The next step is the replacement of seals and bearings. Bearings need to be repaired with maximum accuracy, striking with a small hammer on the opposite edge. Slowly strike until a damaged bearing pops out. It remains only to replace it with a new one and assemble it in the reverse order.
Important! The seat for the new bearing must be perfectly clean.
What can not be done?
If you decide on such a difficult matter as replacing bearings (and, perhaps, at the same time the shaft) in an LG washing machine, try to avoid the typical mistakes made by inexperienced masters:
- Breakage of wires of the indicator of blocking of the hatch at dismantle of a forward wall.
- Rupture of the rubber cuff while trying to remove it. This is because the clamp is not removed.
- Damage to the pulley when trying to dismantle it from the axle.
- Breakage of stuck bolts from excessive force without the use of special grease.
- Detachment of wires of a thermal indicator.
- Separation of filler pipe and hose at the same time.
- Carelessly pressing out bearings with strong impacts. As a result, the drum is damaged.
If you are unable to fix the breakdown and you are thinking about buying a new household appliance, then to make it easier for you to choose a model, check out ourrated washing machines for quality and reliability.
to contents ↑Stock footage
Repairing an LG direct drive washing machine is a completely solvable issue. But, if the task seems too complicated for you, contact the wizard. Prompt and high-quality repairs without unnecessary adventures are guaranteed.


