How to connect an oven?

Lush buns, fragrant pies, appetizing-smelling meat in French, roast in clay pots - the list of dishes that can be prepared in the most ordinary oven is very extensive. Not to mention the fact that mushrooms, herbs and much more are dried in the oven. In a word, such an aggregate is simply necessary for a prudent hostess. How to connect an oven? This will be discussed in our article.
to contents ↑What are the ovens?
Do-it-yourself installation of the hob and oven begins with the choice of equipment. On sale you can find ovens of two types:
A gas oven is most often part of the stove, so you usually have to connect all at once. As for the electrical units, then everything is much more interesting. Oven can be:
- dependent;
- independent.

Dependent Models
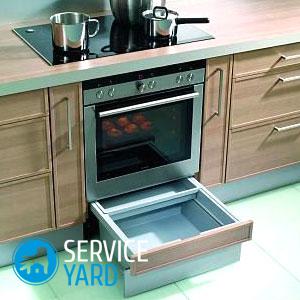
An oven of a dependent type is connected to a power source with a hob. These are two parts of one whole, and therefore should be located side by side.
Important! Most often, the oven is at the bottom, and the hob is on it. Control modules are interconnected.

Independent models
Such an oven can be placed anywhere. The presence or absence of a hob next to it does not affect its operation. Quite often, they are nevertheless located close to each other, but it’s so convenient for the hostess, their mutual arrangement does not affect the functions of one and the other device.
Built-in and freestanding
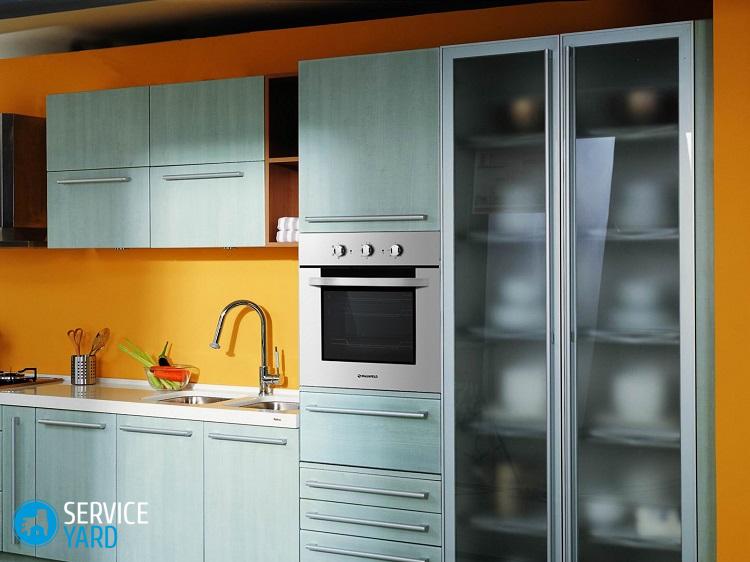
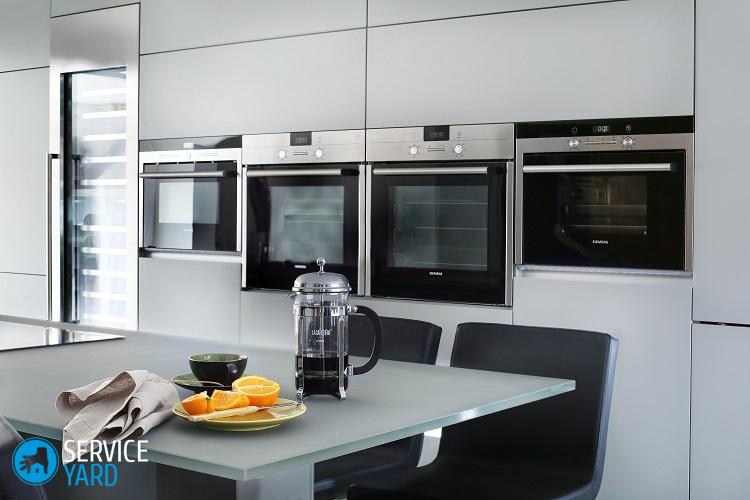
Many housewives prefer built-in appliances, and this is very easy to understand. This installation method makes it possible to significantly save space in the kitchen, and this is especially important for owners of small apartments. Ovens are of either one type or the other, this does not affect the way of connecting to the power source.
to contents ↑Important! Freestanding model You can put it anywhere, but for the built-in one must prepare the place in advance.
Cooking a niche
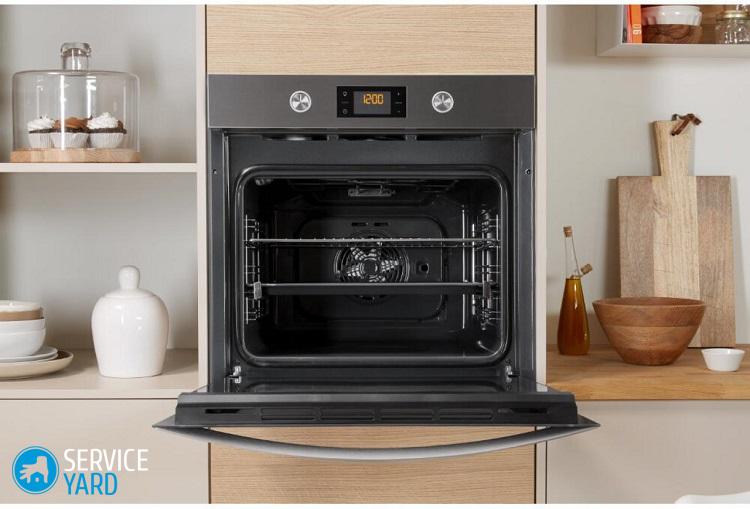
The niche for such equipment can be both in the wall and in the cabinet. But it is very important to ensure that her floor is strictly horizontal. This is controlled by the building level. If the oven rises sideways, this can lead to sad consequences:
- heat will be distributed unevenly;
- improper heat distribution negatively affects the quality of dishes;
- parts that constantly overheat will quickly fail.
Niche size
The oven gives off a lot of heat. Therefore, its walls should not be in contact with the walls of the niche.
Gaps must be left on all sides, including at the bottom. They are needed for ventilation, as well as to prevent the cabinet from accidentally catching fire.
The gaps must be large enough to properly connect the oven:
- from the niche floor to the bottom of the cabinet - 8.5-9.5 mm;
- between the side walls of the cabinet and the niche - at least 5 mm on each side;
- between the rear walls of the cabinet and the niche - at least 40 mm.
In addition, there must be a hole for the cord in the back of the cabinet. In this case, the wire should not be too stretched or tangled. Experts also advise installing a fan nearby so that cold air comes in from below.
Important! The walls of the cabinet must have a fireproof coating.
Preparing wiring
DIY connection of the oven to the mains can be divided into several steps:
- Wiring assessment.
- If necessary, lay a new three-core cable.
- Actually connection.
Important! Wiring should be evaluated, regardless of model. Connection without repair of the power supply network is possible if the power supply is in good condition, there is a circuit breaker, and the wire cross-section corresponds to that required for devices of this type. A circuit breaker is needed in order to quickly cut off the unit from the network in an emergency. All parameters are indicated in the instructions, which the new owner just needs to carefully read.
What to do if the wiring condition leaves much to be desired? There is only one way out - to lay a new line directly from the shield and put a circuit breaker of the desired rating. Find out all the information on this subject in our separate post. where to install the outlet for the oven.
When is a cable needed?
In new homes, as a rule, the wiring meets the needs of modern residents. It is another matter if you live in an old apartment, where internal networks are made of aluminum:
- It is necessary to take into account the power of the unit and the corresponding need for current strength. For example, a device with a power of 3 to 3.5 kW requires a current of at least 16A.
- A separate circuit breaker with a rating of 25A must be installed in the shield.
- It connects to the outlet to which the oven will be connected, a separate VVG wire, with parameters 3x2.5.
- Most modern models do not consume very much energy, enough current for them is 16 A. However, energy-saving ovens are still very expensive.

For higher power devices, a current of at least 32 is needed. Accordingly, the rating of the machine will be different - 40A, so a 3x4.0 wire is required. Sometimes a PVA cord with parameters 3x2.5 is used for wiring. This wire has several advantages:
- flexibility;
- ease of installation;
- It almost does not break.
However, there is a drawback - it usually does not last long, so many masters prefer a different type - VVG, which can last up to thirty years or more.
Important! If you have good wiring, but a two-wire cable is laid, you must separately make grounding, and it is best to entrust this matter to professionals.
We connect the oven
Before installing the hob and oven, you must turn off the power supply to the apartment. This must be done during any electrical work. This means that until the installation is complete, the machine does not connect to the network.

Connection options
There are two ways to make a quality installation of the hob and oven yourself:
- directly;
- through the power cord.
Direct connection
In this case, the cable coming from the shield is immediately connected to the terminal block of the oven. You will find the circuit on the body - usually it is painted on the back wall. It is designed for a single-phase network, in which a voltage of 220V is supported. It looks something like this:
- the phase is designated as L, it is connected to the contacts 1-2-3, which are connected by jumpers;
- zero, which is designated as N, is fed to the group of contacts 4-5, between which is one jumper;
- ground, or PE, is connected to a separate terminal.
Connection via power cord
This is a classic of the genre. The power cord has a plug (if it is not, you can put it), which is inserted into the outlet. In this case, you only need to ensure that the wiring quality matches the power of the device
Mount a European-type socket to the three-wire cable (since most manufacturers put a Euro plug on their products, the socket should be appropriate). It differs from the usual one in that it has three holes:
- phase;
- zero;
- grounding.
Is it possible to connect via an extension cable?
Experts categorically do not recommend connecting powerful household appliances through an extension cord, as well as using adapters or dual sockets.This is especially dangerous in old houses where wiring is simply not designed for so many electrical appliances. If you buy a powerful device, make sure that you do not have to use such devices.
The time has come to turn on
So, your place is ready and meets the most stringent security requirements. You figured it out, you need a power cord or you will lead the cable directly to the terminals of the unit. Checked the wiring. Farther:
- Put the oven in its designated place.
- Route the cable to the terminals of the cooker or connect a three-phase plug to the power cord.
- Check the location of the power cord - it should not touch parts that are very hot.
- Insert the plug into a power outlet.
- Turn on the oven.
Important! Now on sale there are many different dishes. Each has its pros and cons. Our separate review will help you choose best baking tray.
Important! Do you like to pamper your relatives with fresh fragrant pastries? We will help you figure it out.which baking dish is best.
Some nuances
Before you start connecting the oven to the mains yourself, think about some more circumstances. You need to take up work only if you already have some experience in wiring. Otherwise, it is better to entrust this part of the work to a specialist who has the appropriate certificate.
The fact is that the new oven is under warranty. If it fails and repairs are required, the service center will certainly ask who and how connected the unit. If the owner himself did this, he may be refused a warranty repair.
Gas oven connection
Preparatory work in this case is required exactly the same as for the electric oven. That is, you need to choose a place for the unit and make a niche, if it is built-in. But laying a new cable and dealing with phase and grounding is definitely not necessary.
In this case, it is especially important to ensure the tightness of the connection between the oven and the gas line. The connection is made using a flexible hose and is closed by a gas winding. The procedure will be as follows:
- Prepare a niche.
- Turn off the gas supply.
- Put the oven in its designated place.
- Connect it through a separate hose to the trunk.
- Seal the connection.
- Apply soap foam to the joint.
- Turn on the gas and check for leaks - if the connection is made correctly, the foam will not move.
Important! Is the equipment connected and ready to go? Our article will help you deal with various symbols on the device. “What do the icons on the oven mean?”
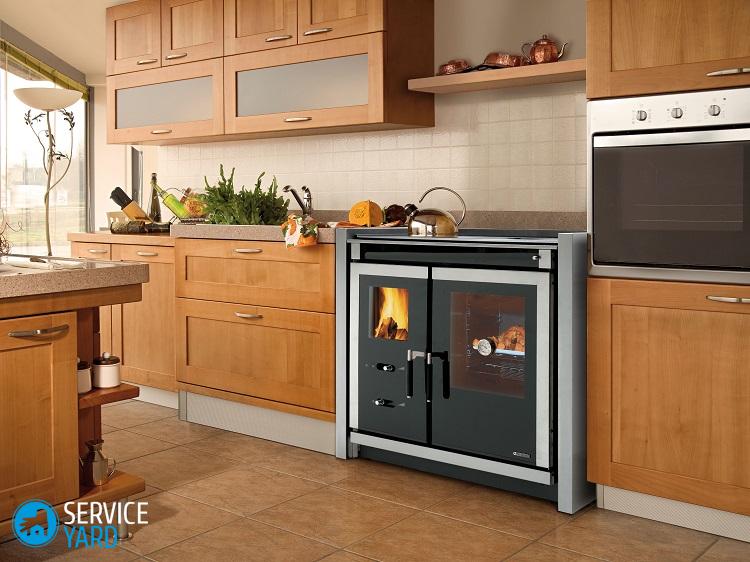
The hose must be certified, so you should buy it in a specialized store. In general, work with gas equipment is very dangerous, therefore it is better to call a specialist from the gas service for connection.
to contents ↑Important! On modern appliances, you can set the time. There is a separate post on our useful tips portal "How to set the time on the oven Electrolux?"
Stock footage
Having an idea of how to connect the oven, if you do not do it yourself, then at least you can control the master who will do this. So - the reliability and safety of the use of kitchen equipment will be at a high level.


