DIY corner fireplace
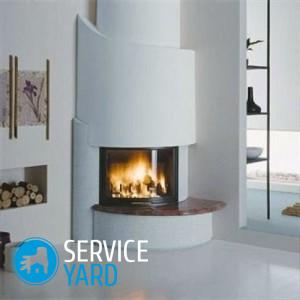
Probably everyone wants to install a fireplace in their house, because it is not only a beautiful interior item, but also a very functional design that brings warmth and comfort to the atmosphere of the room. Unfortunately, such fireplaces are very bulky, basically it is difficult to place them, and in the construction they are quite complicated, which is not always possible for a beginner. Therefore, the ideal option would be to build a corner fireplace with your own hands. The process, although lengthy, is absolutely uncomplicated. And in order for it to pass easily and naturally, we will tell you all the subtleties and nuances that may arise during the construction of such a structure.
to contents ↑The benefits of corner fireplaces
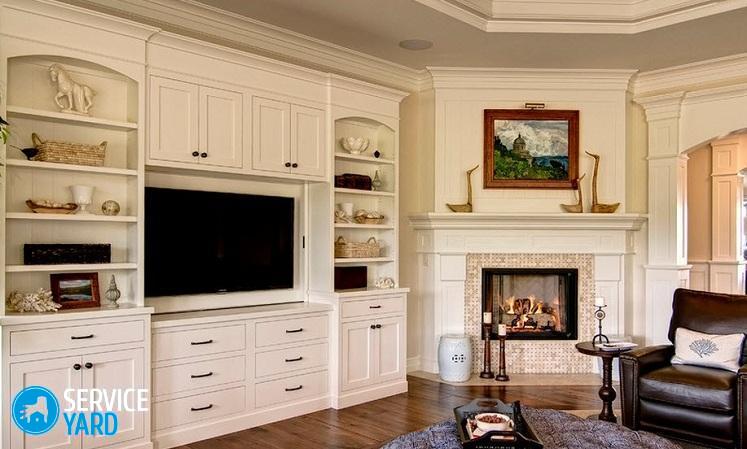
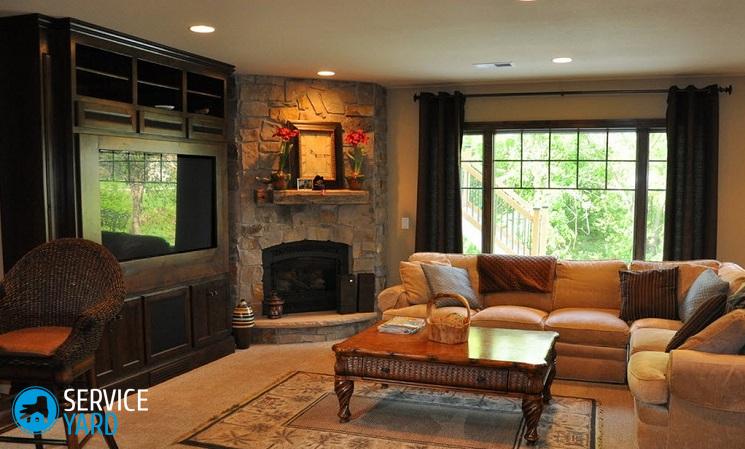
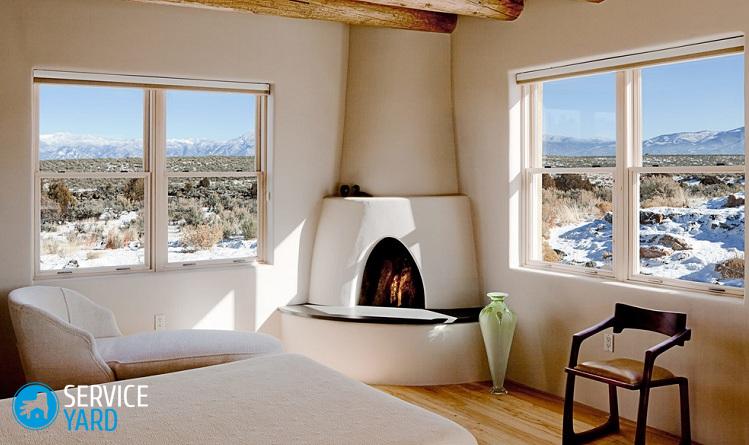
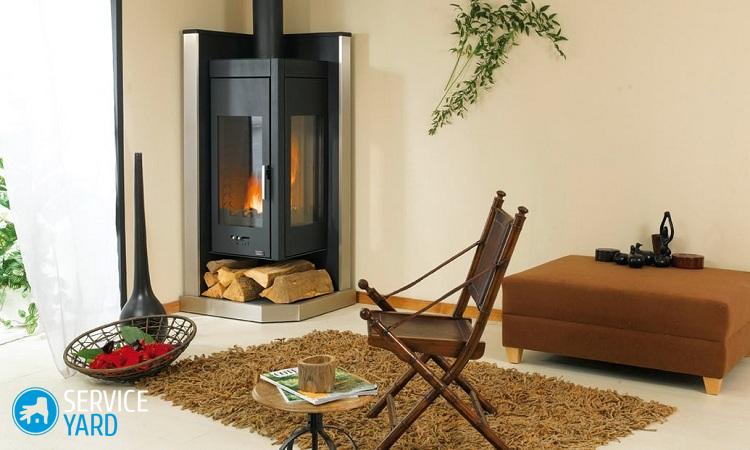
To date, the variety of corner fireplaces is quite large. They can be built both from bricks and combined from masonry and metal elements.
Important! Pay attention to the fact that the construction of a combined fireplace will be much cheaper than a brick one.
In addition, corner fireplaces have a number of advantages in relation to other types of the same designs:
- Saving. The angular model in relation to the required amount of materials will cost you much less than an island or wall-mounted version.
- Rational use of the area. Since such a structure is quite compact and does not take up too much free space, a corner fireplace can be installed both in a large house and in a small cottage.
- Ease of construction. Due to the fact that the ordering scheme is quite simple, even a novice can deal with it.
Important! Even if you had any difficulties during the construction of the corner fireplace or you made a mistake, they can be hidden with the help of decorative cladding.
- Aesthetics and functionality. A corner fireplace will transform absolutely any room and make it more comfortable.
Design
Before proceeding with the construction of the structure itself, it is very important to initially design it, since not only the appearance of the fireplace, but also its functionality depends on it. The design of the corner fireplace takes place in several stages, which we will discuss in more detail below.
Stage 1. Preliminary Drafts
At this stage, you need to make a detailed project and a sketch of the future design.
Important! If you are just building a house and plan to build a fireplace in it, it is better to immediately lay the foundation of such a design together with the foundation of the house, taking into account the fact that they should not be interconnected.
The design process of the corner fireplace must be done in the following sequence:
- Define the room and the angle at which the fireplace will be erected.
- Make a preliminary design drawing. Thus, you can determine whether it is suitable for this particular corner and the interior of the room in general.
- Taking into account the rafter scheme and the attic floor scheme, draw a drawing project of the future fireplace.
Important! Please note that corner fireplaces may vary in design. For example, some options below are equipped with a camera for drying logs or a drawer. All these details also need to be included in the design and sketch.
Stage 2. Calculations of linear parameters
In order for the fireplace to function and meet all safety criteria, it is very important to make the correct calculations, taking into account all the necessary parameters.For example, for safe and high-quality work, it is necessary to create optimal traction. This is necessary in order to exclude possible smoke in the rooms and at the same time the fireplace worked with maximum heat dissipation. Also, good traction will help you ignite and regulate the permissible level of fire in a matter of minutes.
In addition, the standard angular design must perform the following functions:
- Warm the structure evenly and quickly;
- Have a high level of heat transfer;
- Have an attractive appearance.
Important! When designing a corner fireplace, pay attention to the fact that during its downtime the house should not cool down, so take care in advance to create conditions for blocking the chimney.
Stage 3. Determining the size of the fireplace insert
Determining the correct size of the furnace completely affects the quality heating of the room. Therefore, the calculation of the size of this element is based on the parameters of the room, or rather its area. To put it simply, the size of the fireplace insert is determined according to the following formula: the area of the room must be divided by 50. Thus, you will get the approximate size of the insert window.
Important! Today on the Internet you can find a ready-made table, thanks to which you can more accurately calculate the parameters of the furnace for the future fireplace.
The most optimal proportions for a fireplace window is considered to be a 3: 2 ratio, while the height of the furnace window should be less than the width of the hearth itself. Also, the depth of the combustion chamber is an important parameter, since the effectiveness of the fireplace will depend on it. Half or two thirds of the total size of the firebox is considered standard.
Important! If you make the above parameters thoughtlessly, without preliminary calculations, in this case, the risk of lowering the heat transfer increases, since the warm air you simply will go into the pipe. In addition, such a fireplace will be unsafe for further use.
Stage 4. Calculation of the size of the chimney for the fireplace
In order to prevent smoke from occurring during the operation of the corner fireplace, it is very important to correctly calculate the parameters of the future chimney. The activity of burning wood and the formation of normal traction also depend on this. The most optimal diameter of the chimney is at least 150-170 millimeters, the rectangular cross section of which should be in a ratio of 1:10 of the size of the combustion chamber.
to contents ↑Important! No less important is the height of the chimney. Most often, it is raised to a height of about five meters. But sometimes, depending on in which area of the roof it will be placed, this parameter can be significantly increased.
Necessary tools and materials
During the preparation for the construction of the fireplace, it is very important not only to think over the project in advance and make all the calculations, but also to prepare the necessary tools for work, as well as to purchase high-quality materials. During the process, you will need the following tools:
- Bayonet shovel;
- Rammer;
- Rule
- Hammer;
- Cord mooring;
- Level;
- Building corner;
- Plumb line;
- Capacities for water and solution;
- Bushhammer;
- Laying for masonry;
- Roulette;
- Master OK;
- Angle grinder;
- Pliers;
- Mallet;
- Cutting wheels for metal and stone.
Also, in the process of erecting a corner fireplace with your own hands, you will need to pay special attention to arranging a reliable foundation. To do this, you need to prepare:
- Ruberoid or other waterproofing roll material;
- A construction grid with a mesh size of 100 millimeters;
- Coarse gravel of elimination;
- Sand;
- Lumber;
- Cement;
Important! Pay attention to the fact that the cement for the construction of a corner fireplace should be M-400 and higher.
- Nails
- Steel wire.
As for the materials for the construction of a corner fireplace from a brick with your own hands, you will also need:
- Refractory brick.It will suit absolutely anyone, but experts recommend using fireclay standard sizes of the SHA-8 brand.
- Red burnt brick. It should be brand M-150.
- Facing brick.
- Cement.
- Sand.
- Clay.
- Metal valve with a long handle.
- Steel corner with shelf sizes 60x60 or 50x50 millimeters.
- Plywood for the manufacture of the template.
- Boards.
- Reiki
- Fireplace cassette.
- Heat-resistant thermal insulation made of basalt or asbestos.
- Decorative finishing materials.
The construction of a corner fireplace
After all the calculations have been done, and the materials and tools prepared, you can proceed directly to the construction of the corner fireplace. The whole process of constructing such a structure takes place in several stages.
Preparatory work
Start work by pouring the foundation. You need to do this in this order:
- In the soil under the floor, make a depression with a depth of 400-500 millimeters. It should be the same shape as the base of the structure itself, only 100-120 millimeters wider.
- Pour sand at the bottom of the pit, which will be the first layer of waterproofing.
Important! Pay attention to the fact that the sand should be well compacted, and the width of the layer should be 100-120 millimeters. Therefore, experienced specialists recommend slightly moistening the sand during tamping with water.
- Pour crushed stone and tamp well.
Important! The layer of crushed stone in thickness should be the same as the sand.
- Lay reinforcing elements on a compacted layer of crushed stone.
- Fence the walls of the house from the foundation with asbestos sheets.
- Install the formwork. This can be done using a metal sheet or shot down boards.
- Make a solution and fill it with the foundation.
Important! Try to fill the foundation in one go. The layer can be coarse and be 120-150 millimeters wide.
- Fill one more layer of solution. It should be thinner in relation to the previous one in consistency and in thickness should be ⅓ part of the first.
- Level the surface of the foundation with a rule. Cover with foil and leave for a while to “ripen”.
Important! The construction of the foundation is best done in the summer, because due to high temperatures the moisture evaporates faster, respectively - the process of "maturing" occurs much faster.
- Lay the sheets of roofing material in 2-3 layers.
Preparation of masonry mortar
To date, the building materials market has a huge selection of diverse mixtures for the construction of fireplaces. Nevertheless, experienced stove-makers recommend using an old clay solution that has been tested for centuries for these purposes:
- Clay for the solution is better to choose high fat content.
- A few days before the start of work, it is soaked, after which the finished substance is wiped through a sieve, thus making it more uniform. This will give you the opportunity to lay a brick on the seam of absolutely any thickness.
- Add sand to the finished substance. This should be done immediately before the start of the masonry itself.
Important! Try to use coarse river sand, which is recommended to be sieved through a sieve before starting work.
The amount of sand needed depends directly on the clay content. Therefore, to determine the amount you need, you need to take part of the solution and mix in a certain proportion with sand:
- Roll into a ball the same size as the pin-pong ball, lay it between two flat surfaces.
- It is better to make such balls at once several pieces with a different proportion of sand admixture.
- Gently squeeze the balls between the surfaces, while keeping track of which one begins to crack faster. If the sphere fell apart instantly, there is a lot of sand in such a solution, and even if it has not cracked, there is not much sand.
Important! An ideal solution is one that, when tested with balls, cracked at ⅓ of the diameter of the sphere.
Masonry fireplace
When starting the construction of the corner fireplace of the furnace and laying the order with your own hands, it is very important to take into account the recommendations of experienced masons, which will greatly facilitate the whole process:
- Transfer to another room all the furniture in the room, as well as other interior items.
- The construction of the fireplace can begin no earlier than 28 days after the construction of the foundation. It is this period of time that is needed for the concrete to fully set.
- Before starting work, soak the brick in water for several hours. Otherwise, it will draw moisture from the solution, thereby significantly reducing its quality. Accordingly, the strength of the seams will be much lower.
- Pre-build the structure “dry” without using mortar. Thus, you can thoroughly understand the ordering scheme and in the future avoid mistakes.
Important! Before proceeding with the laying of bricks, draw detailed diagrams of the routines on sheets of paper. Thus, in the course of the ranks, you will simply cross out and spend less time on unnecessary checks.
Now you can go directly to the masonry. The work plan consists of the following actions:
- Lay out the first row. This should be done carefully and without haste, since the quality and tightness of the future design depends on this.
Important! In order to make it easier to lay the first rows, while avoiding gross errors, you can draw the contours of the mantelpiece on the foundation surface.
- Lay out the second row, while forming the side walls. Form a sub-window space. Closer to the edge of the brick, lay a metal corner 600 millimeters long. Further, he will serve as a support.
- Lay out the third row in the same way as the previous one. On a steel corner, lay a sheet about 3-5 millimeters thick.
- Lay out the brick floor of the subframe.
- The fifth row must be laid out with fireclay bricks. This will be the bottom of the firebox.
- Dissolve the fireclay brick into two halves. Put them in a 6-8 row.
- On 7-9 rows, continue to build up the side walls. Lay the back surface of the firebox at an angle. This way you prepare the base for the chimney tooth.
- 10-11 row continue to lay out according to the ordering scheme.
- On the 12th row, install two steel corners 600 mm long on the outer edge. Orient them with horizontal shelves inward.
- 13-14 rows lay out the front cover of the furnace window. To do this, lay the red and fireclay bricks on the edge and connect in pairs with each other.
Important! Fireclay bricks should be located on the side of the high-temperature zone.
- 15 next finish the calculation of the smoke tooth and the back wall. Make the transition between the chimney and the firebox.
- Moving bricks 16 and 17 rows, form a mantelpiece.
- Narrow the interior of the fireplace in 18-20 rows, thereby equipping the smoke box.
- Spread the smoke channel in 21-24 rows.
- 25-27 rows form a transitional section of the chimney. Install the valve.
Important! The fireplace laid out according to the above instructions has a rectangular shape. If you wish, you can make it in the form of an arch. To do this, install a rack template from plywood on the brick supports.
Chimney installation
First you need to install the smoke collectors of the unit. For this:
- With cement mortar, connect the openings of the pipe and smoke collector.
- After that, fix the brick lining to the pipe using anchors. Anchor joints must be inserted between the external blocks of the pipe and fixed in the joints between the bricks. Surfaces should be free of gaps.
- Install heat and thermal insulation.
Decorative corner fireplace
If you used high-quality facing bricks when laying exterior walls, in this case there is no need to carry out any additional decorative cladding. You just need to rub the top surface and grind all the bumps. Also quite popular and at the same time inexpensive option is plaster.To date, many special compositions are presented in stores, thanks to which you can give the fireplace a stylish and aesthetic appearance.
Important! You can plaster the fireplace after the walls have dried and shrink.
No less popular, but quite expensive are the options for facing the fireplace with natural materials, tiles or tiles.
to contents ↑Stock footage
Do-it-yourself erection of a corner fireplace is a laborious process, but if you approach it with all responsibility, even a novice can do it. Guided by our instructions and tips, you can independently make such a very functional piece of furniture in your home. In addition to saving significant financial resources, you will have a hearth that will create an atmosphere of warmth and coziness, even if a winter blizzard rages outside.
- How to choose a vacuum cleaner taking into account the characteristics of the house and coatings?
- What to look for when choosing a water delivery
- How to quickly create comfort at home - tips for housewives
- How to choose the perfect TV - useful tips
- What to look for when choosing blinds
- What should be running shoes?
- What useful things can you buy in a hardware store
- Iphone 11 pro max review
- Than iPhone is better than Android smartphones


