DIY backlit mirror
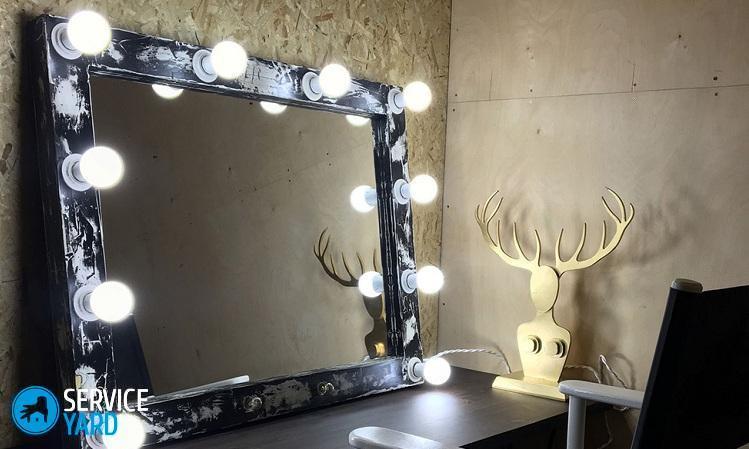
In a modern apartment, it is simply impossible to do without a mirror. In stores, you can find hundreds of different models of this desired item, among which there are specimens with a variety of types of lighting. The backlight itself is often a purely decorative element, especially in the bathroom. But in some cases, it can perform a practical function. Decorative lighting is built into the reflective surface, and functional - can illuminate the person who is in front of him. Factory products are quite expensive and do not always correspond to aesthetic wishes. In this case, a do-it-yourself mirror will help to solve the problem.
to contents ↑Backlight Options
There can be several options for backlighting:
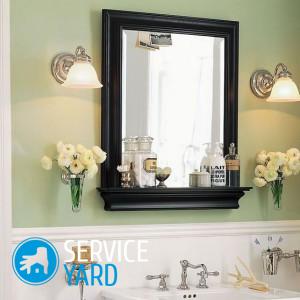
- Making outdoor lighting in the form of spots. The spot is a lamp that can rotate from side to side with the help of a bracket of a special design.
Important! It can be either adjustable single lamps or small light sconces. They can illuminate a person standing in front of a mirror, as well as some part of the bathroom.
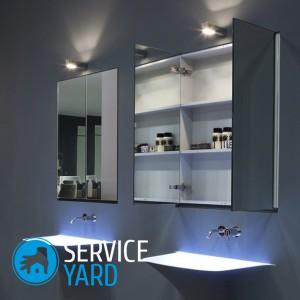
- The backlight that illuminates the person standing in front of the mirror, his face. The function of lighting devices here is often performed by modern LEDs. Their light is softened with frosted glass integrated in the product.
Important! Typically, this design is installed in mirrors made in the form of a small cabinet.
- The location of the lighting behind the rear wall of the reflective surface, which performs only a decorative function. LEDs illuminate the glass, giving it a beautiful and unusual appearance.
to contents ↑Important! Such mirrors with illumination serve as decoration of the interior of bathrooms.
DIY lighting for a mirror
Making a do-it-yourself mirror is easy. To work, you will need the following:
- Screwdriver.
- Jigsaw.
- Ruler.
- Wood screws.
- Screwdriver.
- Glue.
- Metal corners.
- Light bulbs.
- Electric wires.
- Mirror.
- Cartridges for bulbs.
- Cured board or thick plywood.
The sequence of work is as follows:
- According to the dimensions of the mirror canvas from boards with a width of about 90 mm and a thickness of 25 mm, assemble the frame with screws and glue to accommodate all the details. Using a miter box, saw the ends of the boards at an angle of 45 degrees.
Important! The mirror should fit freely in the frame so that there is room at the edges for the placement of bulbs.
- Drill holes in the sides of the frame corresponding to the size of the cartridges, which are then glued with glue.
- From thin rails, glue the frame to the size of the main frame. It should cover the wires on the front side, and also fix the mirror sheet in the main frame.
- Attach furniture corners to the main frame with small screws. They will fit a mirror.
- Assemble all the details in a single design and paint the color along with the cartridges in the desired color. Fasten the mirror in the frame with thin blocks.
- Connect the cartridges to each other with electric wires in parallel. Connect the power cord to the wires and lead it out through a specially pre-drilled hole.
- Screw in the lights and check the operation of the product.
- Cover the rear structure with a piece of plywood, which is fastened with small screws or nails.
Stock footage
A mirror, and even with a backlight, is able to visually expand the space, improve the overall lighting of the room and give it a completely new look. This is a do-it-yourself mirror It will be appropriate in any room, but most often it is still installed in the bathroom. This very necessary and important household item can also be supplemented with glass shelves. And the placement of various cosmetics on them will create additional amenities.


