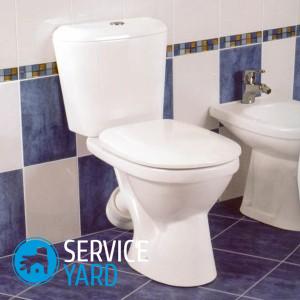
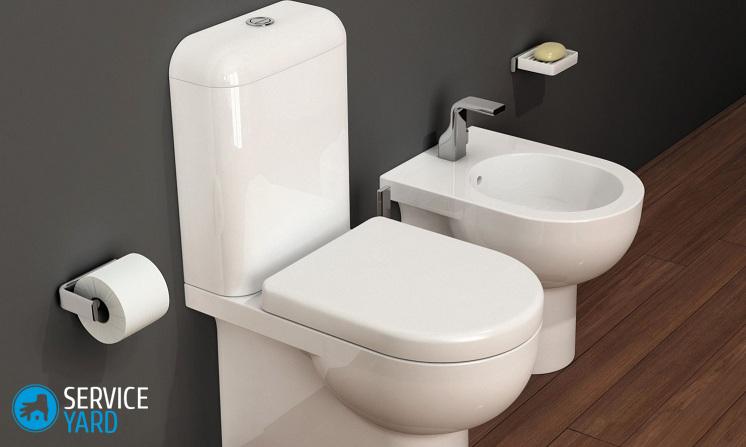
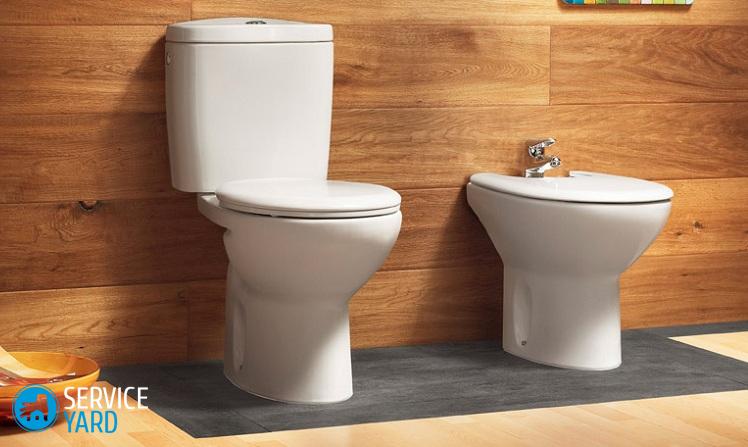
Do-it-yourself toilet change in the apartment

Plumbing usually lasts a long time. The toilet can stand a quarter century, or even more. However, the moment when it needs to be changed, nevertheless comes. What to do - contact a utility company or install a new one yourself? Many people prefer the second option, especially when the cost of the service seems prohibitive. Replacing the toilet in the apartment with your own hands is a doable task. How to do this will be discussed in our article.
to contents ↑What is required of you?
If this is not the first time you have done repairs and construction works, this is not a surprise for you; you can handle the replacement of plumbing equipment without much difficulty. You must have some skills:
- be able to work with a punch;
- pour screeds;
- glue the tile.
All of this, of course, can be learned in the process, but it will take time, and the result may not be exactly what you expect.
to contents ↑Where to begin?
Of course, first you need to decide what exactly you will bet. In any case, you must first buy new plumbing, and only then remove the old. It will be necessary to install quickly, since plumbing equipment is needed constantly.
to contents ↑Choosing plumbing equipment
You will have less trouble if you choose the exact same shape and size of the toilet as the one you have. It may seem to an inexperienced person that all the pots are very similar, only slightly differ in shape and color.
But it’s not so simple. Toilet bowls have much more significant differences. For example, by the method of connecting to the sewer. The shape and direction of the outlet neck depend on this. On sale you can come across several options:
- with oblique outlet at an angle of 45º;
- with direct release at an angle of 90º;
- with vertical outlet to the floor.
Important! The latter type in modern apartments is rare, but if you live in an old Soviet house and did not change the plumbing, you probably should have just that. So you definitely need to pay attention to this. You will not find a toilet with a vertical outlet in the store, they stopped producing them a long time ago, so you have to choose another option.
Mounting method
Plumbing equipment for toilets differs in the way of fastening. It can be:
- outdoor;
- outboard.
In the first case, the pot is installed on the floor, in the second - it is suspended from one of the walls, preferably bearing. In this case, the shape of the mouth of the release does not play any role. But different requirements are imposed on the quality of the surfaces.
Dimensions
If you still decide to choose a different model than you had, pay attention to its size. They largely depend on the area of the room. Note that the toilet should be:
- no closer than 60 cm from the door;
- no closer than 20 cm from the wall.
Important! As for the distance to the door, everything is clear - if the gap is less, only a small child can use the toilet. Moving it closer to the wall also does not make sense, it will be inconvenient to set and use. Therefore, for a small bathroom, you should not choose a pot too large.
Another calculation
Despite the fact that the toilets seem similar to each other, like twins, they still have different dimensions.For a large bathroom, this does not matter, but what if the toilet is tiny, and even the door opens inside? The answer is simple - pick up a pot of such a size that fits perfectly into the room. For this:
- Open the door.
- Measure the distance from the edge of the door to the wall of the sewer glass closest to it with tape measure.
- Subtract 15 cm from the result.
- Choose a toilet whose length does not exceed the result.
Double or single?
Once in the plumbing store, you will be surprised by another circumstance that was not thought of before. The seller can tell you that there are two types of toilets:
- with double discharge;
- with a single drain.
to contents ↑Important! It is possible that the consultant will offer you the first option, explaining that it is more reliable, more modern and generally better. Take your time getting the money. A double-flush toilet is more expensive, but it has no more advantages. Mount it in the same way as the one with a single.
What tools are needed?
Before you change the toilet with your own hands, it is useful to take care of tools and materials. Much of what you need can be bought at a plumbing store. Something you may already have:
- hammer drill;
- hammer drill;
- drill bits for concrete work;
- spanners;
- pipe wrench;
- Swedish key
- hammer;
- Screwdriver Set;
- sewer pipes;
- silicone sealant;
- adhesive cement.
Important! The hammer drill and hammer drill are used for the same purpose, so you need either one or the other. As for the wrenches, they will be needed to connect the water hoses and assemble the locking fittings. Pay attention to the diameter of the drill - it must correspond to the size of the dowels.
Sewer pipes
When purchasing a new toilet, take care of the pipes with which you will connect it to a common sewer. Pipes are:
- steel;
- propylene;
- from metal plastic.
Important! Steel is more reliable and durable, but with their counterparts from propylene and metal plastic it is much easier to work, and for installing a toilet on your own it is very important.
What else to look for when buying?
The toilet should be firmly on the floor so that there are no gaps. Accordingly - its bottom should be as flat and flat as possible.
Pay attention to what kind of glass of sewer riser you have - the shape of the mouth of the outlet will depend on this. He can be:
- mounted as an intermediate insert;
- go directly from the floor.
What is the difference?
- In the first case, it will be much easier to put a toilet with an oblique neck - it comes out exactly at the same angle as the insert. In this case, a toilet with a straight neck can be supplied only by an experienced specialist, it is better for a humble amateur not to risk it at all.
- If the sewer outlet exits directly from the floor, a neck comes out at a right angle. However, in this case it will not be difficult to deliver an oblique issue, so this option is more universal. Too hasty owner, who ran to the store, not bothering to look at the tap, it is better to opt for a model with a slanting neck.
Look at the tank
Decide whether you are going to change only the toilet or the tank too. The fact is that the drain tank has a hole through which water is supplied. See where it is:
- at the bottom;
- at the top of one of the walls.
If you are not going to change everything at once and do not plan a thorough repair, see how convenient it will be to connect the tank to your chosen model. Better if you do not have to connect too long a pipe.
to contents ↑Important! You can buy a kit from a toilet bowl and a drain tank, where all the bends correspond to each other.
Dismantle the toilet
Before you replace the toilet with your own hands, you will naturally have to get rid of the old one. The method of dismantling largely depends on what kind of pot you have - floor or hanging.
Floor toilet
First you need to shut off the water that enters the drain tank, otherwise, troubles can not be avoided. It is simple to do this - there is a valve on the water pipe, which must be closed. Drain the water tank and check that you have closed the valve. If you did everything correctly, water will not flow.
Then replacing the toilet in the apartment with your own hands is done like this:
- Disconnect the lead from the tank to the toilet - this is best done with an adjustable plumbing wrench, but if it is not there, a wrench of the right size will also work.
- Remove any remaining water from the tank.
- If you cannot drain the remaining water, pat it with a soft cloth.
- Unscrew the fixing bolts screwed into the bottom of the tank.
- Remove the tank.
Further actions depend on the method of connecting the neck and sewer pipe:
- using a cuff and sealant;
- using cement mortar.
Important! In modern homes, the first option is almost always used, when the outlet with the sewer pipe is connected with a rubber cuff, and sealant is used as a sealant. Rigidly planted neck on cement can be found only in old dwellings.
If you have a cuff, the actions will be as follows:
- Cut the sealant.
- Remove it through the sewer hole.
Joint buttered with cement
In this case, a sharp knife will not help you. To disconnect the pot from the sewer pipe, you need:
- hammer;
- bit;
- broom;
- scoop;
- plastic bag.
You have to deal with the cement screed in the most cruel way.
- Grind the cement into small pieces.
- As the pieces appear, put them in a bag.
- After the cement is broken, sweep away the dust (there will be a lot of it) and also pour it into the bag.

Now you just have to remove the toilet itself. Looking under your feet, you will see that it is attached to the floor with bolts, sometimes with decorative caps. Proceed as follows:
- Remove the decorative caps.
- Remove the bolts with a screwdriver.
- Put in order the place where the pot stood.
- Clean the junction of the toilet bowl with the pipe.
Important! If you change plumbing in an old apartment, it is best to replace a tee with two bends of 100 mm and 75 mm - in Khrushchev it is most often cast iron, it is most reasonable to replace it with a plastic one.
Wall mounted toilet
The hinged toilet is attached to the wall. Accordingly, and it will have to be removed a little differently than the floor - but this is also done quite quickly. As in the previous case, the water supply to the tank must be shut off, and then:
- To begin, loosen the fixing bolts, but do not completely remove them yet.
- Separate the tank and toilet bowl.
- Disconnect the toilet from the sewer.
- Unscrew the fasteners completely.
Cooking floor and communications
In order for the toilet to stand up like a glove, the floor must be even and strong. The pot is attached using special toilet dowels, which must be held firmly and securely, that is, the base for them must be strong. These qualities give a layer of mortar on the floor. It dries long enough - about seven days.
As for communications, they are prepared to replace the toilet in the apartment with their own hands as follows:
- Clean the place where you will connect the drain from salts and other formations, otherwise - the corrugation will not be able to attach tightly.
- Put a tap in the place where the drain tank is connected - it is needed to wash and repair the toilet, which is turned off when the pipe supplying water to the tank is closed.
Toilet installation
The installation itself will not take very long if you have prepared everything properly:
- If necessary, install a new tee. It may happen that it becomes difficult, then it is enough just to moisten it with shampoo, a means for washing plumbing, etc.
- Connect the toilet with corrugation or corners to the outlet from the riser.
- Check how the door opens. Pay attention to whether there is enough space for someone sitting on the toilet, whether the pot fits into the space - in a word, take care of comfort.
- Circle the place where the bottom is with a pencil.
- Mark the places where the dowels will stand.
- Drill holes for dowels 10-12 mm.
- Insert the dowels.
- Connect the toilet to the riser.
- Check how the mounting holes on the toilet match with the ones you made on the floor.
- Tilt the toilet to the side
- Apply silicone sealant along the line you marked on the floor.
- Put the toilet in place.
- Gently press the toilet bowl with the bolts.
- Put on the decorative caps.
Wall hung toilet
The principle of installing a hanging toilet is approximately the same. True, it is best to fix it with an assistant, who at the right time can support a rather heavy object in the right position.
Important! The wall before fixing plumbing, needs to be strengthened. Of course, the gypsum partition is not suitable for this - it simply can not withstand such a weight.
The procedure is exactly the same:
- Attach to the tap.
- Check the distance and how convenient it is to use the pot.
- Circle the wall.
- Mark the points under the dowels.
- Drill holes and insert dowels.
- Connect the toilet to the sewer.
- Check holes.
- Apply a layer of sealant.
- Put the pot in place and adjust the position.
- Finish the mount.
The last stage - the drain tank
The replacement of the toilet in the apartment with your own hands is almost complete - it remains to connect the tank. Compared to what you have already done, this is a mere trifle, but the work still needs to be done carefully and diligently. The tank is already assembled. Farther:
- Put the tank on the toilet, installing rubber gaskets along the way.
- Tighten the first bolt so that the tank is skewed.
- Align it by firmly but gently pressing the lid with your hand.
- Tighten the remaining bolts.
- Connect the tank to the water supply using a good hose
- Open the tap and wait for the tank to fill.
- Check the drain.
- If water is oozing, remove the corrugation or corners, wipe dry, coat sealants, and reinsert.
to contents ↑Important! Do not use a rubber hose in a metal braid - the braid is rusting, the rubber is wiped. Metal hose is best.
Stock footage
Now you clearly know how to change the toilet in the apartment with your own hands. Of course, you have to work hard, but the result is worth it. And if you act carefully, carefully checking everything, the result will be no worse than if you use the services of a paid wizard. Good luck!
- How to choose a vacuum cleaner taking into account the characteristics of the house and coatings?
- What to look for when choosing a water delivery
- How to quickly create comfort at home - tips for housewives
- How to choose the perfect TV - useful tips
- What to look for when choosing blinds
- What should be running shoes?
- What useful things can you buy in a hardware store
- Iphone 11 pro max review
- Than iPhone is better than Android smartphones


