DIY corner cupboard
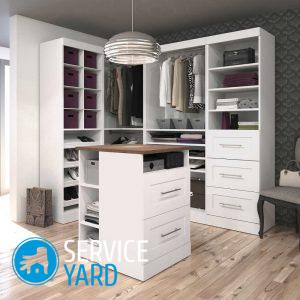
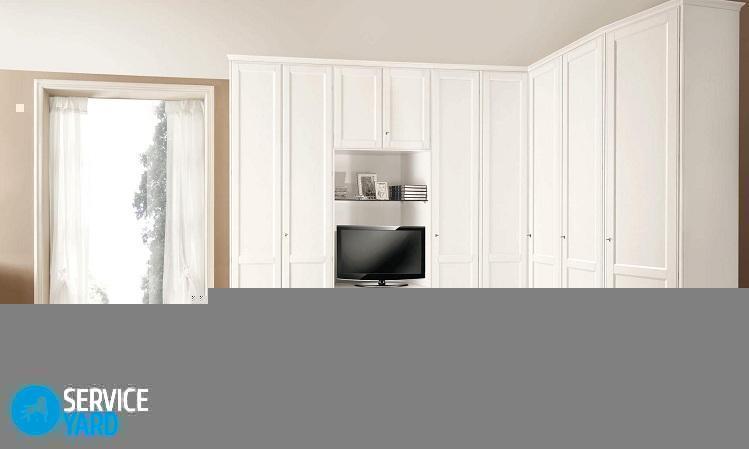
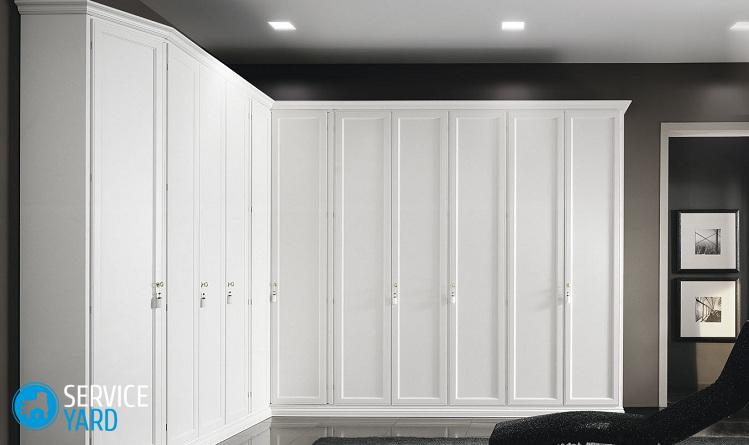
Nowadays, wardrobe is very widely used for storing clothes and household items. It takes up little space and is perfect even for apartments of small sizes, as it has not folding doors, but sliding. To make a corner cabinet with your own hands is not possible for a very experienced carpenter. Such furniture will occupy much less space, but at the same time there will be much more storage space than in a conventional cabinet. How to make a corner cabinet - we will tell you in the article below.
to contents ↑Types of corner cabinets
First you need to find out what shape your corner cabinet should be:
- In the form of the letter G.
- Trapezoidal.
- Triangular.
- 5-wall.
Consider the place where it will be located. First, make a drawing of the closet with your own hands with dimensions. To do this, carefully consider the dimensions of the walls and shelves.
to contents ↑Progress
We will look at an example of how to make a corner wardrobe with your own hands, the dimensions of which will be 90 * 90 cm and a height of 2.5 m.
Any work begins with the preparatory phase:
- Check the place where you decided to place the cabinet, it should be flat.
- Make sure that there are no electrical outlets or other items in the installation area that could interfere during installation.
- Consider the size of the skirting boards.
- Make a diagram of the corner wardrobe.
- Calculate how much and what material you need.
Important! To make the calculation easier, make an assembly diagram.
- Do not save on a sliding door system.
Necessary materials and tools:
- Glue.
- Dowels.
- Self-tapping screws.
- Hardware.
- Mirrors
- Rollers.
- Profile.
- Drill.
- Hammer drill.
- Roulette.
- Level.
- Hammer.
- Hacksaw
Important! Entrust the cutting of boards to the masters so that the work is done faster and more accurately.
Sizing
Determine the size of the product by the area of the room in which you plan to place it. Be sure to consider the general standards:
- The height of the compartment where things will be stored cannot be less than 1.4 m.
- Width - less than 0.8 m.
Build process:
- Install the steel corners in the places to which the side walls will be attached to the ceiling and floor.
- Assemble the frame from the finished parts.
- Attach the casters to the door.
- Mount the guides.
- Install the doors.
Important! Use the level when assembling the corner cabinet to prevent skewing at the doors.
- Collect the cabinet inside.
- Install the partitions, then secure the shelves, mirrors and hangers.
- Screw the hardware.
Drywall cabinet
First of all, make a drawing of the wardrobe. For this:
- Decide where your cabinet will stand.
- Make a sketch with a detailed diagram and dimensions of the brackets, shelves and other details.
Important! Perform the entire calculation taking into account the thickness of the drywall.
Frame
For starters, markings are made on the ceiling and floor. Use rubber cushioning tape for convenience. Then attach metal profiles to it using dowels-nails. Install stiffeners for strength. Their installation is made between the rack profiles.
Sheathing
After preparing the frame, it is necessary to proceed with its casing:
- Screw self-tapping previously cut workpieces into the intended places.
- Attach the sheets with self-tapping screws, the distance between them is 20 cm, drown the caps 1 mm.
- Place the corners where the shelves will be attached.
It remains only to mount the rod and fixtures. After the frame is fully prepared, measure it again very carefully and order the doors.
Finish
After all the rough work, it remains to embellish your cabinet a little. For this:
- Prime the surface inside and out.
- Close all joints with gypsum plaster.
- Stick on the sickle tape.
- Set the painting corners to all corners.
- Apply putty with a thin layer, dry, sand and putty again.
- Prime again and let dry.
- Finish as you wish.
Stock footage
Do-it-yourself corner wardrobe is ready. You can use it to store your belongings. The most difficult moment in the process of performing the work are the drawings. Be sure to consider all the necessary distances and sizes so that you do not have problems during the assembly process.


