DIY concrete worktop
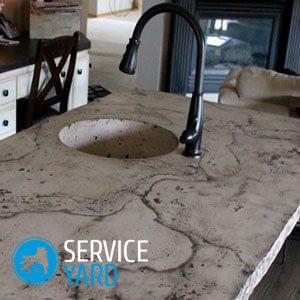
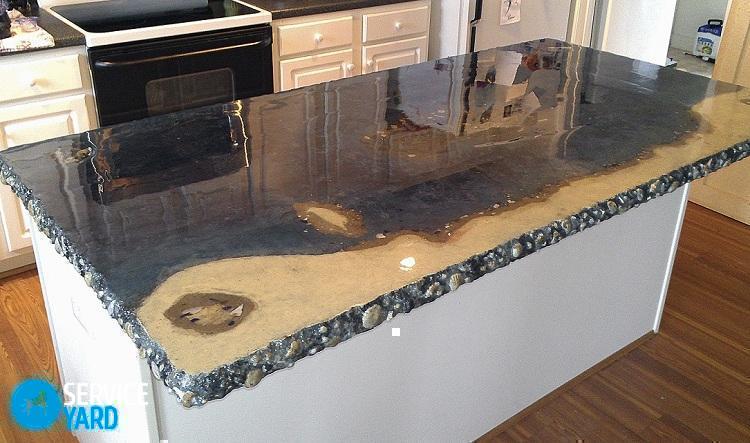
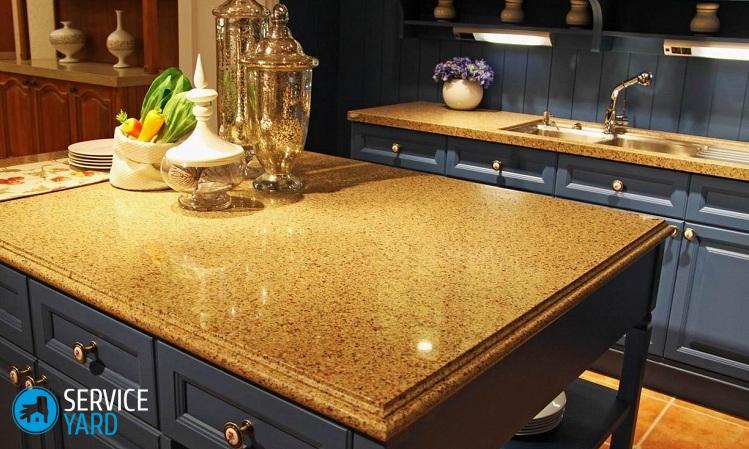
Every housewife wants to have a beautiful, multi-functional kitchen with an original and attractive design. Some - they try to create it with the help of designers and expensive exclusive parts, others - rely on their own imagination and skill. For example, if you make a little effort, then you will get an original tabletop made of concrete with your own hands, which will not be worse than elite marble models. This is the best solution for people who cannot afford to spend a lot of money on decorating the kitchen, but on the contrary, they are used to creatively arranging their own homes. In our article we will tell you how to transform your kitchen in this way with minimal cost.
to contents ↑What materials and tools will be required to work?
In fact, it is not difficult to make a concrete table with your own hands; you don’t need anything special from tools.
Prepare the tools that are used for normal concrete pouring:
- Shovel.
- Drill with a nozzle for mixing cement or a concrete mixer.
- Buckets.
- Putty knife.
- Master OK.
- Building level.
- The rule.
- Roulette.
To equip the formwork you will need:
- Wooden bars.
- Sheets of plywood.
- Strips of MDF boards.
Important! The formwork should be smooth and strong, fully repeating the fill form, since any bends, irregularities, recesses will spoil the appearance of the finished product.
In addition, you will come in handy during the creation of the table:
- Sander.
- Set of polishing and grinding wheels.
- Overalls.
- Respirator.
Prepare from materials:
- Cement.
- Sand.
- Ready masonry or plaster mix.
- Fiberglass reinforcement.
- Styrofoam
- Expanded clay.
- Tint for concrete.
- Silicone
- Sealant.
Preparation for making a table
Naturally, any furniture made of concrete with their own hands is made according to the drawings, therefore, in our case, you also need a drawing. According to the project that we will use, the table will be in the corner of the room, and the countertop will consist of several elements, because monolithic concrete products are quite difficult to install in the right place because of the huge weight. At the same time, the joints of all parts of the countertop must be on the transverse boards of the frame of the table itself, otherwise, cracks will form. To get started, you need to prepare and assemble the frame.
to contents ↑Do-it-yourself concrete worktops
To do all the work efficiently and get the desired result, you have to work hard. Clearly perform all manipulations, observing the recommendations of specialists. Therefore, let's dwell on each stage of manufacture.
Concrete worktop formwork
In size, the concrete countertop for the kitchen with your own hands should turn out to be slightly larger than the frame, in connection with this the formwork should be done, starting from these sizes.
To do the following:
- On a flat surface lay the plywood sheet, attach to it the sides with a height corresponding to the thickness of the future countertop (5 cm).
- Fix the beads on the outside of the formwork with aluminum furniture corners.
Important! Make sure that the frame is strong enough so that the heavy mixture does not crush the sides when pouring.
- Place glasses of the required diameter in the corners of the formwork so that the corners are rounded. Fill the triangular cavities with silicone.
- Seal all cracks and joints with sealant.
Concrete preparation and pouring
If you have already prepared the frame, it has dried, then you can begin to prepare the cement-sand mixture. It is better to fill it with layers, slowly, sequentially, kneading in small portions.
Perform the work according to the scheme:
- The thickness of the first layer should be one third of the thickness of the future table. Since this is the front layer, make the mixture as homogeneous and small as possible.
Important! Minimize the amount of water in order to avoid the formation of pores that often appear in concrete after solidification. But the solution should not be made too thick, it is optimal to achieve the consistency of sour cream.
- Stir with a mixer or concrete mixer. Gently fill with a bucket, while compacting the solution with a spatula or trowel to fill all the voids and let all the air out.
- Lay the reinforcement in the finished first layer. If you did not find it, then use a fiberglass or metal mesh.
- Fill the remaining space with a second layer. Use expanded clay as a large filler. You should get a lightweight mixture, formed clearly in the middle, not adjacent to the ends of the countertop.
- Fill out the form completely, remove the excess with a spatula or rule. Press it gently, smooth it, so that the table below is perfectly flat.
Important! Remember that the countertop will be attached to the walls of the table or legs, so you should also put embedded corners or blocks in liquid concrete.
- After a day, concrete will gain 60 percent strength.
- Cover all elements of the countertop with a damp towel so that the concrete dries evenly. Wait two more days.
Formwork dismantling
This is a very important stage in the process of creating a table, so it should be performed clearly, accurately, sequentially.
Disassemble in this way:
- Unroll the formwork, remove the sides.
- If the ends of the sides do not move away, then untwist them, gently tap with a rubber mallet.
- Turn the form over, tap again on the top and on the sides.
- Separate the concrete slab from the plywood with a spatula.
Important! Take your time too much, be extremely careful, as high-quality concrete quite often sticks strongly to the form.
Grinding
To make a perfect table out of concrete with your own hands, you will have to work on it.
Do it like this:
- Lay the future worktop on a flat surface face up.
- Take the grinding machine, process the product until all the bumps disappear.
- If small irregularities or voids remain on it, coat them with an acrylic seal and allow to dry.
- Sand the countertop a few more times until the voids are completely removed.
- If you cannot polish the surface, prime it, then varnish it. It is better to apply them with a roller.
As a result, you should have a perfectly smooth countertop without scratches and dimples.
to contents ↑Stock footage
According to the same scheme, you can make products from broken glass with your own hands. The countertop in this case will look more stylish due to the flickering of multi-colored fragments. The only difference is that the first layer is filled with glass, only then the concrete mixture is poured. As you can see, there are no special tricks here. You will get a truly exclusive and beautiful thing to decorate your kitchen.


