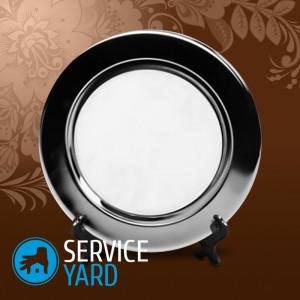
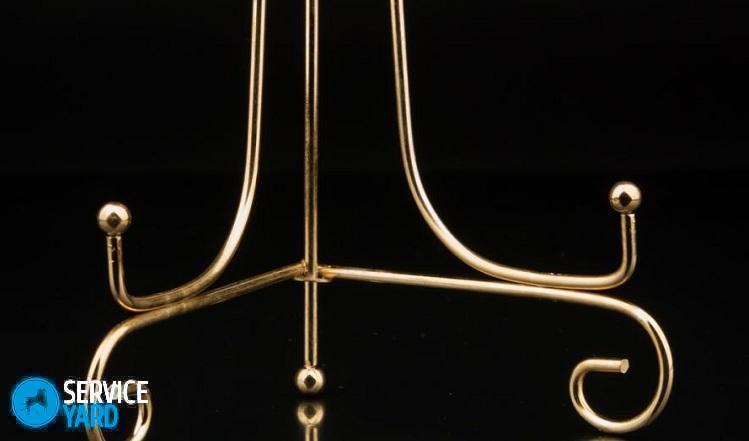
DIY stand for decorative plate

Each person at least once in his life tried to collect a collection of some things of interest to him, for example, coins, figures or painted plates, which, among other things, relate to effective decorative elements. The same coins can be collected in a casket, but it is better to flaunt beautiful dishes. If you like to collect something like that, you always buy original and unusual gizmos to decorate your home, then you will definitely need a holder for a decorative plate to store them. It’s not difficult to make it yourself, the main thing is to strictly follow the recommendations given in this article.
to contents ↑Wooden stand for unusual plates
So that you get high-quality and reliable stands for decorative plates with your own hands, then first of all, prepare the necessary materials:
- For the manufacture of side walls, planks 1.5-2 cm thick and 8.5 cm wide are suitable.
Important! Their shape may be rectangular or sinuous, but in the second case, you will need skills in working with wood and special tools.
- In addition to the sidewalls, you will also need a base, that is, a shelf that can be made of thick material, for example, a board 2 cm thick and 6 cm wide.
- Rods are useful for supporting plates, which can be made from cuttings intended for garden tools.
You will need to complete these steps in a clear sequence:
- Decide on the size of the shelves. Calculate everything so that their width allows you to mark the required number of plates.
- Saw off the shelves, make them in the middle of one recess.
- Saw the sides, also make holes in them for installing shelves and rods.
- Sand all the details so that the edges are rounded.
- Assemble the structure, not forgetting the plaque for attaching the shelf to the wall.
- Lock it at the highest crossbar, opposite it. Before doing this, make two holes in it to attach the shelves to the wall.
Important! Such walls should be made for each crossbar so that the plates do not rest against a bare wall.
- Cover the finished shelf with several layers of high-quality varnish and hang it on the wall.
to contents ↑Important! If you wish, you can decorate the stand with beautiful patterns or carvings.
Felt plate holder
A fairly original and beautiful do-it-yourself stand for a plate can turn out of cardboard and felt. In addition to the basic materials, you still need a hot glue gun and braid.
Important! The shape of the product depends on your imagination, it can be florid or simple. It is better to draw a sketch on paper to use as a model.
Perform the following procedure:
- Draw a blank on the cardboard, it is better to transfer it from paper. Its dimensions directly depend on the size of your decorative plate.
- Gently transfer the drawing to felt, then cut two such blanks.
- Using a glue gun, glue the felt on both sides of the resulting cardboard blank.
- Use the braid and hot gun to decorate the edges.
- In the center, bend the workpiece and glue a strip of braid corresponding to the length of the product.
It's so simple to make an unusual, but beautiful stand with your own hands, and you do not need to have any special knowledge for this.
to contents ↑Cutting board stand
If you are just starting to collect dishes, you only have one wonderful plate, but you want it to take its place in your kitchen, decorating it and adding some zest to it, then you will definitely like the following idea. Your new do-it-yourself stand for a decorative plate is made from the most ordinary cutting board. Such work will not take more than two hours, but its result will delight you daily.
For work, prepare:
- The blackboard. You can take an old one or purchase a new one, preferably wooden or bamboo. In size, it should be slightly smaller or larger than the plate.
- You will also need a wooden plank and a small piece to support the product.
- A small piece of plywood or wood to cut a sharp triangle.
- Stain or paint of the desired shade - it is better if it matches the color of the facades, countertops or kitchen apron.
- A rag for staining or a brush for staining.
- Saw or jigsaw.
- Strong hold glue.
Follow all the steps specified in this instruction:
- Using a jigsaw or saw, shorten the fragment or bar to the required size (according to the width of the board), sand the edges with sandpaper, glue it at the bottom of the cutting board.
- From a piece of wood, cut out the support for the stand so that it resembles a sharp triangle with a right angle in shape. Then also stick it on the back of the board. The angle of inclination of the holder directly depends on the inclination of the hypotenuse of this bar.
- Paint the blank and let it dry.
- Decorate the stand handle with a ribbon or jute rope if you want to hang the board on a hook.
to contents ↑Important! You can decorate such a stand in an interesting way, for example, aged artificially or burn out a drawing, draw something, cover it with slate paint.
Stock footage
These wonderful stands for the collection of your decorative plates can be made from improvised materials without leaving your home.
- How to choose a vacuum cleaner taking into account the characteristics of the house and coatings?
- What to look for when choosing a water delivery
- How to quickly create comfort at home - tips for housewives
- How to choose the perfect TV - useful tips
- What to look for when choosing blinds
- What should be running shoes?
- What useful things can you buy in a hardware store
- Iphone 11 pro max review
- Than iPhone is better than Android smartphones


