DIY retaining wall

The purpose of the retaining wall in the country is not only the alignment of individual sections with height differences, but also the delimitation of zones. It turns out not just strengthening the upper part from sliding, but also the original decoration of the country landscape. For the construction of a retaining wall with your own hands, you can use a variety of materials, including improvised ones. Let's consider in detail how to make it from the most affordable materials.
to contents ↑Important! For a comfortable stay in the country, it should be not only beautiful, but also convenient, and without the necessary minimum of household appliances, it is extremely difficult to realize the idea of a summer vacation. About how to choose the equipment suitable for a country house, read in our articles:
How to make a retaining wall with your own hands from natural stone?
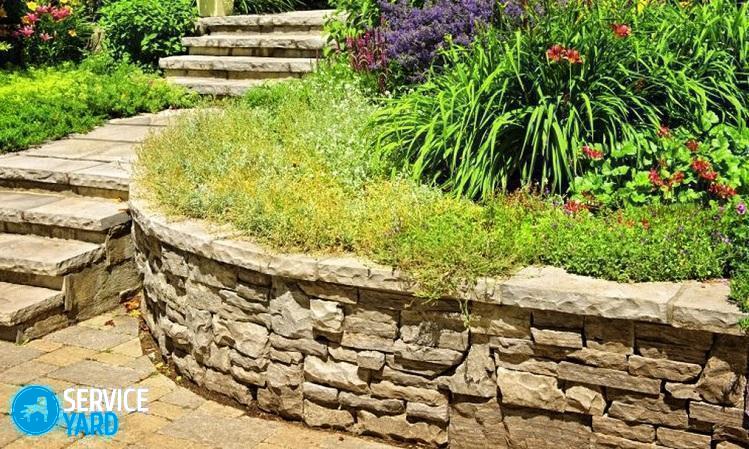
Natural stone - but, is an excellent material for retaining walls. A hill link is not needed. After the construction is completed, the construction does not need special care, and will serve for a long time.
There are 2 technologies for working with this material:
- The booth can be laid “dry”, and the voids between them are filled with fertile soil. If you plant climbing plants in it, you get a beautiful composition that looks like a natural landscape.
- A more durable option is the masonry method, laying out stones on a solution of cement.
The right boot choice
The mass of each of the stones in the masonry can be 30 kg or more. The shape and size do not matter. Before you begin, all stones must be divided into grades:
- The largest ones are useful for laying out the base and the bottom row.
- The front side of the structure is large stones with a flat surface.
- Small stones are useful for forming the inside of the structure.
Important! Using a chisel and a 5-pound hammer, the stones are chipped to a smaller size according to previously made marks. It is necessary that he fall into place.
Masonry dressing:
- The boot is stacked alternately with the long and short sides.
- To connect the front and back of the masonry, at a 600 mm level and in the very last row, transverse masonry of large fractions of the material equal to the width of the wall is used.
Important! Do not make a wall with a height of more than 1000-1200 mm, because without construction skills the structure will turn out unstable.
The order of construction work
All wall construction work must be done at an air temperature of no lower than +5 degrees. You will also need a liquid cement mortar to close the gaps between the individual stones. It must be prepared in advance.
The further procedure will be as follows:
- Mark the area, then start digging a trench under the base.
Important! The width of the trench is 600 mm greater than the thickness of the future structure. Depth is determined by the level of soil freezing plus approximately 100 mm for greater reliability.
- Tamp the bottom of the trench tightly. Spread the geotextile so that its edges extend to the surface on both sides.
- Sprinkle gravel over the geotextile. The thickness of the gravel pillow is 150 mm.
Important! With heaving soils, increase the thickness of the gravel layer to 0.5 m. The minimum depth of the stones in the bottom row for heaving soils is 200 mm.
- Drive two rods on either side of the trench. Their slope is 80 mm per meter of wall in the direction of elevation.
- Lay on the gravel the first row of large stones, clogging with rubble the voids between them and pouring them with cement. The foundation for the retaining wall with your own hands is ready.
- Lay the first row of buta along the front and back of the building without mortar. Carefully line the masonry. Then, lifting each stone, lay it on a cement pad 400 mm thick.
- Fill the space between the edges with smaller stones, placing them on a cement mortar. Fill the voids between them with cement mortar with small pebbles.
- Lay out subsequent rows in the same order by lifting the cord. At a height of 600 mm and at the very top, the masonry of the buta should be transverse.
- The last stage is the joint stitching with a mortar.
Important! To make the structure look more beautiful, you can add color pigment to the mortar. It is advisable to make a groove in the form of grooves so that water can drain on them.
- As the solution dries, periodically wet it with water for greater strength.
How to make a retaining wall of concrete?
The erection of a wall of cast concrete is a rather laborious work, although not too complicated:
- As with the buta structure, dig a trench with a perimeter equal to the perimeter of the wall. The depth of the trench depends on the height of the structure.
Important! The higher wall you planned to build, the greater the depth of the trench.
- Cover the bottom with a crushed stone and gravel pad 150 mm thick. The next layer is a mesh of 8 mm reinforcement.
- Tie reinforcement bars together using wire.
- Using boards 2.5-4.5 cm thick, build the formwork around the perimeter of a dug trench.
Important! To avoid bending the boards under concrete pressure, hammer in metal rods every 1.5 m.
- Fill the formwork with cement and leave to solidify for two weeks.
- Remove the formwork, and plaster all the irregularities in the resulting wall.
- Clad the wall on top with any material.
DIY brick retaining wall
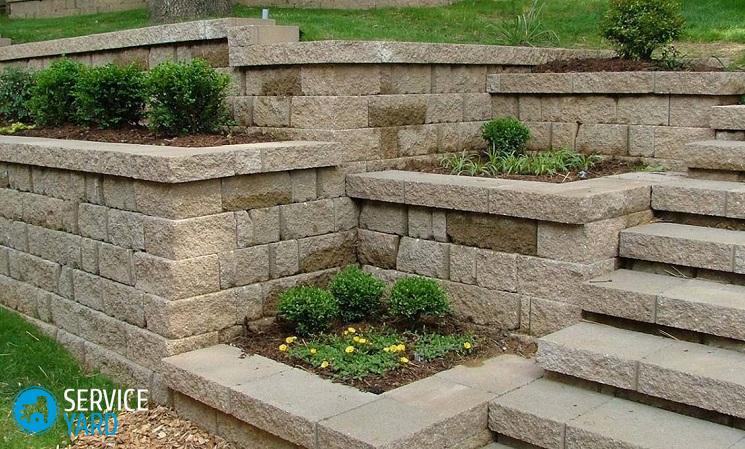
The technology of erecting a retaining wall of brick is no different from conventional brickwork.
Important! If you chose red brick for masonry, you need to think about facing the front of the structure. Laying decorative bricks will help to avoid this additional work. Here, the entire finish is limited only to the jointing.
An important point is the thickness of the masonry. It depends on the height of the wall:
- Up to 0.8 m - 0.5 bricks.
- 1,0 m - 1 brick.
- More than 1.0 m - from 1.5 bricks.
A concrete base is poured under the brick structure, the width of which is 0.3 m wider than the wall itself. The depth of the foundation depends on 2 factors:
- Depth of freezing soil.
- Wall height.
The greater the value of these indicators, the greater the depth of the foundation.
The procedure for the construction of brickwork is as follows:
- Raise the formwork around the perimeter of the trench.
- Fill the bottom with a 150 mm layer of gravel or gravel. Next comes a layer of reinforcing mesh.
- Pour concrete formwork, leave to solidify for 2 weeks.
- Drive the stakes on both sides of the base, connect them with a cord.
- Lay bricks on mortar. Align with the stretched cord. It should be remembered that the ratio between the length and thickness of the structure should be 1: 3.
Use of gabions
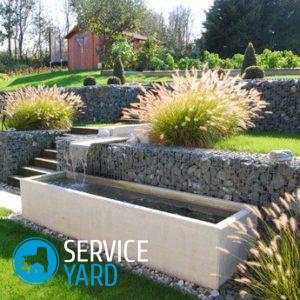
Gabion is a metal mesh box with a corrosion-resistant coating. The shapes and dimensions of gabions can be different.
Important! For the construction of walls on the site, it is desirable to use box-type gabions.
At the bottom of the gabions there are sharp locking pins. They serve to drive the box into the soil at the installation site.A further algorithm is as follows:
- Tie the boxes together using galvanized wire.
- Put stones of various sizes through the cover at the top of the grid.
Important! Stack larger fractions closer to the edge. Small rubble can be laid in the very middle.
- Screed grids with braces will prevent them from bending.
- Close the mesh box with a lid, and then with a special lock.
to contents ↑Important! Ground pressure can deform gabions, but never destroy it.
Wood
A retaining wall in a summer house made of wood is not the best option, since wood does not tolerate high humidity. But if the summer cottage is located near the forest, you can independently build a nice log structure:
- To get started, prepare the material. For construction work, logs with a diameter of 120-180 mm are suitable. Prepare the segments of the desired length, taking into account the fact that they will have to be buried in the ground about half a meter.
Important! To extend the life of the structure, soak the workpieces with a special composition that slows down putrefactive processes.
- In a prepared half-meter deep trench, install vertically log sections close to each other. Tie them with wire and fasten with nails to avoid displacement,
Important! To keep the logs steady, secure them with temporary struts.
- After the structure is perfectly aligned, fill the trench with gravel and fill it with mortar.
- After the mixture has completely solidified, remove the spacers.
to contents ↑Important! The advantage of a tree is that you can experiment with it. If you have woodworking skills, you can build a stanchion of horizontally placed logs or logs of various thicknesses. Such an elegant design will decorate the site.
Car tires
This is the cheapest, fastest and most effective way to erect a support structure on a site and recycle tires you don't need:
- Lay out a step design from them, shifting to the side of elevation and hammering in the middle with anchor piles.
- Fasten the tires to each other and to the pile using clamps made of conveyor belt.
- Put fertile soil inside the tires and plant flowers.
to contents ↑Important! You can dispose of unnecessary not only in the process of constructing a retaining wall. Learn how to turn trash into chic interior items from our workshops:
Retaining wall protection
Before you fill the soil into the space between the hill and the wall, you must perform the following measures:
- So that water, accumulating in the ground, does not destroy the wall, take care of the construction of a drainage system. The simplest option is a transverse structure (making holes of 10 cm every 3 rows of masonry). The longitudinal drainage system is a perforated geotextile pipe laid along the wall. Lay the pipe with a bias towards the drain.
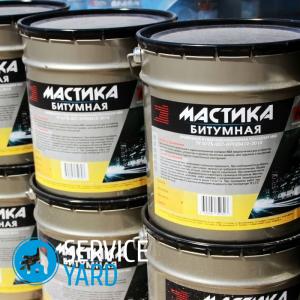
- Bitumen mastic will serve as waterproofing with several layers of roofing material.
- Attach a sloping visor to the top of the wall to prevent water from breaking down.
- Cover the inside of the wall with layers. The first layer is drainage formed by gravel, coarse sand and gravel. The next layer is fertile soil on which various plants can be planted.
to contents ↑Important! You can decorate a wall in different ways. These are living plants, lighting, the use of beautiful facing materials, decoration with forged elements. It all depends on the imagination of the owner of the site and its financial capabilities.
Important! To make your stay in the country absolutely enjoyable, the site should be as well-groomed as possible and our materials will also help in this novice gardener:
Stock footage
In this article, we have offered you many options for making the retaining wall with your own hands. Which one to give preference to - decide for yourself, based on what kind of materials you have available, with which of them it will be easier for you to work with.
- DIY tire furniture
- Bituminous mastic for waterproofing
- Dishwasher for summer cottage
- Washing machine for summer cottage
- How to choose a refrigerator for a summer residence?
- Heaters for a summer residence
- Shredders of branches and herbs for gardening - which brand to choose?
- Preparations from garden pests


