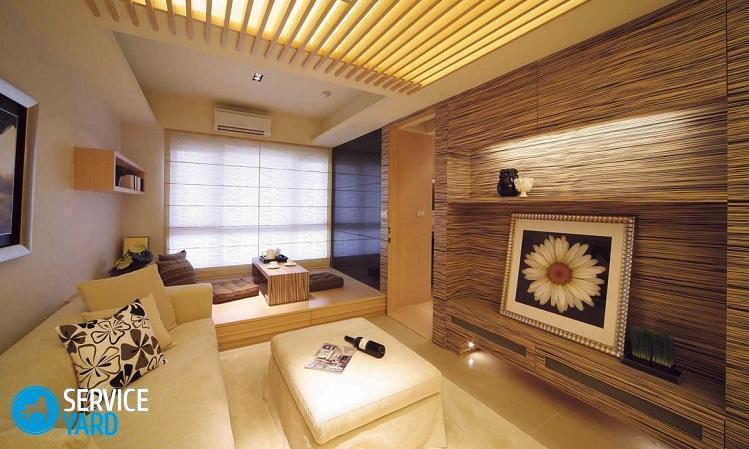
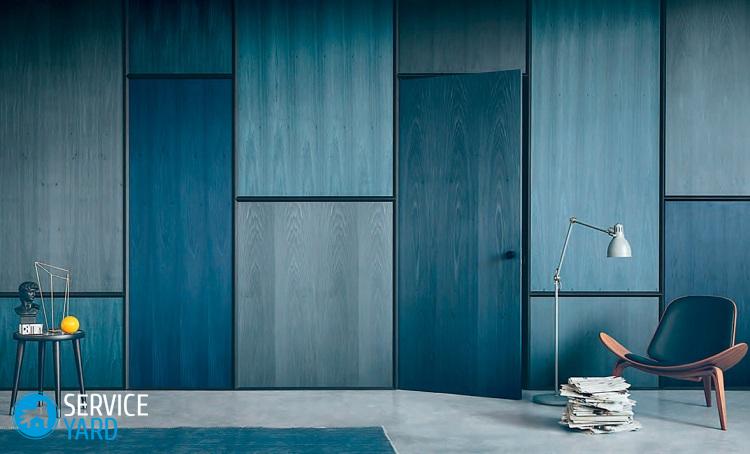
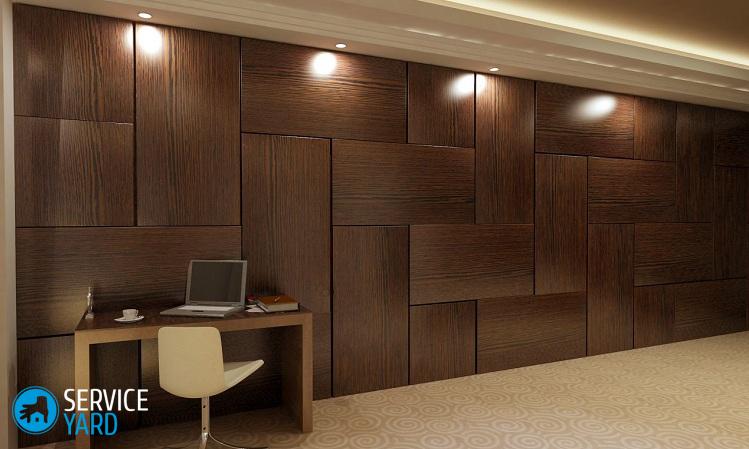
Wall decoration with MDF panels
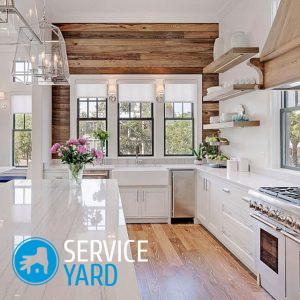
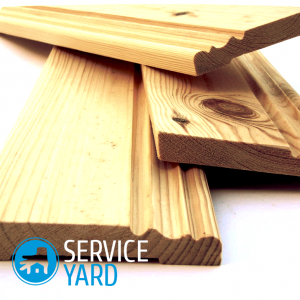
At present, the cladding of walls and ceilings of MDF panels is gaining more and more popularity. This material is quite durable, easy to install and is in average pricing. Anyone can do the job without much work experience in a small amount of time. Installation of MDF panels can take place in three ways: by gluing, attaching to glue to a wooden or metal crate, installation with building brackets or nails to the crate. Our article is for those who want to learn in more detail how the walls are decorated with MDF panels.
to contents ↑Advantages and disadvantages of MDF boards
Before you start working with this material, we recommend that you familiarize yourself with the advantages and disadvantages of MDF panels.
Pros:
- To install the material does not require additional processing of the walls - alignment, putty, primer. The whole process is carried out in a dry manner.
- In combination with the installation of MDF boards, you can make wall insulation, which will have a positive effect on your budget.
- The ability of the material to create impervious sound insulation.
- Wall decoration can be done independently without the assistance of qualified specialists, so that the entire MDF construction can be cheapened.
- After the work done, you will not need to do additional cladding or painting, which once again confirms the very beneficial use of the material.
- The panels can be placed both vertically and horizontally.
- A large selection of a variety of colors and textured images will allow you to choose a lining for absolutely every taste and interior design.
- When choosing to install the material on a metal or wooden frame, cable communications can be hidden behind it.
- Due to the even surface of the material, even the most curved walls and ceiling can be given an attractive appearance and visually align them, correctly combining shades.
- Such a finish is easy enough to care for. For cleaning you only need a soft damp cloth or napkin.
Minuses:
- MDF wall and ceiling panels are afraid of dampness, which is important, for example, for finishing a balcony or a loggia. That is why we strongly do not recommend the use of this material in those rooms where increased humidity is simply inevitable. Otherwise, with constant contact with water, the plates crack and swell.
- Most often, wall cladding with MDF panels will occupy the useful area of the room, which could still be used for profitable purposes. At the same time, there is a risk of mechanical damage to the material, which will entail a complete repair of previously done work and, of course, costs.
- The fire safety of the material is very low, which makes the consumer think before buying the cladding.
- For wall decoration in rooms it is completely inexpedient to use MDF panels. They will look just ridiculous. As an exception, you can consider the option of finishing the cabinet or hallway, picking up the restrained texture of this material.
- On the one hand, the surface will create a perfectly flat surface, but it will not be whole due to protruding gaps and joints at the joints of the panels.
- When using the method of fastening to the crate, there is a risk of moisture, the formation of nests and the place of residence of rodents between the wall and the structure to secure the material.
How to carry out the installation of MDF panels on the wall with your own hands by the glue method?
This method is the fastest and easiest, but, unfortunately, it will not be possible to install insulation. If you still decide, then let's take a closer look at the step-by-step algorithm of actions:
- We are engaged in priming the wall in order to create a good base for glue on its surface, so that the material will be well fixed.
- In order to install the first panel, we beat off a horizontal or vertical line on the wall, depending on how the panels are arranged.
- We control the position of the material using the building level.
- Apply glue to the back of the MDF panel with dotted or wavy lines.
- We firmly press the material with glue to the wall, and then we tear it off sharply and leave it for 3-5 minutes to “weather” the glue base.
- For final fixation, we re-install and firmly press the panel in the right place for us, holding it in this position for several seconds for reliable fixing of the adhesive composition.
Important! To speed up the process itself a little, we recommend applying glue immediately to a large number of paintings. If you are conducting horizontal wall cladding, then before attaching the next panel, wait until the glue of the previous sheet has completely dried.
- For better fixation of the material in several places we use self-tapping screws. We install them in the groove of the canvas used, and then close the next MDF panel.
- Using a jigsaw, we cut off the last panel to be mounted in width or length, after measuring and drawing the excess part.
- We fasten the last canvas with screws to the wall.
- We glue the corners at the joints of two surfaces, using “liquid nails”, thereby closing the hats of previously screwed screws. In the same way, these elements are fixed around window and doorways, except for the presence of slopes and platbands.
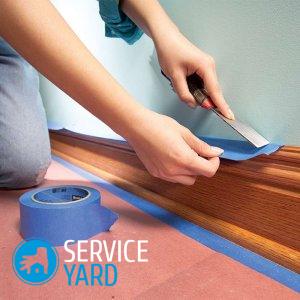
- After gluing the panels, we are engaged in the installation of skirting boards. We glue them on the same glue or install them on special fasteners, or screw them on the wall with screws.
to contents ↑Important! For this finishing method, choose a glue of dense consistency, which, even after its initial hardening, will retain its plasticity. In order not to make a mistake in your choice, use the adhesive “liquid nails”.
Cladding MDF walls with do-it-yourself panels on glue to the crate
This method is significantly different from the previous one. To complete it you will need much more time, material and strength. But believe me, the result is worth such an effort. This design is not only stronger than the usual adhesive fastening of MDF panels, but also allows you to install internal insulation and not leave the wires from various types of communications in sight.
Necessary materials and tools:
- MDF panels.
- Jigsaw or hand saw.
- Plane.
- Bulgarian.
- Plumb or construction level.
- Hammer or drill.
- Hammer.
- Screwdriver.
- Metal corner.
- Small nails.
- Screwdriver with nozzles.
- Small nails or construction stapler.
- Pencil or marker for marking.
Preparatory work:
- We wipe all the dirt and dust from the wall.
- We determine the state of the surface. If you find problem areas on the wall that crumble or peel off, we determine their level of reliability during the planned installation of MDF panels.
- Before mounting wall panels on an adhesive base, we determine the degree of smoothness of the wall. To do this, we use the simplest way - we shine through the walls with an ordinary flashlight and determine the location of the shadows. We measure their size with a tape measure. With a scale of more than 5 mm, we perform a partial alignment or install a crate. We comb off the old finish with abrasive material.
- We process the entire surface of the wall with antiseptic impregnation.
- While the protective compound dries up, we determine the places for installing the battens using the laser level. We put the marker with the necessary marks. If you do not have a laser level, then do this job with a regular tape measure, and align the horizontal and vertical distances with the construction level.
- We process the wooden crate with special tools against pests, various types of mold and fungi.
- After the protective impregnation has completely dried, we paint the surface of the wooden structure. Thanks to such actions, you will significantly extend its service life.
Installation of the crate:
- We begin installing the MDF panels on the wall with our own hands from the floor in the case of a horizontal crate or from the wall - for a vertical arrangement.
- We take the guide, attach it to the wall, mark the most convex places, which will be the points of zero level. We postpone equidistant marks from them with the selected value, observing an interval of 40-50 cm.
Important! These points will serve as a place for additional fastenings, into which a little later we will drill holes for dowels or plugs.
- We attach the rail and fix it at two selected points, making sure that it is parallel to the wall surface, otherwise you will get a skew of the MDF material.
- We fasten the bar at all other points so that it remains in the same position, is firmly fixed. That is, in places of loose fit of the guide, you need to install wooden wedges or steel beacons of a suitable size.
- We begin to fasten the second guide. We carry out the installation so that it is parallel to the wall, the lowest bar and is in the same space with the first guide. That is why we take the rail and fix it on one side of the wall surface not too tight, leaving it a little movable. We perform similar work on the other side of the crate.
- We check with a plumb line the location of one guide in one place with the second guide already installed, we adjust the level of their parallelism. We carry out the final fixing of the two guides.
- Performing the above actions, we fix all the remaining rails according to the previously planned wall marking.
- After completing some work on one wall, we start working with the second wall.
- We mount guides along their perimeter at the places of contact of the crate to the door and window openings.
Important! We do not recommend installing a wooden crate in rooms with high humidity and in brick buildings, since moisture and fungus can penetrate not only into the tree, but also into the brick.
Wall covering with MDF panels:
- Cut the material to the height of the room. If you plan to make suspended ceilings, then the height of the panels should be 2-3 cm lower. If the dimensions of the wall are impressive, then indent from the corners of 3 mm to connect the panels to each other according to the principle of embedding.
- We install a J-element in the corner of the room, if this was complete with MDF panels.
- We take the panel, apply it tightly to the wall and snap it into the lock, fasten it to the screws in several places along the seam. If you do not have a connecting element, then it is necessary to cut the spike from the end of the material so that it can snuggle against the corner.
- We pick up the second panel, coat the groove with glue and put it on the spike of the previously installed element. We fasten the spike to the screws.
Important! In the grooves, you can use kleimers (steel brackets), which allow you to reliably connect the panels to each other without additional screwing, gluing and nailing.
- We fill the MDF panels with the wall to the next corner, having previously measured the distance and cut the material to the desired size.
- We begin to lay out the next wall, not forgetting to correctly insert each panel into the groove.
- We round the last panel from the end part and fix it on the screws along the entire connecting seam.
to contents ↑Important! The metal crate is fixed in the same way, only the entire structure is fixed only with self-tapping screws, using fasteners with a diameter of 4-6 mm.
Stock footage
Wall decoration with MDF panels is for everyone. Having decided on the installation method, you can start choosing the material and the necessary tool for the job. Make the right measurements, cut the material on them and proceed to the ennobling of your room yourself. Easy repair and only a positive result!


