DIY mosquito net

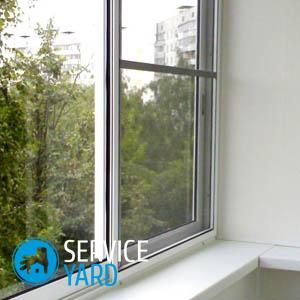
Few people like the annoying buzz of mosquitoes, flies and goosebumps crawling around the house. Window blocks can be equipped with factory mosquito nets, but not all customers use them. Most often, they are not satisfied with the large dimensions of the products, which make it difficult to store in the off-season. Therefore, a do-it-yourself mosquito net is often created from readily available materials. How exactly - we will tell you about this in this article.
to contents ↑Types of grids and their application
Modern windows and doors have many design options and color schemes. Their equipment is carried out at the request of the customer - from special handles with a built-in lock to mosquito nets. The latter have several types of execution:
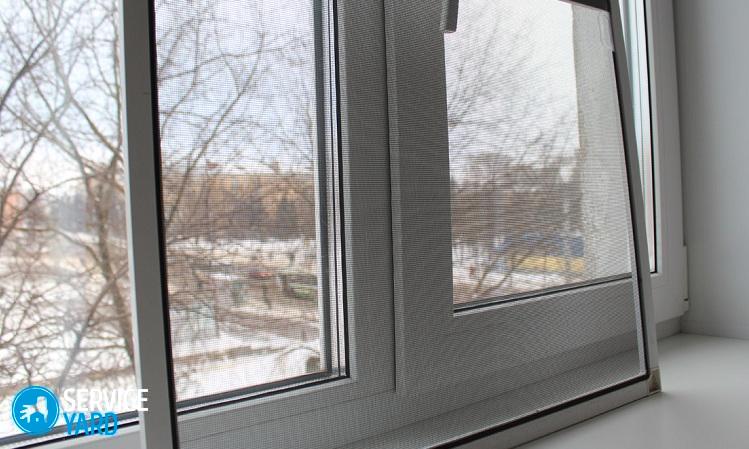
- Framework. It is most often an aluminum frame with a mesh stretched inside. Suitable for any window structures, convenient and practical to use, easy to clean. A special mount allows storage during the offseason.
- Door. Similar to the previous version, but intended for door structures. Fastening is carried out using special brackets. Easy to clean, easy to dismantle.
- Roller The convenient design allows you to roll the mosquito if necessary into a special aluminum pencil case located above the opening.
- Retractable. Designed for use on terraces and balconies. The canvas, stretched in an aluminum frame, moves along the roller guides at the top and bottom of the structure. Simply removable and easy to clean.
- Removable mosquito repellent without frame.
Depending on your desires and capabilities, you can choose any of the proposed options for mosquitoes in the companies for the implementation of window structures. However, in order to save not only money, but also storage space in the off-season, we recommend that you make such a protective structure yourself. There are several options for this. So, how to make a mosquito net on a plastic window with your own hands?
to contents ↑Removable mosquito net option
A home-made mosquito is good because it is initially created for your needs and can satisfy absolutely all needs.
Important! So that in winter it does not spoil the appearance, as well as the view from the window, it is recommended to remove it from the window structure.
We bring to your attention removable product options.
Textile fastener mosquito net
A home-made mosquito can be attached to the window with the help of clothing or construction "Velcro". The budget of such a product will not exceed $ 2.5, for which the necessary material is purchased - directly the canvas and textile fastener.
Important! Choose the type of fastener with an adhesive layer on the back. This option simplifies the installation of the product.
The progress is as follows:
- To begin with, we trim the canvas mesh and Velcro of the desired size. Be careful, the success of the finished product depends on this.
- Glue one part with hooks using the sticky side to the window block along the sealing rubber.
- The other mating part must be sewn to the mosquito net around the perimeter of the canvas.
- It remains only to attach the mosquito to the window unit, connecting both parts of the fastener.
Important! This type of homemade product is convenient in operation and storage. The main disadvantage may be the negative effect of moisture on the adhesive layer of the fastener.
Lace mosquito net
Removable mosquito net on plastic windows with their own hands is also made in another way. The budget will remain approximately the same. You will need a mosquito net and a lace instead of a fastener. Suitable shoelaces can be purchased at the sports or business departments.
Important! The diameter of the lace should correspond to 4 mm. Otherwise, it either will not enter the factory groove of the window structure or it will not stay there. Check the thickness of the product on the manufacturer’s label.
DIY mosquito manufacturing steps:
- Cut the canvas according to the size of the opening, leaving a perimeter allowance of about 3 cm.
- Lay the product in the factory groove in the window structure profile.
- Using the shoelaces, it is necessary to push the mosquito into the grooves, starting from the corner. Installation of protection against mosquitoes takes place on all sides alternately: top, side, bottom, opposite side.
to contents ↑Important! In addition to easy installation, the product has other positive aspects. Such a mosquito can be easily removed and is conveniently stored in the off-season, but unlike the previous version, it is not afraid of natural precipitation.
Mosquito net from factory impost
If companies specializing in the production of profile structures realize piece profiles individually, then a factory mosquito can be made independently. The budget of such a product will be higher than the options already described, but many times lower than a similar factory mosquito.
To do this, you will need:
- factory impost (frame profile);
- connecting corners;
- canvas;
- cord with a diameter of 4 mm;
- fasteners (special Z-shaped brackets).
Important! The parameters of the future design correspond to the size of the opening, which are the internal dimensions of the mosquito.
The process of manufacturing the product is as follows:
- Assemble a frame of two vertical and two horizontal profiles.
Important! For greater rigidity in the middle, you can set an additional bar. Profile connection is carried out using special corners.
- The canvas is superimposed on the prepared frame, with the help of a cord it is pressed into the grooves alternately from all sides. Then, over the cord, you can refill the rubber seal as desired.
- The product is mounted on a window structure using brackets on the outer frame.
A self-made mosquito net made in this way does not differ in quality and appearance from factory products.
to contents ↑Cable channel mosquito net
If it was not possible to purchase a special frame profile, you can use the cable channel, which is sold in any hardware store.
Important! The budget of the product will be about $ 6, the time spent on manufacturing will take about 2 hours.
The manufacturing process is as follows:
- Prepare the frame for the grid by cutting the cable channel of the required length. The edge of the material is cut at an angle of 45 degrees. Assemble the product using the connecting corners.
- Place the web on the frame and use the cable channel strips to snap the web around the perimeter of the product.
Such protection against mosquitoes on the window structure is installed similarly to the previous version - using special brackets.
to contents ↑Stock footage
Home-made manufacture of mosquito nets provides maximum product compliance with window openings. At the same time, the difference in the total cost in comparison with the factory protection against mosquitoes is noticeable, and the manufacture of a home-made mosquito does not require much time.
- How to choose a vacuum cleaner taking into account the characteristics of the house and coatings?
- What to look for when choosing a water delivery
- How to quickly create comfort at home - tips for housewives
- How to choose the perfect TV - useful tips
- What to look for when choosing blinds
- What should be running shoes?
- What useful things can you buy in a hardware store
- Iphone 11 pro max review
- Than iPhone is better than Android smartphones


