Modular origami - a vase. Master class, assembly scheme from modules

Have you ever heard of modular origami? But in vain. It is very popular in such a direction as handmade. From paper, you can make various practical crafts - vases, baskets, flowers, animals and much more. Such a very exciting lesson is suitable even for those people who have absolutely no experience in composing compositions from modules. Today we will look at some simple lessons on how to make a modular origami (vase) - a master class, an assembly scheme from modules and practical tips will help you.
to contents ↑Modular origami. Definition
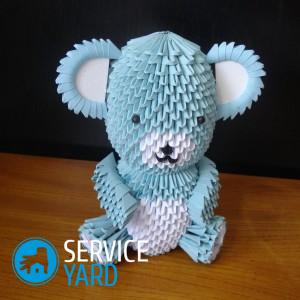
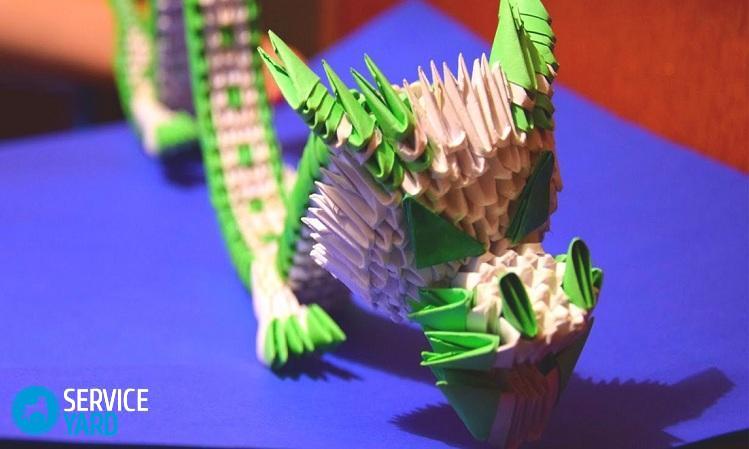
Modular origami is a technique for folding a paper sheet, which differs from the classical method in that a large number of paper parts - modules are used in the folding process. Complex geometrical figures and fakes are formed from equally folded paper elements.
Advantage of modular origami technique:
- Using this method of creating various products, it is possible to create not only small, but also very overall products, up to a large floor vase.
- Unlike traditional origami, the modular design will not fall apart both in the process of work, and after it. This design is quite durable due to the dense arrangement of models among themselves. The friction force is so high that the fake is very difficult to destroy.
Important! If you are a beginner in this business, then do not take up complex constructions right away, but start work, for example, with a small table vase. Making it easy enough, the main thing is to prepare the required number of modules.
The list of what can be made of modular paper parts:
- Person.
- Animal.
- Plant (tree, flower).
- Fruits.
- Building.
- Panel.
- Spherical shape.
- Miniature vase on the table.
- Floor vase.
- Christmas tree decorations.
We have listed only the main fakes that are made from paper inserts. You can come up with your own version. Imagine to create a unique composition.
to contents ↑How to make a triangular module?
Before you make a vase from the modules, you need to know how to make them. Now we will consider the most popular and widely used triangular module. When you learn how to make this simple paper element, you can easily take on the creation of a variety of crafts of various degrees of complexity.
Important! The triangular module does not need to be glued or stitched with other structural elements. The whole product is held due to the strong contact of paper envelopes. It is very convenient when working in a non-working environment.
Step-by-step algorithm for assembling a triangular origami:
- We pick up a thick A4 sheet and bend it in half. Then bend it again, but across. This is necessary in order to mark the center of the module, so after its placement, we expand the sheet back. In the process of all work, we focus on this bend line.
- We bend the edges of the sheet to the previously outlined middle at a right angle, creating a part similar to the wings of a regular paper airplane.
- Turn the sheet over, bend up its lower part strictly along the edge of the formed miniature triangle.
- We bend corners beyond the boundaries of the resulting main triangle.
- We bend the bottom of the sheet in the opposite direction, while leaving all the same bent corners.
- We fold the corners of the triangle inward so that they are not visible, and the trapezoidal sections are bent up.
- We bend the created triangle in half and get the module we need.
to contents ↑Important! Collecting figures and other various crafts from the triangular module, we will use the small pockets and corners available in it. It is with the help of such tricks that we will assemble our design, which can not only be hung, but also put on the table and even the floor.
Modular Origami - flower vase, assembly diagram step by step
We prepare the necessary materials and tools:
- 28 sheets of white paper.
- 14 sheets of colored paper.
- Scissors or clerical knife.
- Glue.
Step-by-step instruction:
- According to the previously considered scheme, we add 433 white and 211 blue triangular modules. If you want to slightly change the picture, then think carefully about the number of paper parts.
- We take 20 white ones for the very first row, and 20 blue elements for the next, connect them together.
- We make the fourth row of 30 blue parts. In order to add 10 modules, we make the first tier in the usual way, and leave the second and third with empty pockets.
- Next, join the ranks, starting work from the fifth to the sixteenth. We already add 30 parts to these tiers to mark the picture of our future crafts using blue modules.
- After the sixteenth row is completed, we lay out the seventeenth with white elements (30 pieces).
- We take 30 white modules for the next eighteenth row and attach them back to front relative to the previous tier.
- We make the nineteenth row of 40 blue elements evenly added around the circumference of our design.
- We begin assembling the last row of 40 blue parts: we insert the first corner into the first pocket of the second element, and the right one into the free space between the modules of the previous tier.
- We make the bottom of the vase of 30 blue elements inserted into each other. Glue the resulting paper ring to the bottom of our blank.
- We make pens for a vase from 12 blue modules inserted inside each other. For the manufacture of two holders, we needed 24 triangular modules.
Modular origami candy vase - assembly diagram
To work, we need the following:
- White, light green and bright green paper.
- Glue.
- Scissors.
Getting started:
- For the first row we take white details, and for the second and third - light green. Using the standard method of fastening, we connect three tiers at once with a chain until a complete circle is obtained.
- Squeeze the circle a little with your fingers to form a cylinder.
- We collect the next row only of light green elements, for it and for all subsequent tiers we will take 24 modules.
- We begin to work on creating a drawing.
- In the fourth row, insert one white part every three green elements.
- In the fifth tier, we alternate between white and green modules through two parts.
- In the sixth row, we use the following combination of details: white, light green, white and bright green.
- In the seventh tier, we alternate two light green elements and bright green modules through one.
- We draw the ninth row with only light green inserts.
- From the tenth and twelfth tiers we repeat the actions of the fourth, fifth and sixth rows.
- In the thirteenth row, we alternate the white and bright green elements in two, and in the fourteenth - between the three white modules we insert one bright green.
- On the fifteenth and sixteenth tiers we make ledges with sharp corners, making out the top of the hill with a bright green module.
- Next, we continue to make the next six rows with white details, placing them between the previously made protrusions. On top of each of them we fix bright green, and after that - white paper inserts.
- We begin to create a neck for our vase. For this, small triangular modules were prepared in advance.For each row stretched upwards, we fix two white parts, previously connected by green modules.
- We fasten eleven white parts so that we have a ladder, with which we will connect the sharp tops of our design. We strengthen the white heights with green inserts, connecting all the available tops with such elements.
- Between the main elements, we insert four more white details.
Modular origami vase is ready for a serving of sweets!
to contents ↑Stock footage
Now you know how to make a vase from modules. Origami folding can be done just in your free time, in order to occupy yourself with something and at the same time make a fake useful for home. Modular vases and flowers can be safely used to decorate various holidays. The most important thing is that you will spend money only on consumables - paper. We wish you creative success and new achievements!
- How to choose a vacuum cleaner taking into account the characteristics of the house and coatings?
- What to look for when choosing a water delivery
- How to quickly create comfort at home - tips for housewives
- How to choose the perfect TV - useful tips
- What to look for when choosing blinds
- What should be running shoes?
- What useful things can you buy in a hardware store
- Iphone 11 pro max review
- Than iPhone is better than Android smartphones


