Glass shelf wall mount

Wall-mounted glass shelves not only have a practical purpose, but also serve as a pretty good decoration. You can mount the glass shelves on the wall yourself in the bedroom above the dressing table or in the bathroom. Types of such shelves, as well as how to install them, can be completely diverse. We will talk about them in this article.
to contents ↑How to attach glass to the wall?
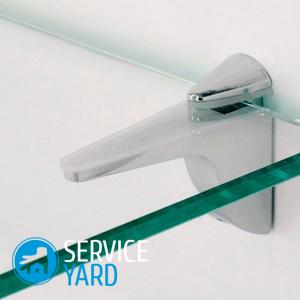
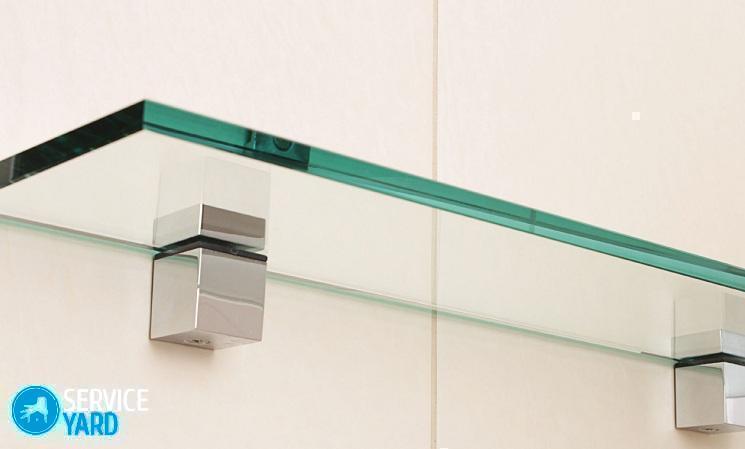
There are two so-called fasteners with which you can install glass shelves - a special profile made of aluminum, and holders. Both the first and second methods of fastening fully fulfill the tasks assigned to them. They have only one difference - a different installation principle.
In addition, the holders are completely universal. Thanks to them, you can attach glass to the wall of absolutely any thickness, and the aluminum profile - on the contrary, is suitable for certain sizes.
to contents ↑Important! The latter option has one significant advantage - in the aluminum profile, you can well fill the LEDs, thereby highlighting the glass inside.
Glass shelf profile
Fixture for a glass shelf is mounted quite simply - it consists of several elements:
- the base, which is attached to the wall;
- top decorative support.
Making them separate is simple enough:
- Easily pull out the base from the decorative support.
- After the holder is disassembled, use a level on the wall to mark the surface of the shelf mount.
- According to this surface, using the dowels that are included with the mount, mark the base for the shelf holder.
Important! Keep in mind that you need only two holders to attach one glass shelf. With the help of them, the glass is mounted face to the wall, on both sides of your shelf with an interval of at least 5 cm from the edge. But, depending on how long your glass shelf is and the planned load on it, the number of holders can be increased.
Despite the most diverse connection methods, the main requirement is flawlessness and reliability.
to contents ↑Installation process
In order to carry out the installation process of a wall shelf made of glass, you will need:
- Building level;
- Electric drill;
- Brackets;
- Pencil;
- Insulation tape;
- Roulette;
- Wall-to-glass connector;
- Screws, screws, screws.
Important! After all the necessary fastenings of glass shelves to the wall have been prepared for the shelves, make sure that the wall can accurately hold all the fastening parts and the shelf itself with various objects. Installing a shelf on a partition made of drywall is highly undesirable.
Let's proceed to the step-by-step fastening of glass shelves to the wall:
- Decide on the place on the wall on which the product will be installed. Carefully attach the shelf to the planned place and mark with a pencil the places for the fastener parts, as well as the contours.
Important! If you have a desire to attach a shelf to decorative racks, then first designate places for them. Keep in mind that the racks must be skewed, in other words, strictly observing the vertical position.
- Using an electric drill, drill holes in the marked areas for fasteners: screws, screws or screws. Determine the depth of these holes based on the size of the fasteners.
Important! If the load on the glass shelf is large, then the length of the fastener element must also be large. As a rule, the length of the screws is from 55 to 65 mm.
- In order to make precise holes, wrap the drill bit at a specific point in the electric drill using tape or tape.
- Insert corks made of wood or dowels that are suitable for the parameters into the holes made.
Important! If you made a shelf yourself, pick up special brackets that are specifically designed to install such products with the appropriate parameters.
- Disconnect the brackets or shelf mount.
- Alternately install the brackets with self-tapping screws to the previously prepared places on the wall.
Important! Be sure to make sure that the surface of the future glass shelf is parallel to the floor plane and that there are no warps. Otherwise, on the glass plane during a heavy load, excessive voltage may appear, which will cause chips.
- Carefully inspect the material from which the shelves are made. Corners must be rounded and polished. And directly the glass should have a glossy surface without any cracks, scratches, or chips.
- If there are no defects on the material, then you can safely attach it in a previously intended place.
to contents ↑Important! In the event that the model has several levels, first make the top mount for glass shelves, and then the bottom.
Stock footage
The shelf is attached to the wall! You can place on it everything that you need.


