DIY paper flowers

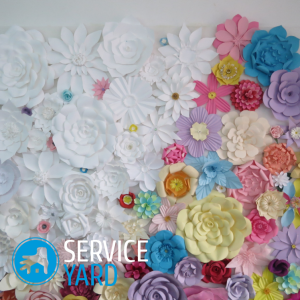
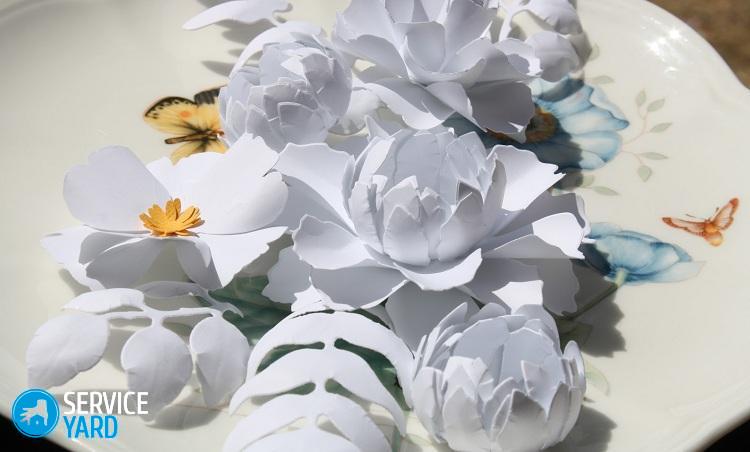
It’s easiest to decorate any interior with paintings, panels and posters. And if ordinary, flat paintings seem too banal to you, then you can make original volumetric compositions. To do this, it is not at all necessary to be a professional designer or artist. In this article we will talk about how you can create paintings from paper flowers with your own hands so that your interior is decorated with beautiful and unusual crafts made by you.
to contents ↑Volumetric picture with flowers
To make a beautiful and original picture you will need the following:
- Volumetric frame, which can be purchased at any needlework store.
- Postcard paper, fabric or colored cardboard in a suitable color.
- Artificial paper colors.
- Glue thermal gun.
- Aerosol glue.
- Scalpel or clerical knife.
- Metal ruler.
- Nippers.
Sequencing:
- Remove the back of the frame. As a rule, it is made of thick brown cardboard.
- Apply aerosol glue to the cardboard and stick on top of colored paper or other material of your choice.
- Allow the glue to dry, and then trim the protruding edges of the material to the size of the base.
- Pick up flowers and other little things so that with their help you can make a beautiful composition. Try everything in its place.
- Use glue thermal gun to fix artificial flowers inside the volumetric frame.
Important! Try to make sure that droplets of glue are hidden behind the leaves and stems of flowers, do not catch the eye.
In principle, the picture is ready. It remains only to decide whether to put the glass in a frame or not.
to contents ↑Important! If you insert glass, then dust will not accumulate inside the picture from paper flowers with your own hands. But in the panel without glass, you can paste three-dimensional paper flowers that will beautifully protrude beyond the edges of the frame.
3D paper picture
In addition to the above-described option for creating wall decor, you can also try to make a three-dimensional picture in the shape of a heart. To make it, you will need the following:
- Frame with deep sides.
- Stationery knife.
- Colored cardboard with a bright print.
- Pencil.
- Thin cardboard and white watercolor paper.
- PVA glue.
- Scissors.
- Ruler.
Important! Instead of a purchased frame, you can use a candy box.
Sequencing:
- Cut a rectangle from a white paper sheet under the selected frame.
- Draw by hand or print on a printer a heart of such a size that it can easily fit into the frame 9 times in 3 rows.
Important! The approximate size of one heart is 5x4 cm.
- The heart needs to be cut and circled in pencil, laying on pre-prepared white paper. 3 rows of 3 hearts should come out.
- Now an important step has come - with the help of a clerical knife, carefully cut out the “wings” of hearts. To do this, make incisions along the contour of the hearts, without touching the upper and lower parts.
- Bend the cut parts of the hearts up and to the center, making them voluminous.
- The blank with hearts must be glued to the colored cardboard.
Important! It is desirable that this was scrap paper with some beautiful small pattern. It will be visible through the bent “wings” of hearts.
- The final step is to place the composition in a frame and fix it with glue or a stapler.
to contents ↑Important! Based on this master class, you can make your own 3D story, for example, fluttering birds, butterflies, people or other original templates.
Stock footage
From the proposed workshops, we can conclude that making a picture of paper flowers with your own hands is a very interesting and fascinating process. And your beautiful and original composition will be a wonderful decoration for your home.
- How to choose a vacuum cleaner taking into account the characteristics of the house and coatings?
- What to look for when choosing a water delivery
- How to quickly create comfort at home - tips for housewives
- How to choose the perfect TV - useful tips
- What to look for when choosing blinds
- What should be running shoes?
- What useful things can you buy in a hardware store
- Iphone 11 pro max review
- Than iPhone is better than Android smartphones


