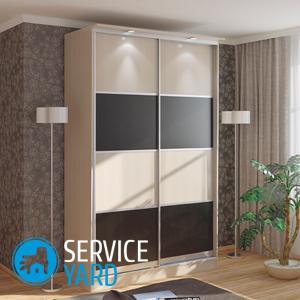
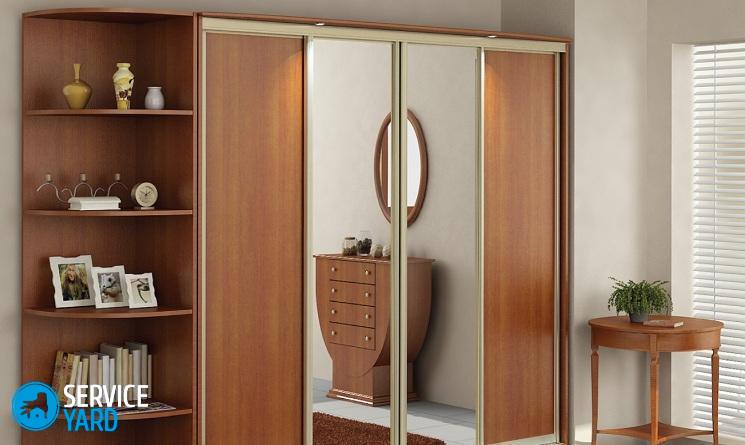
How to assemble a wardrobe?

The most convenient and compact furniture for storing things today is a wardrobe. As a rule, such designs contain small shelves for clothes, large compartments for bulk items, ski storage compartments, special rods. Sliding doors give them compactness, because a place for their opening is not required, they move along special rails with the help of rollers. From this article you will learn how to assemble a wardrobe yourself without using specialized tools.
to contents ↑The main advantages of the wardrobe
In our country, people mostly live in small apartments, where every free meter is incredibly highly valued. The old Soviet-style chiffoniers are rather bulky, they can accommodate a bit, dust is constantly collecting on top of them, useless legs spoil the interior from below.
Modern wardrobes are completely devoid of such shortcomings, because they are often placed in a niche or along the entire length of the room, using all the space rationally. The main advantages of such structures include the following:
- Compactness, roominess. The useful volume of sliding wardrobes is several times higher than conventional furniture.
- Sliding doors. This is perhaps the most important virtue for which they are so loved. They occupy a minimum of space.
- Original, beautiful design. Doors can be made mirrored or frosted glass, put a picture on top, decorate them with stickers or use any other material for decoration.
- The possibility of using one of the cabinet walls to divide the room into several zones.
- Through the use of mirrors, the space of the room becomes lighter and larger.
Important! Their only minus is the high cost when buying a finished cabinet or manufacturing to order.
It is possible to assemble a wardrobe from ready-made fittings and materials, the main thing is to follow the plan and not panic.
to contents ↑Design features of wardrobes
Before you assemble a wardrobe with your own hands, you should determine its location and drawing. In this matter, each is guided by their own individual wishes and requirements - nothing concrete can be advised, it is simply necessary to find the perfect place for him. For example, it can be a niche in the wall, a pantry or just a free corner.
Important! If you have a lot of free space, then when calculating the size of the product, adhere to the golden ratio rule, that is, the ratio of length to height should be 1.62. Standard furniture details have a depth of not more than 60 cm. It is better not to do them anymore, otherwise - there will be difficulties with access to the farthest things.
After determining the installation location of the cabinet, it is necessary to draw up drawings. Prepare a detailed diagram of all parts with dimensions on paper or on a computer.
Important! There are specialized programs that allow you to get the quantity and parameters of all the necessary elements for cutting with one keystroke. The most important step is shelf modeling.
If you don’t have time for all this or if you’re not confident in your own abilities, but still want to save money, you can order a cabinet, but assemble it yourself.
to contents ↑The process of self-assembly of the simplest sliding wardrobe
First you need to carefully study the instructions, understand everything in detail, find the upper and lower element, internal partitions, side racks.
Important! If you confuse at least one part, you will have to reassemble and assemble the already assembled structure. That is why it is so important at the initial stage to determine correctly the location of all the components of the furniture.
Now let's talk in detail what and how should be done at each stage in order to assemble a wardrobe with our own hands.
Frame mounting
It is very important to mount the frame reliably and correctly so that in the future there are no problems with furniture. The assembly takes place according to this scheme:
- If you want to correctly assemble the wardrobe with your own hands, then start by installing the base, that is, the bottom element. More often, such supports are mounted using confirmations located along the longest part of the structure.
- Then the internal partitions are placed. From the bottom at the end, each partition has openings into which dowels are inserted before installation. As soon as you manage to combine the holes and dowels, you can mount the vertical partitions in their place.
- To prevent the product from loosening, you must first install those shelves that play the role of stiffeners. They are attached with the help of confirmations. At this stage, the fasteners should be tightened all the way so that there are no gaps.
- Next, the side walls and the top cover are mounted. Installation of all these elements is recommended at the same time. First, the sidewalls are installed, at the bottom they are fastened to the base with confirmations.
- Then a lid is placed on top, all holes are combined and fasteners are wrapped. In this case, it is necessary to leave a little free play, so that then the frame is aligned.
Construction Alignment
The alignment procedure is to carry out simple manipulations. Using a tape measure, first measure one diagonal, then the second. By the difference in the values obtained, you will understand in which direction you need to move the top of the cabinet so that its corners become perfectly straight. As soon as you align the structure in this way, you can safely tighten the fasteners to the very end.
Installation of chipboard sheets
Naturally, to assemble a sliding wardrobe completely, more sheets of chipboard will be required. They must be nailed to the back of the furniture.
Important! They not only play the role of the back wall, but also most reliably hold the cabinet during operation from loosening.
As a rule, on the one hand they have a decorative finish in the form of a colored laminated surface. Nail them with small nails, which should be driven directly into the ends of all racks, shelves, partitions. It is incredibly important to determine the place of nailing, because the damage that occurs after unsuccessful installation attempts adversely affect the appearance of the product.
Rail installation
So the most crucial moment of assembly has come - the installation of the upper and lower door rails. On the lower rail there are two troughs along which the rollers move. The upper rail is divided into two compartments. They are mounted according to the following instructions:
- Drill holes for the screws in both parts, so that you can then attach them to the cover and base. Chamfers must be present in the holes to tighten the screws.
Important! It is enough to make four holes in each bar.
- First, the lower rail is attached, places for fastenings are marked. The distance from the front edge of the rail to the base should be 2.5 cm.
- The cabinet must be installed strictly horizontally so that in the future the doors move evenly and do not jam. Horizontality is checked using the building level.
- The upper rail is similarly fastened, only the holes should be drilled in both compartments in a checkerboard pattern. For fastening, screws are used that come with the product.The distance from the beginning of the rail edge to the top cover should be 2 mm.
Mounting accessories and rods
The next structural step is the installation of a bar designed to store outer clothing:
- First you need to make a marking for fixing one holder, then drill holes and screw the screws into them.
- Then the second holder is mounted on the rod, which is fastened with a screw.
- The assembled structure is tried on, aligned horizontally, marking is done and it is fastened with self-tapping screws.
Door hanging
So you practically managed to assemble the cabinet with your own hands, it remains only to install the doors:
- Pre-check if there is any debris in the gutters in the lower bar so that it does not interfere with the rollers moving.
- Make sure again in the horizontal of all planes, check all connections for stiffness.
- Insert the door into the upper rail, place the end rollers in the groove of the lower rail.
By the same principle, all doors are installed.
to contents ↑Important! At this stage, it is important not to confuse the drawing, so check everything carefully.
Stock footage
Now you know how to assemble a cabinet without the help of specialists. You can safely get to work, because there is nothing complicated in it. Just treat each stage as responsibly as possible, and then you will not only improve your qualifications as a home master, but also receive thanks from your family members for maintaining the budget.
- How to choose a vacuum cleaner taking into account the characteristics of the house and coatings?
- What to look for when choosing a water delivery
- How to quickly create comfort at home - tips for housewives
- How to choose the perfect TV - useful tips
- What to look for when choosing blinds
- What should be running shoes?
- What useful things can you buy in a hardware store
- Iphone 11 pro max review
- Than iPhone is better than Android smartphones


