How to glue a self-adhesive film on furniture?

Do you want to update your old closet, furniture or interior in your apartment? It is a self-adhesive film that will make your goal a reality! Undoubtedly, this budget option will appeal to you. Doors, a chair can easily be given a woody effect, and the cabinet can be decorated with fashionable patterns. Self-adhesive films can also improve glass products. Read on, and you will learn all the secrets about this wonderful material, how to decorate your favorite home decoration with it, how to properly glue self-adhesive film on furniture so that there are no swelling and bumps.
to contents ↑What is self-bonding?
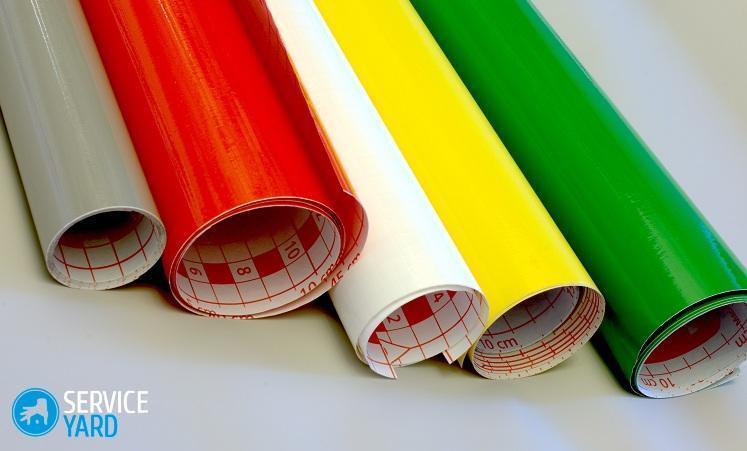
A self-adhesive film is a vinyl or plastic film with a decorative design (color, pattern, texture) on one side and an adhesive layer on the other. The glossy paper base protects the adhesive layer from dust and damage until it is used. After cutting, the paper surface is removed, and the film is transferred to the desired surface.
Self-adhesive film, able to realize any design decisions and create good protection for any interior items. It is universal, and also has several more advantages:
- Good environmental response.
- Long service life.
- A wide range of expensive color rendering effects.
- Excellent contact with any type of substrate.
- Good moisture resistance.
- Simplicity and ease of care.
Below we will take a closer look at the types of material such as how to properly stick a self-adhesive film on furniture.
to contents ↑Types of film based on the underlying material
All materials in this category have combined compositions. The main substances of the canvas are:
- Polyvinyl chloride.
- Polyester.
- Propylene.
These materials are reasonably available, reliable and safe. Paper, natural and synthetic fabrics are also used for film production.
Types of film by structure
The structure of the canvas distinguish these types of film:
- Single layer. The composition of this material includes multicomponent mixtures, which include polyvinyl chloride resin and various plasticizers. As auxiliary substances, stabilizers and pigments are also used. Further, all substances are mixed into a homogeneous mass, which, in turn, is formed into a film.
Important! Physico-chemical properties and stiffness of the film directly depend on the type of plasticizers added.
- Two-layer. Two separate canvases, a base and a cover are made for the production of two-layer coatings. The base is most often used fabric or paper, and for the coating - polyvinyl chloride resin. For manufacturing, various molding methods are used. As a result, more plastic webs are obtained, which facilitates the convenience in their application.
Important! Technical characteristics of such materials are slightly lower than that of a single-layer film.
By type of web surface
The attractiveness of the decorated surface and its combination with other interior items directly depends on the quality and type of surface of the self-adhesive film. The following types are distinguished:
- Glossy - suitable for darkened rooms.
- Matte - perfectly in harmony with a room where there is a lot of light.
- Mirror - suitable for any room, including the bathroom.
- Transparent - used for finishing glass surfaces.
- Holographic - for any surface to create an original effect.
Decorative film features
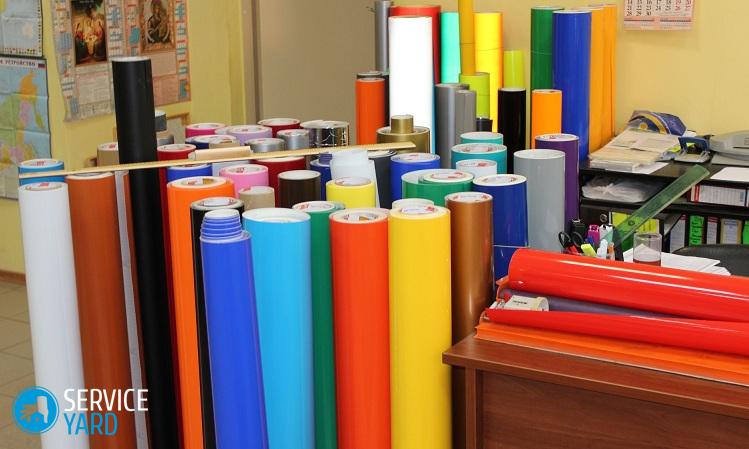
The current market offers a wide selection of self-adhesive films for finishing various surfaces. The assortment allows you to accurately select the right coating to solve the problem. So, all self-adhesive films are divided into two versions.
Standard
The standard version is present in a monophonic version of a different color palette and includes the following types of imitation:
- Imitation of valuable species of wood.
- Imitation under a stone.
- Ceramic tile.
- The cloth.
- Canvas.
- Tapestry.
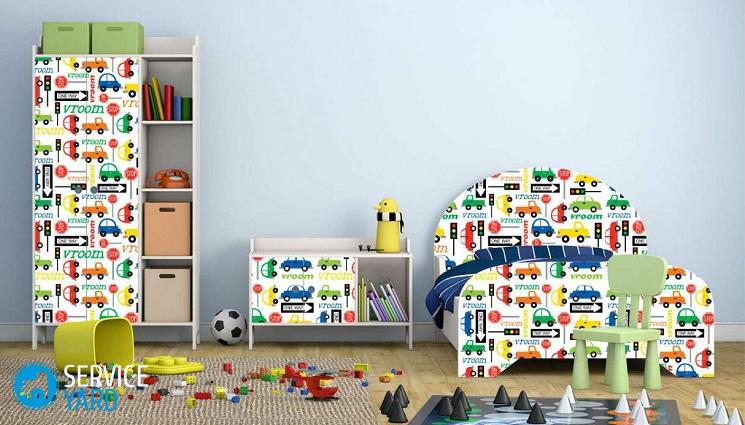
- Children's stories.
Special purpose
Materials of the special purpose category are presented in the form of coatings:
- Under the velor.
- Gold, metallic, silver.
- Imitation of cork canvas.
- Thick films for furniture, countertops, window sills.
Ways to use self-adhesive film
Such material is often used in design, construction, as well as for outdoor and indoor advertising. We can say that self-adhesive film can decorate absolutely any objects.
Film for work surfaces
Under constant load and frequent use, the main work surfaces may fail. This applies to kitchen tables, countertops, as well as furniture in the office.
Important! Tightening with a film will allow to avoid quick damage, in which the advantage of the material is noted.
Furniture adhesive tape
Pasting furniture with a DIY film is a rather interesting process:
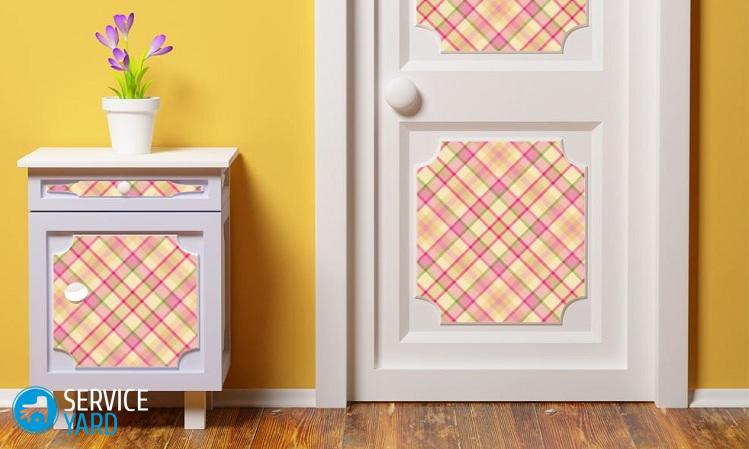
- Using a coating film, you can give solidity to the room, using the texture of natural wood or stone.
- A fabric with imitation fabric is suitable for a more modern target direction.
- You can safely use a film under the velor, which will add some charm and comfort to the room.
Film for a nursery
Such a material is perfect for creating a decorative coating of walls with children's drawings. At the same time, at the request of the child, you can easily change it to any drawing you like.
Important! We want to note that the film with a coating for drawing will help the child in development without compromising the interior. You can draw on it, erasing previous drawings. Good idea, right?
Film for the bathroom
Self-adhesive film is perfect for wall decoration, as the material is moisture resistant and prevents the formation of mold.
Important! If you use a mirror cloth, you can visually expand the space of the bathroom.
Door foil
The use in this spectrum is widely used to give an expensive effect, as well as for the benefit of:
- Such a coating can protect the surface from moisture, which is extremely important for wooden doors.
- Also, this canvas is a protection against the formation of scratches and cracks.
- The shades of such coatings are diverse, which will perfectly blend in with the rest of the range of rooms.
Important! The door leaf itself can be covered with imitation wood film, and glass - transparent, with the effect of broken glass.
Self-adhesive film for windows
Such material is mainly used to protect from sunlight in the room. Cloths of varying degrees of tinting will perfectly cope with this problem.
To protect window sills from crumbling, they often use a dense film with a protective coating, thereby protecting themselves from unplanned expenses. Also, the film is used in the production of window profiles. The most common option is an imitation of natural wood. As a result, it looks expensive and very affordable in monetary terms.
Film for glass surfaces
The application of a self-adhesive film will protect fragile surfaces from chips or complete destruction, as well as increase their resistance to shock.For door inserts and countertops, a stained-glass film is used.
to contents ↑Important! Such a film can be safely used both in fragments and to create unusual and attractive patterns on the surface according to an individual idea.
Technology for applying self-adhesive film to furniture
To apply such material on any surface is quite simple. You do not need specialists, so you can easily do this simple process. We will reveal all the subtleties of how to properly glue a self-adhesive film on furniture.
How to stick a self-adhesive film on furniture?
So, to stick the film, do the following:
- Prepare the surface, having cleaned it of various impurities, if necessary - cover with a primer or varnish.
- Cut the film into strips or curly elements of the right size.
Important! If possible, it is better to take a canvas with a small margin, in order to avoid a shortage of material.
- Next, it is necessary to remove the lower protective layer sequentially, rolling the film over the surface, while slightly pulling.
Important! Irregularities in film application can be corrected immediately after application.
To get a quality result, we will introduce you to the main recommendations for each process:
- For glass surfaces, use a combination of water and dishwashing detergent. This will remove dust and degrease the surface.
- If the wooden surface is not varnished, coat the base with a primer before application.
- When gluing the film, it is necessary to smooth the surface, which will eliminate swelling under the film itself.
- When decorating the walls, use wallpaper glue to fix the self-adhesive film for a long time.
- If it is necessary to glue round corners, before applying it is necessary to heat the canvas with a hairdryer to make it more ductile.
Now you know how to stick a self-adhesive film on furniture in a fairly short time.
How to paste over a cabinet with a self-adhesive film?
Self-adhesive film will help in the restoration of your old cabinet. You could say give him a second life. How to glue a cabinet with self-adhesive film quickly, efficiently and remain satisfied with the end result?
Despite its simplicity, this work has a number of features. You need attention, accuracy and patience.
To work, we need:
- Adhesive tape.
- Pen or pencil.
- Scissors.
- Sharp knife.
- Roller or squeegee for smoothing the film.
- Primer, putty, and also sandpaper - for cleaning the surface.
Here are some basic tips for applying self-adhesive film to your favorite but old cabinet:
- If there are oily sections of the cabinet, they must be washed. Then wash and dry all the parts.
Important! We do not recommend scraping off the old cabinet cover with sandpaper, since air will remain in the cracks when gluing the film in cracks. If the old coating peels off or crumbles, naturally, it will have to be removed.
- When choosing a film for a cabinet, it is better to give preference to a thinner structure. This will provide ease in its application, as well as a beautiful aesthetic appearance.
Important! The choice of color is up to the owner of the premises, because only he is the creator of his space. There are many options: timeless classics, abstraction, positive children's drawings. We want to pay attention to the fact that the film of light tones is quickly contaminated, and the dark one is more durable. Therefore, dark shades will be most welcome.
- Before applying the film, it is advisable to disassemble the cabinet, if possible. This will cover all surfaces and joints with a film, which will hide the color of the former coating.
Important! If the design has handles, shelves, locks, then they also need to be removed, and then screwed into place.
- It is necessary to glue the film immediately straight, otherwise it may be skewed, and then, pressing it to the part and rubbing it with a soft cloth to squeeze out the bubbles, it will be difficult to fix something.
Important! Gluing the cabinet, it is necessary to separate the film from the substrate gradually, two to three centimeters.
- It is completely worth tightening the foil holes for handles, bolts, shelves. It can be easily punctured or cut after completion of work. You can install new handles and locks, thereby giving novelty to your favorite cabinet.
Now you know how to glue the cabinet with self-adhesive tape. It does not take much time, and the final effect will please you and your guests.
to contents ↑How to paste over a cabinet with wallpaper?
After the repair, do you still have wallpapers that you are sorry to throw away? We will show you how to use them in your interior. You can glue them over an old cabinet, thereby dramatically improving its appearance. You will immediately kill two birds with one stone, decorating slightly worn furniture. For this process, you do not need any special skills, but how to do it - we will now tell.
You have probably heard that various interior items decorate with wallpaper. Products receive a second life, thereby extending their life:
- A great idea for cabinet design is an imitation of other finishing materials, wood, brick, leather, stone. Such vinyl wallpapers often remain after various decoration of rooms.
Important! We want to note that such canvases have a significant relief and a frequent pattern, which will help to hide defects on the surface of imperfect furniture.
- If you still have paper wallpaper, then after pasting it is necessary to apply a couple of layers of varnish on them, which will give a certain gloss and protect the canvas from moisture.
We collect the necessary materials
Before starting work, it is necessary to prepare such tools and materials:
- Sandpaper - to prepare the surface for gluing.
- Ruler, tape measure, corner - for measurement.
- Pen, pencil, marker - for marking lines and borders.
- Knife, scissors - for cutting wallpapers.
- Primer and putty on wood - to prepare the surface for the sticker.
- Roller, brush, spatula - for applying the compositions themselves.
- Cloths for smoothing and removing glue.
- Wallpaper glue or PVA glue.
As you can see, the list is quite large, but the end result is worth it. Turn on your creative imagination by adding a one-of-a-kind authorial contribution.
We start the preparatory work
Before wallpapering a cabinet, it is necessary to make the surface suitable for such a process. Therefore, you must do the following:
- The first step is to disassemble the cabinet, remove all accessories from it.
- The next step is to sand this surface, thereby removing the entire layer of varnish from it. Sandpaper will help in this, but it will take a lot of time and effort.
Important! You can put on a drill screwdriver or grinder a specific nozzle and then walk on the surface. A building hair dryer will also help remove the varnish. To do this, you need to heat the surface and remove the old protective layer with a spatula. After this, be sure to plaster the surface. If your furniture is not processed with anything, then we recommend using a nulevka skin, for the effect of roughness.
- At the next stage, with a damp cloth, we remove all dust from sandpaper and give the furniture a little rest.
Important! Puttying the cabinet is necessary if there are bumps and surface defects. By the way, embossed wallpapers are able to hide small irregularities. Deep defects will have to be smoothed over using several layers.
- You probably know that after the putty dries, these places need to be aligned with the general surface of the cabinet. Sandpaper will come to help, of course.
- For the best coupling with the wallpaper, it remains only to prime this surface.
These preparatory work will undoubtedly help you to properly paste wallpapers on your cabinet, thereby improving the final result.
Gluing
Now let's proceed to pasting the cabinet itself. So, it goes through several stages:
- Before you start, you need to make blanks from the remains of wallpaper.To do this, the desired surface is carefully measured, the dimensions are transferred to the wallpaper material. Next, we cut out the patterns in accordance with the dimensions of the cabinet.
- After - we glue the prepared surface with glue. When applying glue, try to gradually level the canvas to avoid bevels and the formation of bubbles under the wallpaper itself. Agree, this is not at all difficult to do.
Important! For such work, it is better to use PVA construction glue, since it glues materials better, unlike wallpaper.
- We recommend using dry rags to even the sheet and remove excess glue.
Next, let the glue dry a little. Just a couple of hours is enough for this, and your old cabinet is no longer old. Interesting, isn't it?
to contents ↑Stock footage
You got acquainted with the entire technology of decorating the cabinet with wallpaper and self-adhesive. Undoubtedly, now your closet has become better, you see, this is better than just painting it. With a little effort, patience and accuracy, you can achieve a chic result. Think, perhaps, you have a talent in the restoration of such items with your own hands, and the world will still recognize the name of the world’s new designer!
- How to choose a vacuum cleaner taking into account the characteristics of the house and coatings?
- What to look for when choosing a water delivery
- How to quickly create comfort at home - tips for housewives
- How to choose the perfect TV - useful tips
- What to look for when choosing blinds
- What should be running shoes?
- What useful things can you buy in a hardware store
- Iphone 11 pro max review
- Than iPhone is better than Android smartphones


