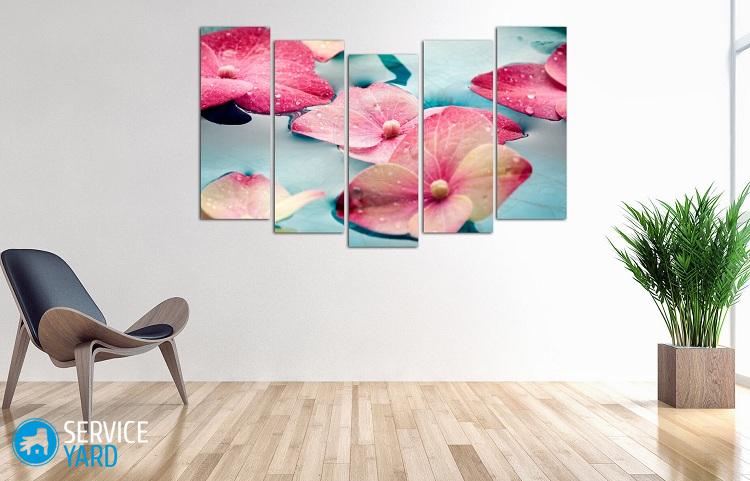
How to hang a modular picture of 5 parts on the wall?
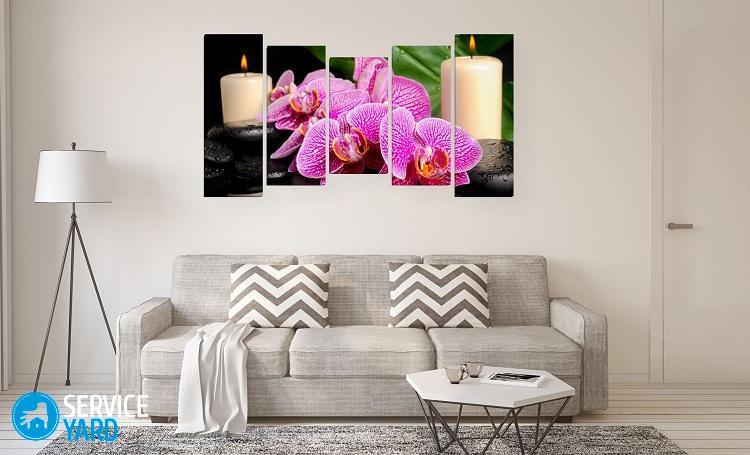
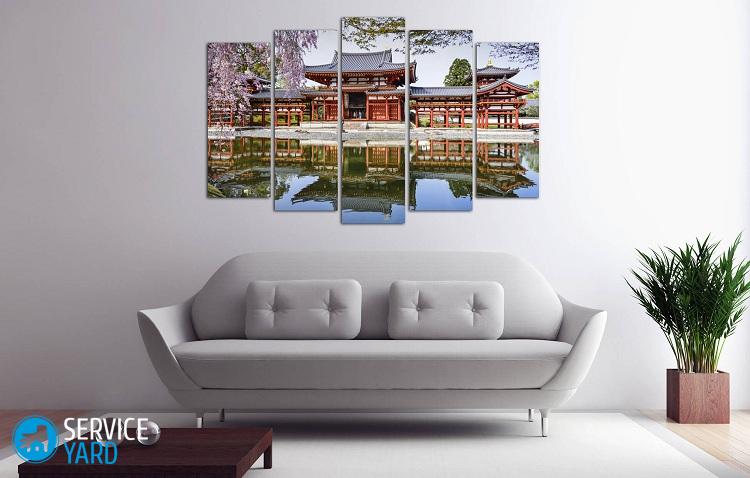
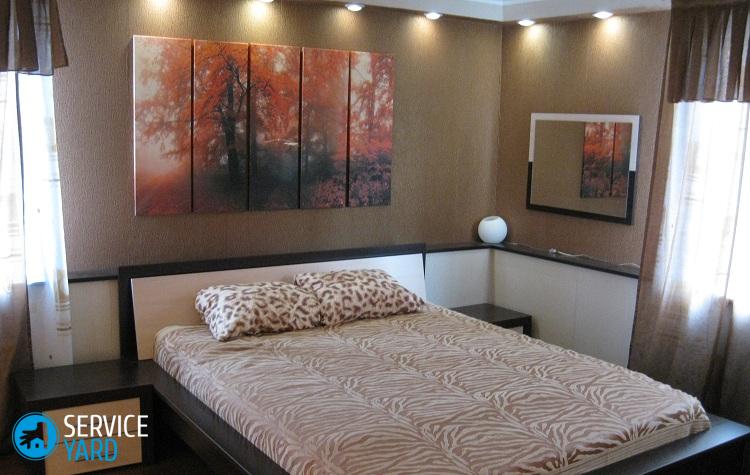
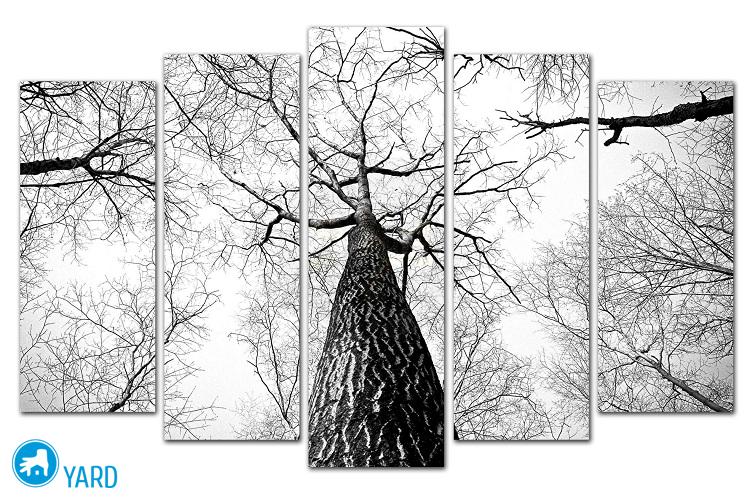
Interior decoration is the most fascinating part of the repair. Recently, the decoration of rooms with modular paintings has been particularly popular. They are a composition of two or more paintings located at a relatively small distance from each other. In such a composition, paintings can consist of paintings on one topic, or create a single, integral composition. Today we will talk about the pentaptich, or, more simply, about the modular picture, consisting of 5 parts. Particular attention should be paid to placing such a composition on the wall. After reading this article, you will learn how to hang a modular picture of 5 parts on the wall, what are the ways of fixing it.
to contents ↑Types of modular paintings
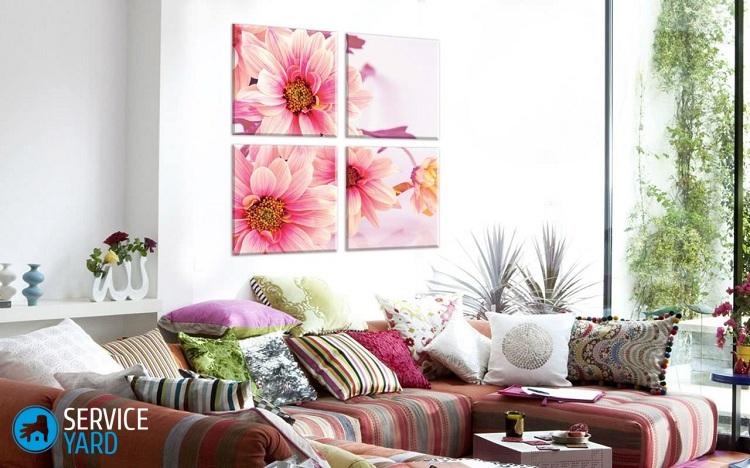
Modular compositions may consist of several parts. A composition consisting of two elements is called a diptych, of three - a triptych, and of four and five - a quadriptych and pentaptich, respectively. If the composition consists of five or more elements, then it is called a polyptych.
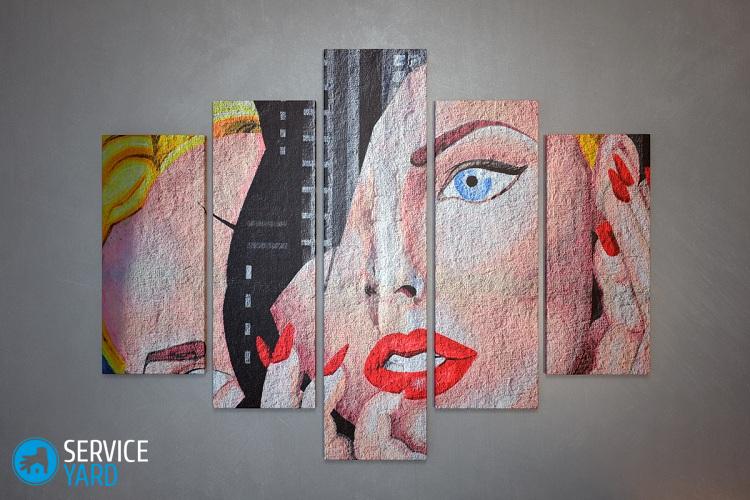
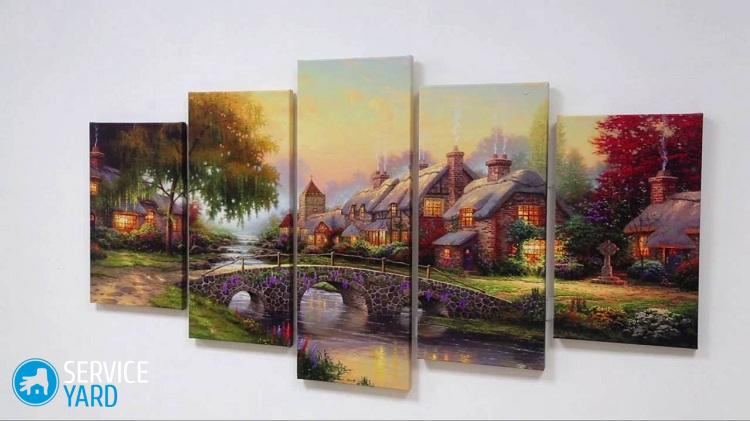
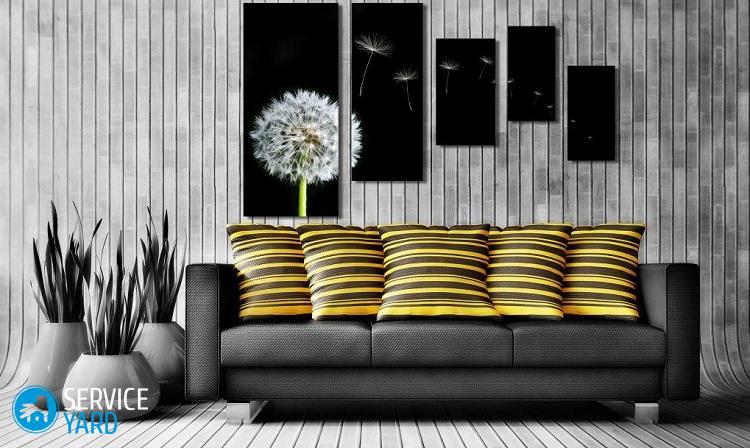
Modular paintings are a single thematic drawing, divided into parts. Such parts are hung from each other at a small distance. They may consist of parts identical in size and placed on the same line. There are modular compositions, the elements of which differ in size from each other and are hung on the wall in a certain order.
to contents ↑Basic principles for placing modular paintings
Before proceeding with the installation of the modules, it is worth deciding on their exact placement, the sequence in which they will hang on the wall, familiarize yourself with the basic rules of location. Given all these nuances, you will know how to hang modular paintings on the wall.
The basic principles of placing pictures:
- Before making a purchase of a modular picture, decide on the color scheme of the composition - it should be in harmony with your interior.
- Decide on the location of the modular composition - for its proper location, free space on the wall is required, it should not be overloaded with additional decorative elements.
- Remember that horizontal compositions tend to expand the wall.
- After choosing a wall for arranging the composition, put the modules on the floor, determine the sequence of their placement. Observing the recommended distance between the modules, measure the final dimension of all compositions and make sure that they fit onto the wall without any problems.
- Before proceeding with the installation of the modules, it is necessary to determine the central or key element - the installation process will begin with it. All subsequent elements are fixed after mounting the main element.
- If the modules are the same size, then the central element will be the key. If they differ in size and are not hung symmetrically, it will be necessary to define a picture with a key image, as a rule, this is the largest canvas in size.
- When hanging the first module, use the building level. It is very important to place the canvas exactly above the floor. Mark an even horizon on the wall.
- Experts recommend placing the paintings so that they are on the wall at eye level. This is approximately 1.5 meters. In this case, do not forget to consider the height of the ceilings.
- If the modular paintings are painted with oil paints, then avoid direct sunlight. So your paintings will not lose their color.
- The distance between the modules should be from 2 to 4 centimeters. If the color of the walls merges with the color scheme of the paintings, then it is better to do more distances. If the paintings stand out on the color of the wall, contrast with it, then a 2-centimeter distance between the modular elements will be enough.
- Make a test fitting of the modules so that you do not have to outweigh them after fixing. Decide in advance on the sequence of placement of the modules - you do not have to decide how to hang pictures from several parts on the wall during installation, at this stage you should have a clear layout.
Remember that, as in many other cases, the rule applies: measure seven times, cut once. Installation of modules is no exception. And also, if you are fond of various types of creativity, check out our workshops and interesting ideas to DIY modular paintings.
to contents ↑Methods for attaching picture modules
If you have decided on the sequence of placement of the elements of the modular picture, then it's time to familiarize yourself with the ways of their fastening. It will be correct to elaborate on the main ones.
Mounting on liquid nails
Special glue, or so-called “liquid nails”, is a very popular and convenient way to fix elements. Such glue can be purchased at every hardware store. It is available in large volume tubes with a tip designed for use in a special mounting gun. Small volume tubes are also available for sale in the same format as regular household repair glue.
Important! "Liquid nails" are able to reliably glue the canvas to the wall, they do not leave greasy spots on the surface, and on wallpaper in particular. Such glue is not afraid of temperature extremes and humidity surges, respectively - it can be used in any rooms, including in the kitchen.
Features of work:
- “Liquid nails” must be applied to a clean surface, ideally it should be degreased - this will provide better bonding of objects.
- Depending on the dimensions of the painting and its weight, the adhesive must be applied pointwise, in stripes, with a grid or over the entire area to be glued.
- After applying the adhesive, press the module against the wall for about 2 minutes.
- Next - let the glue dry, eliminating any load on the subject for about a day. If possible, at this time, something should be pressed against the wall, so that it is firmly glued to it.
Important! Do not forget to take into account the style of the premises and their purpose when choosing images. To understand the nuances and subtleties of information from the following articles will help you:
Installation with nails and dowels
What to hang modular paintings on the wall, if they have quite a lot of weight? In this case, you better opt for fixing pictures with nails.
Important! This installation method is suitable for those who are not afraid to leave holes in the wall, and also do not plan to shoot pictures from their place for a long time. Therefore, if you decide to hang a modular composition of 5 parts on nails, then seriously approach the choice of the location of the future composition, make careful measurements, then drill holes.
The procedure for mounting on dowels and nails is as follows:
- Define the main element of the composition, mark the boundaries of its placement using a pencil and the building level.
- Mark the location of the holes on the wall, starting from the location of the fasteners in the picture.
- Drill holes according to the marks
- Drive a nail into the holes made or insert a dowel.
- Hang the main element of the module.
- Observing the recommended distances and parallelism, mark the location of subsequent modules, fix them in the same way.
As you can see, this method is quite simple to implement. If your canvases have impressive dimensions, it is worth using this method of fastening.
Mounting on double-sided tape or Velcro
When placing the modules on the wall using double-sided tape or Velcro, it is worth considering that this method is suitable exclusively for light paintings. It is good for owners who like to frequently update the interior, make rearrangements when periodic replacement of decor elements is supposed.
First of all, it is necessary to mark the location of the central element of the picture, from the inside, attach double-sided tape to the module and remove the protective film, press the module against the wall. Repeat the same steps with subsequent modules.
Important! Velcro for fixing paintings and canvases can be purchased at the sewing store. They operate according to the principle of Velcro that is familiar to everyone, only in this case the Velcro is not sewn to the product, but is glued with the adhesive side, previously covered with a protective film. The frequency of placement of such Velcro depends on the size of the picture and its weight.
This is a pretty convenient and quick way to install. If you decide to take a picture, then you just need to remove the sticky layer of adhesive tape or Velcro from the wall.
Mounting the picture on hooks on sticky tape
Since there are always fasteners on the back of the picture, in order to hang a module for them, you can use small plastic hooks instead of nails, which are fixed to the wall with double-sided tape. These hooks can be purchased at a hardware store.
As with fasteners for nails or dowels:
- It is necessary to accurately mark the location of the hooks and stick them to the wall with a double-sided tape placed on the back of such a hook.
- Next, you need to fix the modules on them, starting with the main element.
Important! This method of attachment is suitable for light and not too overall pictures. It is better to use them on flat surfaces on which double-sided tape is well held.
Mounting on the wall hooks “spiders”
These hooks are a plastic hook, at the base of which are several sharp thin nails. Putting the hook in the right place, you need to hammer the nails into the wall with a hammer. This installation method does not require drilling and is suitable for concrete and brick surfaces.
Important! Such hooks are also called wall hooks for paintings. They withstand virtually any load, as they are available in different sizes. It is enough to choose the holder according to the mass that it is able to withstand - this mass should be no less than the mass of the module.
After dismantling such mounts, almost imperceptible traces remain. Therefore, you can easily place modular paintings on the wall. How to fix the elements to the wall, in what sequence it is worth doing - has been described above. It is enough to follow the recommendations you already know.
to contents ↑Stock footage
Now you know how to hang modular paintings on the wall, you can easily choose the method of mounting suitable for you. Do not forget to pre-determine the layout of the module elements, choose a composition according to the style of the room. If you follow all the recommendations of specialists, then the modular picture will fit perfectly into the interior, will delight you with its appearance for a long time.


