How to hang a chandelier on a plasterboard ceiling?

- How to choose a chandelier for plasterboard false ceiling?
- Installing a chandelier with an anchor hook on a plasterboard ceiling
- How to install a chandelier on the ceiling after plastering it?
- Installation of a chandelier using a mortgage profile on a plasterboard ceiling
- Installing a chandelier on a butterfly hook on a plasterboard ceiling
- Rules for connecting the chandelier to the mains
- Stock footage
Have you decided to install a chandelier on a new plasterboard suspended ceiling? Then you will certainly need the help of professionals, because this process requires strict observance of the rules of installation and connection to power supply. In order to do everything yourself, without using the services of expensive specialists, you need to familiarize yourself with detailed instructions for all possible installation options. In this article, we will look at how to hang a chandelier on a plasterboard ceiling in the most popular ways that have already been tested in practice.
to contents ↑How to choose a chandelier for plasterboard false ceiling?
The organization of lighting in rooms with such ceilings is based on the use of built-in models of lamps. This is due to the fact that the installation of stationary lighting items is possible only in high rooms. Despite this, chandeliers still remain popular.
Type of fastener
When choosing a lamp for installation on a plasterboard ceiling structure, first of all, its weight should be taken into account, since the method of fixture depends on this indicator:
- Chandeliers weighing up to 3 kg are mounted only on butterfly dowels.
- Models that weigh up to 7 kg are mounted using a mortgage profile.
- Products weighing more than 7 kg are installed only on special anchor hooks.
Chandelier Type
Chandeliers, depending on the design features, are divided into such varieties:
- Stationary Classic models on the legs.
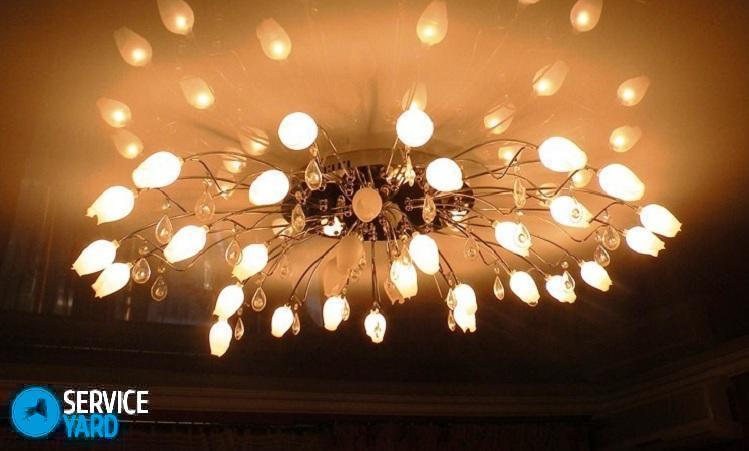
- Ceiling. Lampshades in such chandeliers fit snugly onto the floor.
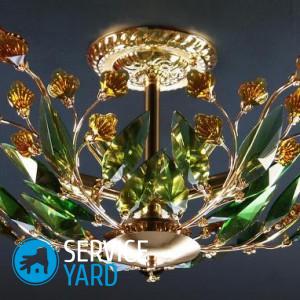
- Decorative. Dimensional options, mainly used in living rooms and halls.
Important! The number of bulbs may also vary in different models, so you should choose devices designed for the number of bulbs that are enough for efficient lighting of a particular room. Decorative elements of modern chandeliers, as a rule, are made of plastic, wood, glass, marble, crystal, semiprecious stones.
Bulb type
It is also important to determine the type of lamp used. So, the cartridges of some models are designed exclusively for a specific type of light bulbs, and after installation, using others will not work. Therefore, this should be taken seriously. When deciding how to attach a chandelier to a plasterboard ceiling, choose the correct version of the device itself.
Chandeliers in plasterboard ceilings can be equipped with such lamps:
- LED light. The case of such bulbs does not heat up even with prolonged use. They are safe, economical, and have remarkable strength properties. They are produced in different shapes, sizes and colors.
Important! Their disadvantage is the low power of the light flux and the relative high cost.
- Incandescent lamps. They are inexpensive, but also do not last long. Quite fragile, have a narrow spectrum of light, heat up very much, burn out with strong drops in electricity.
- Halogen. Cheap, reasonably bright and compact.But in terms of energy consumption, they are not economical, they often burn out and become very hot.
- Luminescent. Economical, do not heat up, are inexpensive, able to last long enough.
Important! Their disadvantages include high weight and size, delayed start-up, obligatory disposal, burnout during interruptions in the electrical network.
- Mercury arc. Bright, powerful, economical, durable. The disadvantages of such bulbs are the noise from the operation of the throttle, the delay when turned on, the limited color spectrum, the fluctuation of the light ceiling.
to contents ↑Important! Choosing a chandelier for a plasterboard ceiling is much easier than for a stretch version, because the first option is more resistant to temperature extremes. Suspension structures can even be equipped with models with cartridges raised up and various types of bulbs.
Installing a chandelier with an anchor hook on a plasterboard ceiling
Fastening the chandelier to the ceiling from drywall begins with the choice of a lighting fixture, installation option. If you prefer the most reliable option, that is, an anchor hook, then follow the instructions below:
- Disconnect the room.
- To mount the frame, make markings on the walls and ceiling.
- Fix the guide profile according to the level of fastening of the coating.
- Install ceiling profiles and jumpers cut from them.
- Make a hook from an anchor collet and a special threaded rod.
- Drill a hole at the installation site of the chandelier, screw in the expansion anchor hook.
- Screw the eye nut onto the threaded rod.
- Insulate the hook with a special tape to prevent contact with those parts of the chandelier that are made of metal.
- Install the light box, then lay the wires in the plastic corrugated pipe.
- Draw a wire at the installation location of the device.
- If you want to use halogen bulbs, then connect the wire to a step-down transformer, if LED, then to a special driver for converting voltage.
- Connect to the switch. It is important to take into account the type of design when choosing it: for parallel switching on of all bulbs - one-key, for switching on lamps of individual groups - two-key.
- Sheathe the frame with drywall.
- Drill a hole with the required diameter at the installation site with a drill with a crown-shaped nozzle.
- Pull out the wires and connect them to the device.
- Check the operation of the bulbs.
- Attach the product body to the mounting device.
- Fix the decorative hat at the base of the ceiling.
to contents ↑Important! Do not bend the wires when connecting them to the terminals. It is not recommended to mount the hook with plastic dowels. The fact is that in the event of a fire in the room itself or in the neighboring apartment, the plastic will quickly melt and the chandelier will fall to the floor along with the ceiling.
How to install a chandelier on the ceiling after plastering it?
If you first installed a small chandelier or preferred a spotlight, but then changed your plans, the ceiling is already finished with drywall, then you can mount it at a short distance to the concrete base. How to fix a chandelier to a plasterboard ceiling after completion of repair work - consider this option:
- Drill a hole in the place of the planned installation with a crown so that its diameter is less than the diameter of a new decorative glass.
- According to the size of the hole, select a plastic bottle with the same diameter and cut the bottom.
- Make a hole in the cork corresponding to the diameter of the drill, insert an anchor there longer than the distance from the drywall to the base ceiling.
- Insert a drill with a bottle into the finished hole, make a hole at minimum speed. In this case, all the dust will fall into the bottle.
- Insert the anchor into the hole, use a socket wrench to secure it.
- Tighten the anchor nut all the way.
- Connect the wires to the chandelier, insulate them.
- Fix the device on the anchor, fix the decorative panel.
to contents ↑Important! Wrap electrical tape around the end of the anchor before securing it in the space between the drywall and the base ceiling. This will allow you to avoid its contact with the metal elements of the chandelier itself.
Installation of a chandelier using a mortgage profile on a plasterboard ceiling
Fastening the chandelier to the ceiling from drywall, which weighs no more than 7 kg, looks like this in a schematic way:
- According to a pre-compiled scheme, make markup.
- Install a drywall frame.
- Attach a profile to the place of future fastening of the device, make marks through the holes for fasteners.
- At the marked points, make holes with a drill or hammer.
- Using dowels, attach the mortgage profile.
- Using a corrugated sleeve, make wiring from the lighting box, stretch it to the fixation point of the chandelier.
- Drywall the frame. With a drill with a crown, cut a hole at the installation site of the device and pull out the wires.
- Connect the wires to the terminals of the chandelier and fix on the embedded profile.
- Install the decorative plug.
to contents ↑Important! Before attaching the chandelier to the ceiling, make sure that all cartridges are operational.
Installing a chandelier on a butterfly hook on a plasterboard ceiling
This method is suitable for installing light weight chandeliers. You can also use it when the ceiling is already completely sheathed with drywall, while an anchor hook or a mortgage profile for installation is not provided.
The algorithm of actions in this case is quite simple:
- Mark and lock the drywall frame.
- Route the wiring in the corrugated pipe.
- In the place of attachment of the chandelier, cut a hole with a crown or drill.
- Pull out the wires, connect them to the chandelier.
- Check the health of the entire system.
- Insert the butterfly hook and twist until the system is fully open.
- Wrap the protruding end with electrical tape.
- Attach the device to the fasteners.
Rules for connecting the chandelier to the mains
Before attaching the chandelier to the drywall ceiling, it must be properly connected to the power supply. But it’s quite difficult for a beginner to safely and correctly connect the device. Therefore, adhere to the following rules:
- All three wires must be brought to the switch: zero (blue), ground (yellow), phase (brown).
- The phase conductor should be directed to the junction box, grounding and zero to the lighting device.
- There is no zero on the switches, so you should distribute the wires across the switch terminals.
- The phase core is determined using a special screwdriver with an indicator or voltmeter, the switch is previously turned off.
to contents ↑Important! The cross-section of the wires used must correspond to the maximum power of the total energy consumption of all bulbs.
Stock footage
When self-installing chandeliers on a plasterboard ceiling, be extremely careful and careful. If you do not follow some rules, then you can unreliably fix the device or leave metal parts conductive. Moreover, improper installation and selection of a lighting fixture is often the cause of rupture or deformation of drywall sheets, which will entail another repair or permanently spoil the appearance of all rooms.
- How to choose a vacuum cleaner taking into account the characteristics of the house and coatings?
- What to look for when choosing a water delivery
- How to quickly create comfort at home - tips for housewives
- How to choose the perfect TV - useful tips
- What to look for when choosing blinds
- What should be running shoes?
- What useful things can you buy in a hardware store
- Iphone 11 pro max review
- Than iPhone is better than Android smartphones


