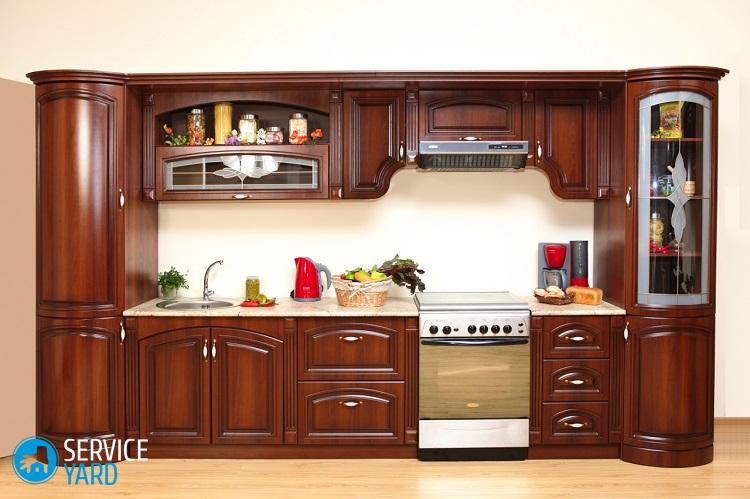
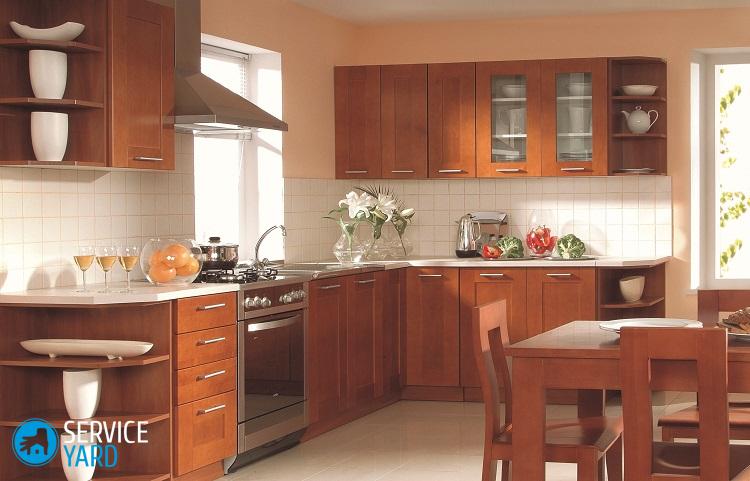
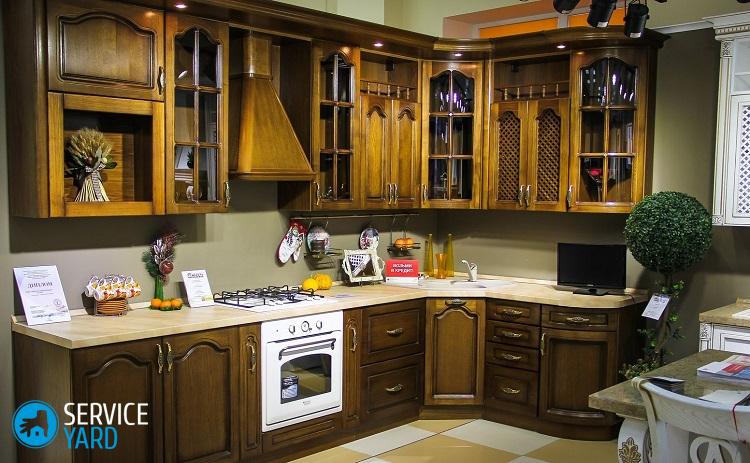
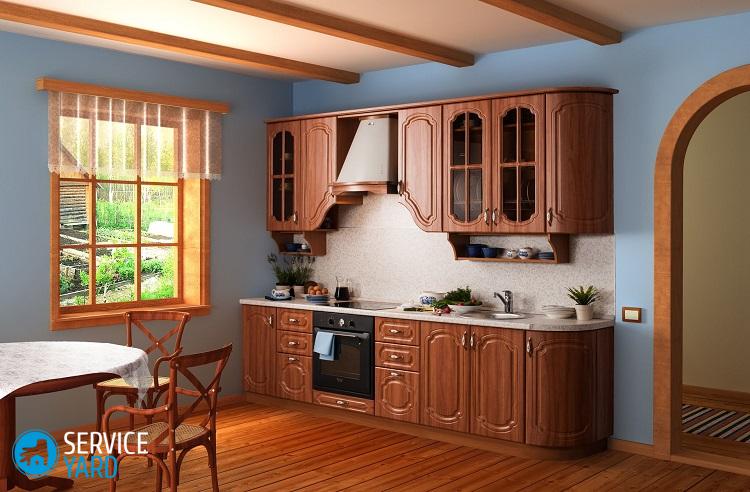
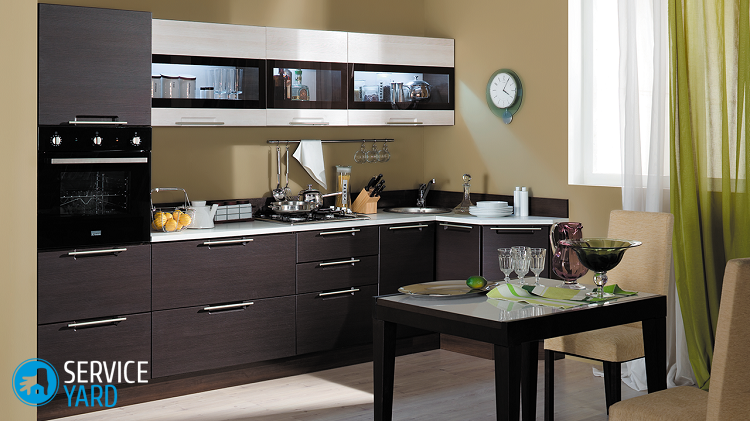
How to upgrade old furniture in the kitchen?

Your kitchen furniture has long lost its beauty and spoils the overall picture of the interior or you simply do not have the means to buy a new headset? If you approach this problem creatively, you can decorate cabinets, chairs, a table and other furniture without any special investments. For this, there are a lot of ideas that will look no worse than any modern purchase option. In our article, you will learn how to update old furniture in the kitchen, using the simplest and most affordable ways.
to contents ↑Hardware
Alteration of furniture cannot be made without a preliminary inspection of accessories. First of all, you need to pay attention to the appearance and serviceability of the handles, the guide, the hinges - all the accessories that are responsible for ease of use. It sometimes happens that at the junction of the guides with the front of the slot due to frequent opening, they become wider than usual or a part of the canvas is damaged. For this reason, the door will become loose and the cabinet will sag. You can correct the situation by installing and moving accessories to another place.
Materials and tools:
- Acrylic varnish in the color of furniture.
- Primer, paint and glue for wood.
- Putty.
- Set of brushes.
- Screwdriver or screwdriver.
- Metal spatula.
- Soft-hair roller
- Metal ruler or tape measure.
- Emery paper of different grit.
- Decorative elements.
- Furniture fittings.
- Scissors.
Step-by-step instruction:
- We dismantle old mechanisms. For convenience of further work, we remove the doors from the cabinets.
- We cover the old holes with putty, since they are already unsuitable for fixing the paintings. Apply putty in 2-3 layers.
Important! It is better to take the putty exclusively on an acrylic basis, so that it matches the color of the front of the headset. So you mask her well.
- Now we sand a slightly settled material with sandpaper to remove all irregularities and bulges.
- He opens the canvases with paint or varnish - as you like best. When choosing a quality solution, use our a review of the best odorless furniture colors.
- We drill new holes and install the right fittings. For its proper selection, you need to show the previous part to the seller in the hardware store, who can offer you the appropriate replacement.
- We change the old mechanism to the new one in the drawers, since the updated element will be more reliable.
- If necessary, we replace the handle, referring to the material of the kitchen facade. So, for example, it will be inappropriate to attach a plastic handle to wooden cloths, so it will be more correct to dwell on a metal product.
Porcelain mosaic
Here is another simple way to make new out of old furniture. Yes, there is an opinion that supposedly broken dishes should not be in the house, but this is not our case. Of course, eating food from it is undesirable, but its remnants can be advantageously used as a finishing material for decorating furniture in the kitchen. Such a porcelain mosaic with your own hands not only looks very beautiful on the doors of cabinets or on the surface of the countertop, but also multifunctional.
Important! Porcelain is resistant to temperature changes and high humidity.
Work with broken porcelain:
- Select a pattern and draw a sketch on paper.
- We transfer it to the place we need.
- We apply a special adhesive on porcelain to the working surface.
- We spread the fragments of material according to the pattern.
- Grout for ceramics with porcelain.
to contents ↑Important! It is advisable to take a grout in tone with the material used, but you can also experiment with colors. Read more about the types of this building material in our separate article. "Tile grout".
Wallpapering the cabinet
Why not upgrade your old kitchen furniture with beautiful murals? This is a very interesting option in terms of a wide range of patterns and textures. Today it is possible to purchase not only ready-made murals, but also order at the printing house the color and pattern that you like most. You can take the idea of using photos from the family archive as the basis.
Description of technology:
- We clean the furniture surface from old paint or varnish, using a grinding machine or coarse sandpaper.
- We wipe the headsets from dust, and then cover it with a primer layer. If you will use separate photos for gluing, then after the primer you should paint the furniture in one color.
- We cover the kitchen set with photo wallpaper, carefully smoothing the folds to release air under the material.
- After the glue dries, we cover the furniture with colorless varnish.
Vinyl based film
Pasting any surfaces with a self-adhesive film is one of the most affordable options for updating furniture and more. How to quickly update a kitchen set with your own hands? At the moment, the construction market does not stand still, therefore, it offers a large selection of self-adhesives for every taste of various colors and natural structures.
Important! Such material has good moisture resistance and resistance to temperature extremes; its service life is 3-4 years. It is especially good in that it can be glued not only on a wooden, but also on a plastic surface.
Materials and tools:
- Self-adhesive film.
- Tape measure.
- Plastic spatula or scraper.
- Scissors.
Work Stages:
- We take measurements of the kitchen set, doors and cabinets to determine the required amount of vinyl material.
Important! We recommend that you purchase a film with a small margin so that you do not have to run to the store again for the opportunity to fix flaws.
- We disassemble the facade, number each detail to facilitate the assembly of furniture.
- We measure out the necessary canvases on paper, and then carefully cut out with scissors.
Important! On the back of the self-adhesive there is a convenient square marking, along which you need to cut the film. Do not forget to leave reserves of 2 cm on the sides and on the hem.
- Now we are preparing the old surface. We wash the headsets from soot and grease so that our film sticks well. Degrease the canvases and allow time to dry.
- We take self-adhesive in our hands, remove part of the protective layer 5-10 cm from the wrong side, we press our palms to the surface. We carefully spread it with our palms, additionally smoothing it with a spatula to eliminate bumps and bends. We pierce the formed bubbles with a needle, thereby releasing air from them.
Important! Glue the film from top to bottom, removing the protective layer step by step. If the job went wrong, then you can remove the vinyl and glue it again. Note that this procedure can be done no more than two times, otherwise - the glue will lose its properties. The time of attraction of self-adhesive to the surface is 5-6 hours.
- We install the facades and fasten the fittings in place.
Now you’re ready to update your old furniture with your own hands!
to contents ↑Important! Self-adhesive film with imitation of wood, natural stones looks very impressive. Such a coating can decorate any even the most boring interior.
Decoupage
This technique is used by modern designers for styles such as Provence and Country. But it is not necessary to contact a specialist - decoupage of a kitchen set can be done with your own hands. Here you can apply all your creative talents and skills.
Materials and tools:
- Fabric or oilcloth with a pattern.
- Solvent.
- Putty.
- Putty knife.
- Narrow paint brush.
- Sandpaper.
- PVA glue.
Step-by-step algorithm of actions:
- We grind the surface of the furniture first with a coarse-grained, and then with a fine-grained sandpaper. For such work it is better to use a grinding machine, which will significantly speed up and facilitate the process.
- Putty cracks, if any. After the solution has dried, putty the surface again to a perfectly smooth state.
- We wipe the facade with a solvent, thereby preparing it for attaching the material to the panel.
- We glue the fabric on the outside of the kitchen set with ordinary PVA glue, and after that we open the surface with varnish, using a wide and narrow brush for hard-to-reach spots.
Important! Varnish must be applied in at least 2-3 layers. Each coat should dry for approximately 1-2 hours.
- After a day, our updated headset can be used.
to contents ↑Important! Depending on what other interior items you got fed up with, how seriously and thoroughly you decided to approach the change of interior design, our other workshops on remodeling furniture may also come in handy:
Stock footage
Using various techniques and improvised means, it is possible to update furniture in the kitchen without special investments. To do this, you need only some materials, a responsible approach and patience. Believe me, it's worth it!
- How to choose a vacuum cleaner taking into account the characteristics of the house and coatings?
- What to look for when choosing a water delivery
- How to quickly create comfort at home - tips for housewives
- How to choose the perfect TV - useful tips
- What to look for when choosing blinds
- What should be running shoes?
- What useful things can you buy in a hardware store
- Iphone 11 pro max review
- Than iPhone is better than Android smartphones


