How to glue tiles on the wall?
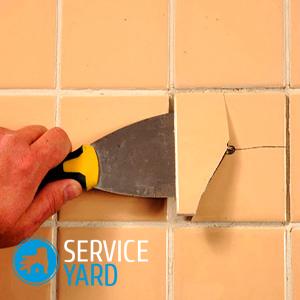
For many years, the most popular material for wall decoration is ceramic tile. Even though it is quite difficult to put it on your own, you need certain skills and knowledge, more and more masters are not afraid to take up this business. It is necessary to highlight the main stages in order to understand how to glue the tiles on the wall, get acquainted with the features of this process and clearly follow the instructions. We will give all these useful recommendations in this article.
to contents ↑How to prepare for finishing work?
Before you stick the tiles on the wall, you have to carefully prepare the work surface. To do this, do the following:
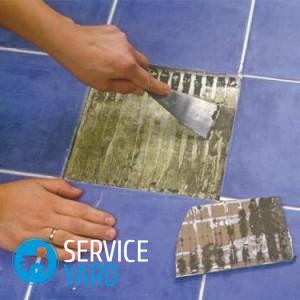
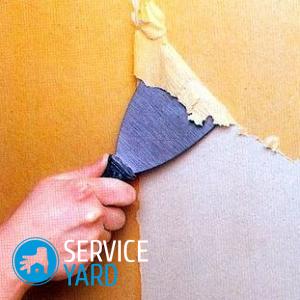
- Clean the surface of the old coating. It is necessary to completely remove the old tile, paint or wallpaper, so that the new material is firmly and firmly fixed.
- Level the walls. If you find any gaps or cracks on them, you will have to process them with putty.
Important! In those cases where the surfaces have too large irregularities and cavities, it is better to use a cement composition. The durability of the new coating depends on how well you prepare the walls. Wait for the base to dry before proceeding to the next step.
- Primer the base. By using such a special solution, you additionally protect the surface from the appearance of fungus and mold.
- If you plan to lay the tiles in the bathroom or bath, then carry out waterproofing measures. You can use special solutions, mixtures or rolls. They will effectively protect the wall from condensation and moisture.
How to mark the room and cut the material yourself?
First of all, after preparing the foundation, it is necessary to determine the amount of necessary material, its location, that is, to measure the room. This must be done before you figure out how to glue ceramic tiles on the wall, because this will help you determine the sequence of placement of the material. Also of great importance is the location of decorative parts and borders.
Use the following tools for marking:
- Ruler.
- Pencil.
- Building level.
- Roulette.
Mark and cut the tile using these recommendations:
- Start from the ceiling. Cut parts are best fixed at the bottom so that they are less noticeable.
Important! From below, it is recommended to fix the wooden plank to prevent the tile from moving out during installation. This technique is often used by masters when decorating a kitchen apron.
- Draw a contour on the surface, clearly along which the tile will be fixed. Then the products will be fixed exactly in the given sequence. Decide on the installation method. Someone fixes the tile diagonally, others - in the form of bricks.
Important! Finishing is considered to be the traditional method, as a result of which the seams remain perfectly even, clearly perpendicular to the base of the floor. Whatever you choose, remember that products with chips and uneven edges must be placed in corners or in invisible areas.
- Since in some places the material simply does not fit, it is cut with special tools.As a rule, a glass cutter is used for this, which allows you to make cuts quickly and clearly. But it is worth noting that he does not cope with large volumes of work, therefore, for decorating large rooms, it is better to stock up on a grinder, an electric jigsaw and a tool for cutting tiles. But it is better to draw a contour in advance in order to move the cutting mechanism clearly along it.
Important! If chips are formed during operation, it is better to use a grinder to eliminate such shortcomings.
- To make holes in the tile for sockets, wiring and switches, use special nippers. They allow you to make smooth contours of the required size.
How to glue the tile to the wall with your own hands?
Have you already marked the room, cut the material? Then it's time to start the main stage of work. Below we will analyze step by step how to properly tile the wall.
Important! You will need a special glue - it is better to give preference to a tool with a high level of fixation, so that the coating lasts as long as possible.
You will need the following materials:
- Tile.
- Adhesive composition.
- Bucket.
- Putty knife.
- Water.
- Rag.
- Rubber mallet.
- Building level.
- Plastic crosses.
- Grout for joints.
Install according to these instructions:
- First, knead the glue in a bucket with a small amount of water. Strictly observe the proportions without deviating from the manufacturer's instructions. If you do everything right, then the finished mixture will turn out a thick consistency, a bit like sour cream.
Important! Mix the solution thoroughly so that no laminations or lumps form on the surface. It is better to knead it in small portions so that it does not dry quickly and does not lose its properties.
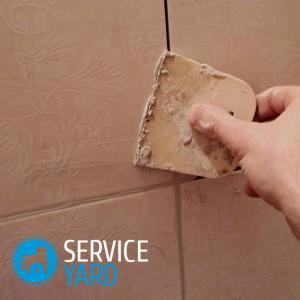
- Since the glue dries quickly, apply it directly to the tile. Spread it evenly over the surface with a spatula.
Important! Pay special attention to the corners, because if you do not fill them with glue, then the small parts will break off during installation.
- If you decide to do otherwise and apply glue directly to the wall, then this should be done sequentially. Apply it evenly to certain areas. Then the tile is fixed immediately. It is important at this stage to ensure that the elements do not move. To avoid such trouble, it is better to draw a longitudinal line with a notched trowel.
Important! Do not apply the composition too thickly, not more than 5 mm.
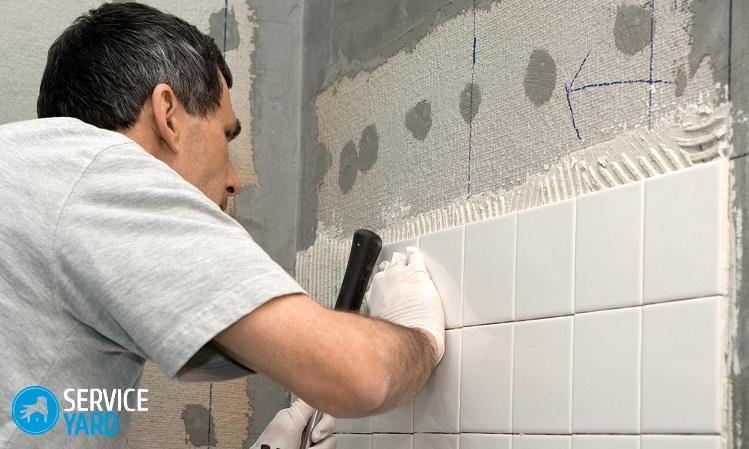
- Start laying from the bottom of the wall in an upward direction. When fixing the tile, try to press it harder to ensure a reliable and durable fastening.
Important! Use the building level periodically to verify that the elements are in the correct position. If something is shifted during the installation process, then the adjustment can be made using a rubber mallet.
- Be sure to use plastic corners so that the seams between the tiles are the same. Just insert them between products. Gradually lay out certain areas on the wall.
Important! If glue comes out somewhere in the joints, remove it with a rag to make the surface smooth, without protrusions and gaps.
- Leave the tiled wall until the glue completely dries. Remove plastic crosses after 24 hours.
- Use a rubber spatula to grout with moisture resistant properties. You can choose any color.
- Wipe the entire surface of the wall.
How to stick ceramic tiles to the wall according to such a scheme - any owner will be able to understand. It will allow you to create a completely new design in the room, to show your own skills, imagination with minimal financial costs.
to contents ↑Professional Tips
When deciding to do wall decoration on your own, be sure to use the useful tips of specialists:
- The adhesive remaining on the walls must be removed immediately after laying the tile so that it does not have time to harden.
- If there are pipes in the bathroom or in the kitchen that must be bypassed, use special tongs for this.
Stock footage
Now you know how to glue tiles on the wall in the kitchen or in the bathroom. The above recommendations will certainly come in handy to complete all the work at each stage correctly and prevent fatal mistakes.
- How to remove tile in the bathroom from the wall?
- How to quickly remove wallpaper from the walls
- How to remove old paint from the walls?
- How to treat walls from fungus and mold?
- Tile design in the bathroom
- Ceramic tiles - fashion collections and the best manufacturers
- Glue for tiles in the bathroom - which one to choose?
- Tile Grout


