Garden cultivator: do-it-yourself Fokin ploskorez
Every year, innovators come up with unique in their simplicity and simultaneous usefulness devices for cultivating the land, the use of which greatly facilitates the work in the garden or in the garden. One of such discoveries of our time was a tool that you can easily do with your own hands - the Fokin plane cutter, despite the fact that you can use the tools available on the farm to make it.
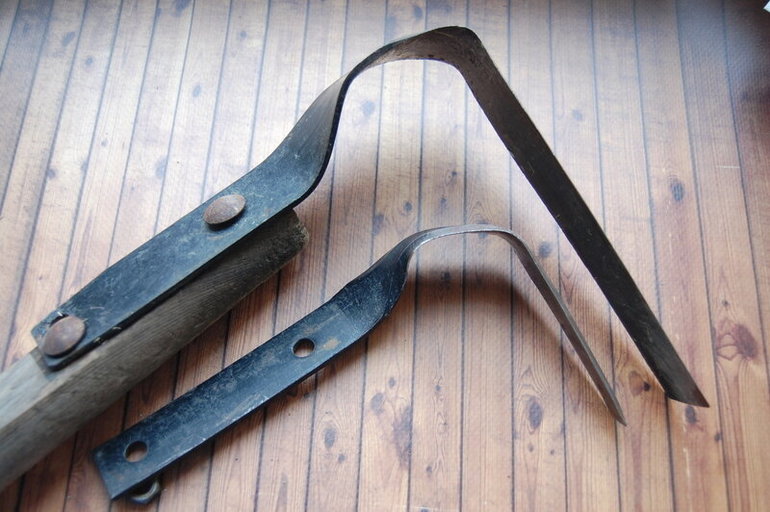
All About Fokine Plane Cutter
Despite the fact that the use of the Fokin manual plane cutter involves mechanical loosening, this tool, patented in the Russian Federation, has received worldwide recognition and is very widely used. This is explained quite simply, because with the help of this elementary construction it is possible to process impressive areas, subject to much less physical stress, and therefore not so tired even after many hours of work.
Purpose of the tool
The author of the instrument was the agronomist Fokin, well-known in Russia, from where the name comes from, however, in some sources its incorrect mention may come across - Frolov, which is not true. His invention can become a full replacement for such universal agricultural devices as a hoe, rake and shovel, with the difference that the plane cutter has a lighter construction and application, being the most gentle for the soil and crops growing in it, with the exception of weeds, for the removal of which it also applies.
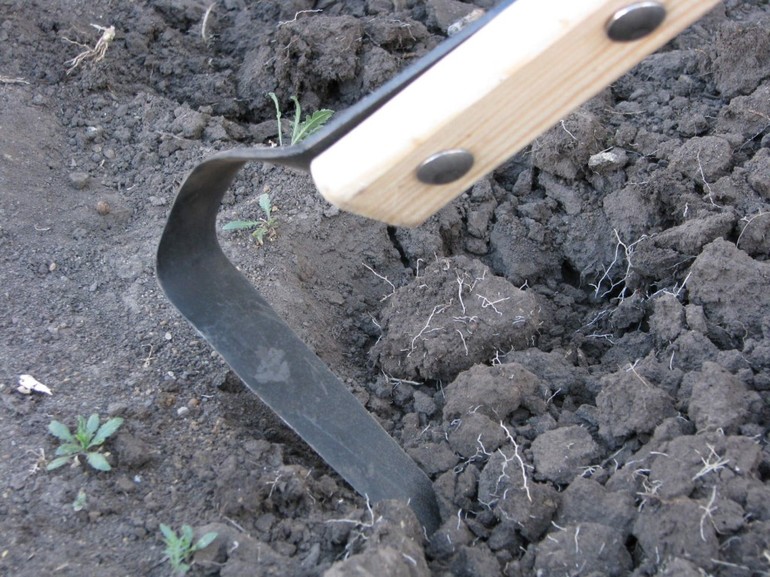
Naturally, the scope of application of a plane cutter is not limited to weeding only weeds, and its developer gives the following directions for the potential use of his multifunctional brainchild:
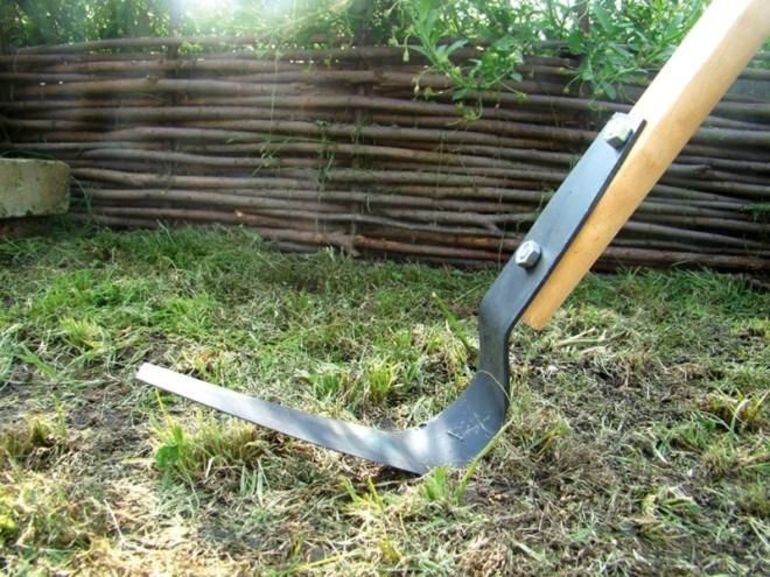
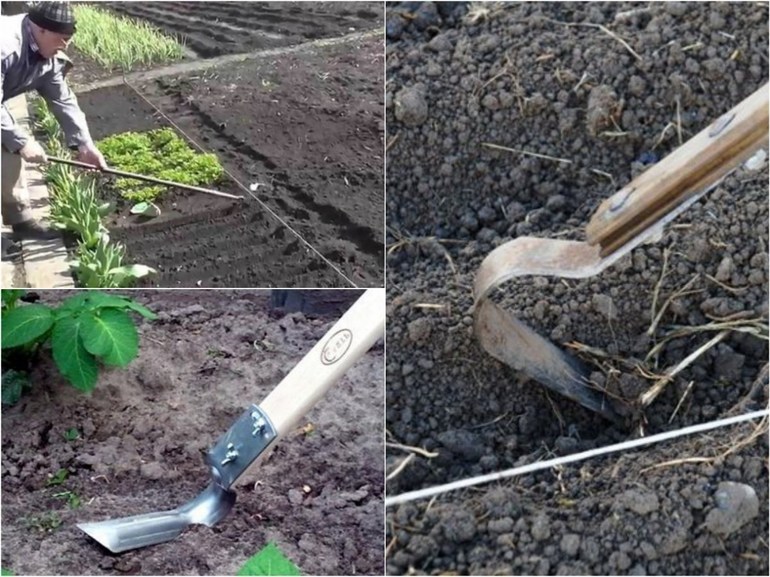
- Straightening between the beds, clearly separating them among themselves. To complete this task, it will be enough just to carry out a plane cutter on the ground, without making any serious efforts for this.
- Loosening. Using the design allows you to cultivate areas at a distance that is fully consistent with the size of the processed blade.
- Virgin soil treatment.
- Work with complex soils, including a large amount of clay.
- Performing planting furrows under the seeds. In this case, the plane cutter is not on the surface, but is immersed in the soil to the depth that is necessary for a proper landing. At the same time, both large (relevant for planting seedlings with a formed root system) and small tools used for sowing small seeds, including sprouted grains and legumes, can be used.
- Breakdown of lumps and uprooting of thick coarse stems of weeds. To perform these manipulations, it is enough to simply deploy the instrument with its heel forward and start hitting it with fossils in the soil or with rhizomes densely sown in it. It is noteworthy that it is possible to damage the root system of weeds with the help of a blade, in which case the plant, in general, does not have to be uprooted, leaving it in the ground like humus.
- Proper use of the plane cutter will allow you to safely thin out and spud plants, even if we are talking about very young shoots.
Among other things, the device is perfect for working in the garden, used for cleaning soils in the immediate vicinity of trees and cleaning utility rooms, including cowsheds, pigsties and hay bales.
Fertilizing the soil will also not take much time, because with the help of a plane cutter it will be possible to quickly and easily distribute useful substances on its surface.
Advantages and disadvantages
Like any agricultural tool, a plane cutter has its own advantages and disadvantages. Experts strongly recommend that you consider these factors before you purchase an original device that is not that cheap, or do a Fokin plane cutter according to the drawings yourself. So, the indisputable advantages of this design include:
- The ability to process the soil in the most gentle mode while preserving all the beneficial microflora and living creatures in it.
- The lack of strong physical exertion, even with prolonged processing of personal plots and gardens.
- Elimination of weeds of any size with incompatible damage to their root system, remaining in the soil to fertilize specially grown crops.
- Easy to use and maintain. So, in order to cope with different tasks, you just need to change the angle of the tool. In addition, you can use different sizes of nozzles, using, for example, the smallest of them for processing the most complex soil with clay impurities and fossils. As for the current conditions of detention, the owner is only required from time to time to sharpen the metal nozzles of his assistant.
- The versatility of the design and the wide range for its application will allow gardeners to abandon most of their usual equipment, which will significantly reduce the cost of its acquisition and maintenance, as well as clear the storage space for other tools.
Besides the fact that working with a plane cutter is a sheer pleasure in comparison with the same hoe or other agricultural tools, its regular operation contributes to high-quality aeration of the soil, saturating it with oxygen. This feature in the most favorable way affects its fertile qualities, allowing you to grow almost any crop, even in not very good soil.
However, there were some significant shortcomings, although for some farmers they may be unacceptable. Among them:
- Of course, it will not be possible to treat a densely overgrown with weeds with a flat-cutter alone, as it will not be possible to cultivate areas that are too large in area.
- Despite the fact that the developer positions the tool as an equivalent hoe device, this is not entirely true. At least in practice, soil treatment with these two devices produces completely different results.
- The cutter can be used for sowing, but, of course, not for any crops. For example, deep holes for planting potatoes with its help just will not do.
- Inventory is often used instead of a rake to rake grass and hay. But, despite the sharp edge part of its nozzle, it will not work to mow with a plane cutter, so you should not even try to replace it with a scythe or a mechanized mowing device.
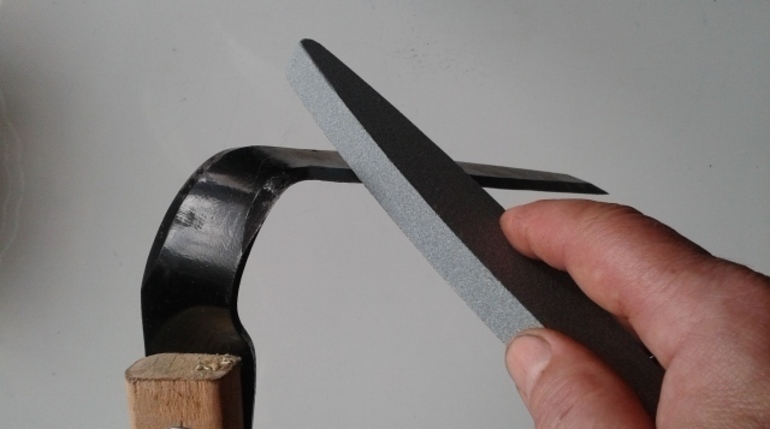
Another important nuance is that it is advisable to sharpen the tool using a special electronic emery, using minimal effort. In the opposite situation, it is really possible to overheat the metal, because of which it can easily lose its cutting properties.
DIY inventory
It is believed that the original cultivator is able to cope with 20 different tasks, however, this is not entirely true, because it implies the use of all known today ploskorez nozzles. So, there are at least five varieties of tools with different designs and purposes.
Types and preparation of materials
A do-it-yourself plane cutter is made according to the drawings, which can be easily found on the Internet on the corresponding network resources.But you should definitely not choose the first scheme that comes across, since it can depict an inappropriate view of a plane cutter. Simply put, before embarking on self-construction, you need to familiarize yourself with all types of equipment and their features. So, experts distinguish between:
- A cultivator with a large nozzle, designed to prepare the soil for planting, as well as making furrows with a maximum depth of 15 centimeters.
- With a small nozzle, used for weeding row spacing and for the rapid cultivation of light soil types.
- A strong chopper, the design of which includes a wider and shorter blade, optimal for processing clay and hardened soils.
- The mighty. This nozzle has the widest plate of all offered, designed for high hilling of crops.
- The canvas is large and small. The first nozzle is used on large areas of land before sowing, and the second for standard weeding aisles.
Having decided on what a plane cutter should look like, it is necessary to prepare materials and tools for its manufacture, fortunately, almost all of this can be found on the farm or to buy the missing items, because they are quite inexpensive. This list usually includes:
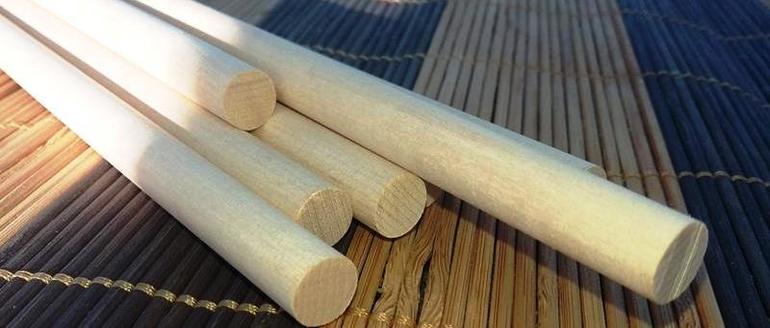
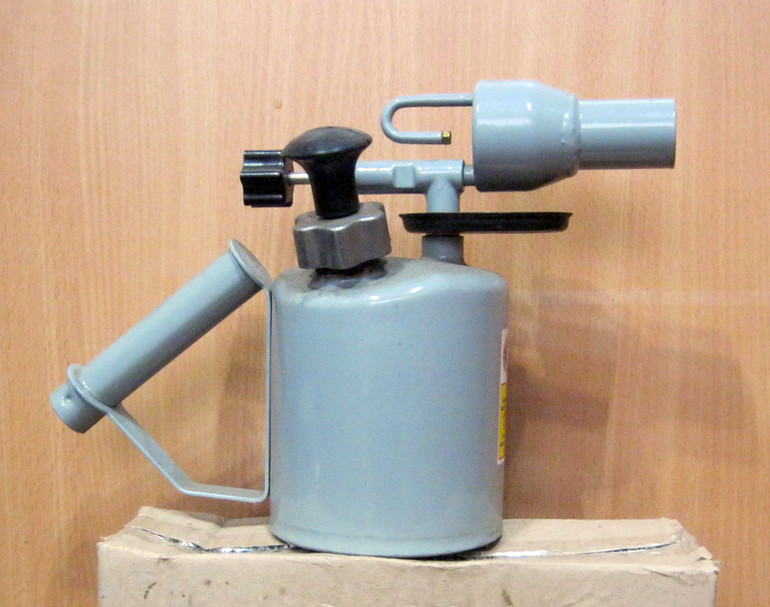
- Round wooden stick for making the cuttings (ideally, use such species as pine, ash and birch).
- 5 mm sheet steel (ideally use the 67 G brand found in an old car spring or torsion bar suspension).
- Hacksaw for metal.
- Cutting machine.
- Technical oil.
- Slicer for working with wood.
- Blowtorch.
- Pliers or vise.
- Hammer.
- Turbine.
- Bolts, nuts and other fasteners.
- Construction varnish to cover the cuttings.
It is best to heat the metal in the forge, although it is quite possible to get by with more affordable means. After all the materials and tools have been prepared, you can safely proceed to the manufacture of a plane cutter.
Step-by-step master class
In the manufacture of the described equipment there is nothing supernatural, and if desired, even a novice master can cope with the task. And in order to achieve the desired result, it is necessary to adhere to the following algorithm of actions:
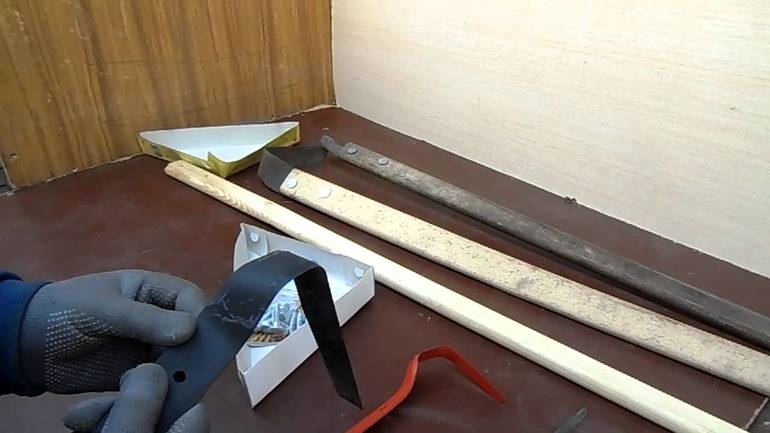
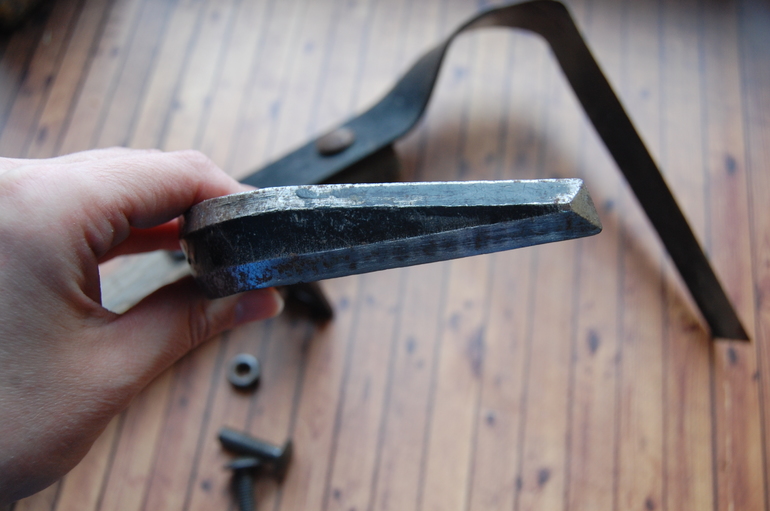
- First of all, it is recommended to carry out the handle by rounding one end of it and leaving a flat 10-cm section near the other so that holes can be made in it for attaching the nozzle. After that, the entire surface of the workpiece is thoroughly peeled so that not the slightest chipping remains, and covered with two layers of transparent varnish, which will extend the life of the tool for many years.
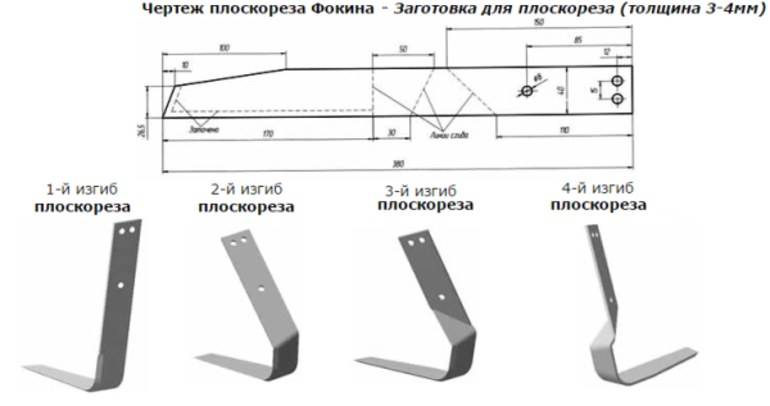
- A blank is cut from sheet steel, the size of which depends on the drawing. The next stage of processing the future blade involves four bends after glowing. For the first of them, a range from 94 to 104 degrees is used, for the second from 109 to 132, and for the third the same parameters as for the first. The final fourth bend is adjustable, therefore, it is performed by eye. The angles themselves should not exceed 32−42 degrees, and if everything matches, then the resulting workpiece is left to cool to room temperature.
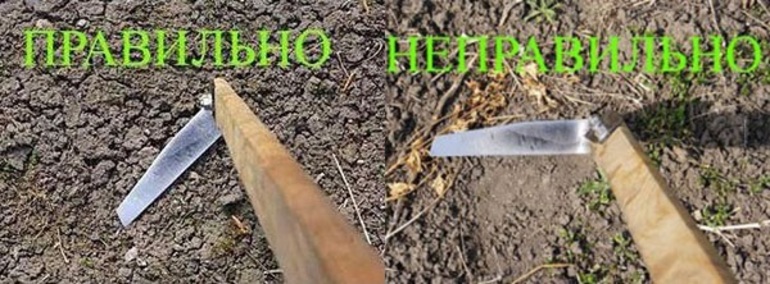
- After cooling, they start turning the edges using a special machine and a sharpening angle of 40 degrees. It is noteworthy that it is necessary to start the procedure from the very edge of the blade, gradually moving towards its opposite side.
- If it is decided to quench the used steel element, then it is necessary to repeatedly heat the workpiece red-hot with a blowtorch, each time immersing it in technical oil.
- In order to attach the nozzle to the handle, several holes are drilled in the latter. For the most reliable fixation, each fastener is recommended to be strengthened with counter washers.
After completing the assembly, they begin testing the finished tool in order to correct its "raw" connecting nodes and individual elements.
If the practical test was successful, then you can try to put the finished plane cutter on the walk-behind tractor, because then its efficiency will automatically increase several times.
Of great importance is the operation technique of the device, on which the result largely depends. So, in the process of working with a plane cutter, it is recommended to keep your hands at a distance of 20 centimeters from each other. In addition, you must always keep your thumbs in a raised position. It is very important to adjust the length of the handle, making sure that it is below the shoulder by 10 centimeters. It should be remembered that a sure sign of low ergonomic design is body pain and rapid overwork, and then the device will have to be redone.
- How to choose a vacuum cleaner taking into account the characteristics of the house and coatings?
- What to look for when choosing a water delivery
- How to quickly create comfort at home - tips for housewives
- How to choose the perfect TV - useful tips
- What to look for when choosing blinds
- What should be running shoes?
- What useful things can you buy in a hardware store
- Iphone 11 pro max review
- Than iPhone is better than Android smartphones


