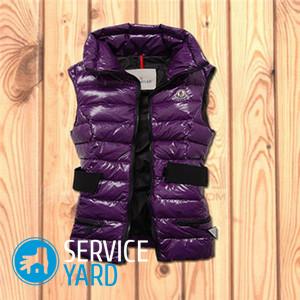
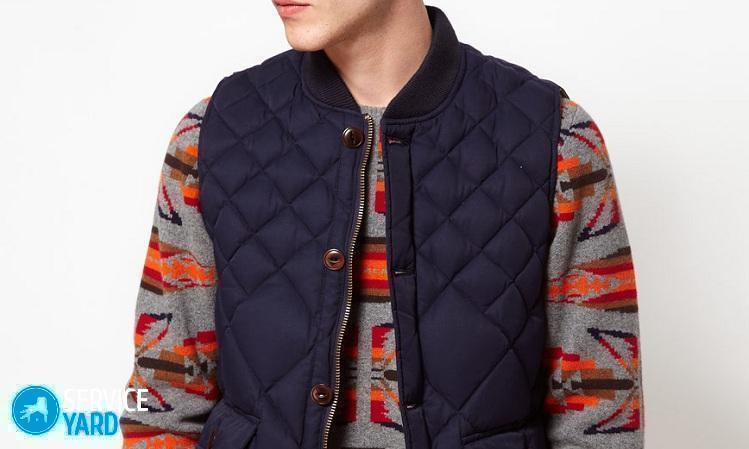
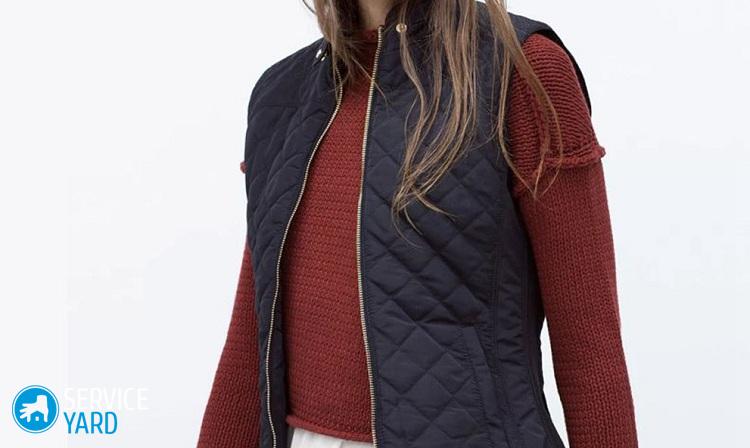
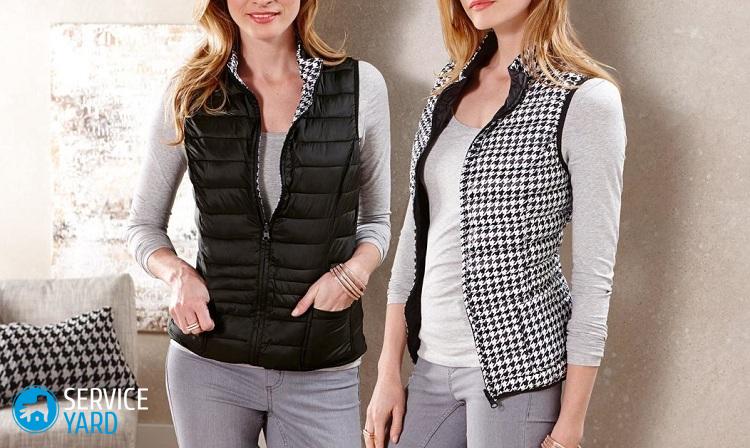
How to sew a quilted vest?

In the offseason, it is very important to dress warmly. A vest is an indispensable thing in cool weather for both adults and children. A quilted vest can be worn with almost all things - jeans, sweatpants, a dress, a turtleneck, and even with classic trousers. Of course, you can buy it, but why spend money on such an expensive purchase when you can sew the exact same clothes with your own hands? We will be pleased to share with you a detailed description of the process of how to sew a quilted vest.
to contents ↑Sewing a women's vest on a synthetic winterizer with pockets with a zipper
Such a warm vest is good for a girl or a baby girl. The design is sophisticated, made of smooth lines, with a central clasp and a neat zipper on the pockets.
How much do you need to take the fabric on the vest?
Let's understand this issue. How to calculate the length of the fabric? It is done like this:
- We measure the distance from the beginning of the neck to the desired length of the vest - this will be the length of the vest.
- We add at least 30 cm to the resulting figure - this figure will be the length of the fabric for sewing our future vest.
Important! For example, we want to sew a vest with a length of 80 cm + 30 cm = 1.10 m - this is exactly how much fabric is needed on a quilted vest. Do not forget that the width of the canvas should be at least 1.5 meters.
Cut
The most versatile fabric for a demi-season vest is a warm raincoat fabric. You can take the finished pattern on the Internet or take measurements yourself from the jacket or from your old vest (partially possible).
Here are some things to keep in mind at this point:
- We advise you to sew a quilted vest with your own hands with embossed stitches on the front, shelves and back. Such clothes will fit well on the figure.
- It is not recommended to draw any lines or marks on the front of the fabric.
- First, you need to cut out elements from the lining fabric, the upper front, insulation for shelves, backs and collars (if such a part is available).
As a result, you should get the following details:
- The side of the shelf is 2 units of raincoat fabric and 2 units of lining fabric.
- The middle part of the shelf - the same number of fabric parts as the side of the shelf.
- The side of the back is 2 units from the main fabric and 2 units from the lining.
- The central part of the back with a fold is 1 cut from raincoat fabric and 1 cut from the lining.
- Collar - 2 details from raincoat fabric.
- Subboard - 2 units from raincoat fabric.
- Burlap pocket - 2 cuts from the main fabric and 2 cuts from the lining fabric.
- 2 parts of a shelf from a heater (synthetic winterizer).
- 1 piece of backrest made of insulation.
Sewing:
- We do a stitching of the main parts of our cutting (1 central part of the back, 2 lateral rear parts, 2 lateral front parts of the shelves and 2 central parts of the shelves) on the synthetic winterizer, immediately we strip the strips. To do this, connect the stitch cuts with a machine line and sew one part of the collar onto the insulation.
- We make a pocket in the seam with the future zipper. We measure the desired length of the pocket on the front of the raincoat fabric from two sides from the bottom of the product, make a section of the fabric, tuck and sew over the edges. After - we sew on a sewing machine, without affecting the lining fabric - it will serve as the inner pocket of the vest.
- We put a zipper between the two sides of the pocket and grind it with a regular machine seam, hiding the top and bottom of the zipper inward.
- We grind the sides, the elements of the back with the central part of the back.
- Sew together all the shoulder seams.
- We sew in our collar, which we have already sewn on a synthetic winterizer. By machine line we combine the middle of the rack with the central part of the neck of the back.
Important! All these lines are very important to do strictly on the collar, without affecting the main fabric.
- Stitch the zipper closed, leaving a 3 cm allowance at the bottom of the waistcoat. We lay the machine line along the edges of the zipper, we connect the seams of the stitching of the collar and the strip stitches of the shelves.
Important! Remember that when stitching the fastener there should not be any allowances for either zipper or shelves.
- We begin to collect the lining of the vest. Attach the fit to the lining. We connect the central part of the shelves with the side part, grind all the shoulder seams.
- We collect the top of the vest from raincoat fabric with a lining. To do this, we need to connect two sets and a collar with one line. In order to fasten on the rack, we need to connect the seam allowances on the wrong side of both collars from one edge to the other shoulder seam. Combine the armholes and turn the shelves on the front side. Now you can connect side seams on raincoat fabric and vest lining with one line.
- There was almost nothing left for us - we hem the vest and draw on the front side of the fastening at all visible seams.
That's all the work! DIY quilted vest is ready!
to contents ↑How to sew a warm vest for a child?
How to sew a vest on a padding polyester to your child? Such a warm quilted vest is an indispensable thing in every wardrobe, and children will not be an exception. At first glance, the independent process of sewing a quilted vest may seem difficult, but we assure you that this is not so. In this master class we will tell you how to sew a demi-season vest for a boy with pockets.
Preparatory process
As a pattern, you can use any pattern from the Internet or take measurements of the shelves and backs from any jacket suitable for your child, mark the borders on paper, and then cut it out - these will be your finished patterns of some basic details.
Now we will familiarize ourselves with the list of necessary materials, accessories and tools that will be needed for sewing a quilted vest:
- Raincoat fabric for the front of the vest - product length + 10-15 cm.
- Lining fabric - vest length + 10-15 cm.
- Sintepon - with the same addition to the length.
- One long zipper.
- Narrow elastic band.
- Gum thread.
- Threads in tone of fabric.
- Pins for chipping.
- Scissors.
- Centimeter.
- Sewing machine.
We mark the seam allowances on the pattern:
- Shoulder, side and edge of the sides - 1 cm.
- The neck and armholes are 0.7 cm.
- The bottom of the product is 5 cm.
Important! When choosing a pattern for a future vest, consider the size of this pattern in relation to future clothes. Such a warm vest is outerwear and is worn on warm clothes underneath, so the size of the pattern should be 1 size larger. To all of the above, you need to consider the fact that the child will grow.
We transfer the pattern:
- First we take the lining fabric - we took the usual knitwear. We cut out of it 2 shelves and a back with a fold. After all the manipulations we remove the lining to the side.
Important! If you are going to make a vest with an elastic band below, then there is no need to make allowances. If not, then add another 5-7 cm to the length of the product.
- Now increase the pattern. In our case, the top of the product will be a quilted seal, which always gives additional volume, so we need to make an increase. To do this, we take a pattern and draw red lines along it, along which we will increase the pattern. The red allowance line should be 1 cm from the borders of the original pattern.
Important! Do not forget to mark on the pattern all the allowances that we indicated earlier after the list of necessary materials.
- We got a new pattern, taking into account all the increases. Now it can be cut and applied to the main fabric. In our case, this is a thin raincoat fabric.
Important! In the lower cut, we also do not make an increase, since we will sew elastic on these places.
- All cut parts are applied to the seal, which must be cut taking into account all the allowances, cutting off unnecessary surplus.
- Now we need to draw stripes along which we will do the stitch. These lines are located on the shelves diagonally and horizontally behind at a distance of 3 cm from each other.
Important! Make sure that the lines are symmetrical so that you have the same seams when assembling the product.
- We sweep every detail according to the previously applied mark (if this is not done, the fabric will skew or wrinkles will appear), and after that we will grind it on a typewriter.
- Trim excess sintepon.
- Fold the shoulder seams and grind with a machine seam.
We make a gum
Now it's time to do the gum. To do this, we need to measure the width of the back at the bottom:
- We take the knitted elastic and cut out a rectangle from it a little less than the measured length, so that a dense coupler of the product at the bottom of the finished product is obtained. We took a gum with a width of 14 cm, and you build on your personal measurements.
- We put the knitted elastic on the back, stretch it well in width, pin it off with pins and flash it on the typewriter.
- We do the same with the shelves. But there is one small feature: since our vest with a zipper, which is inconvenient to sew a tie, instead of an elastic band, we sew a rectangle from the main fabric.
Form the collar
It's time to take up the collar. We did not have a finished pattern, so we did it ourselves: we measured the circumference of the neck, transferred it to paper, then to fabric, and then cut it out. You can form absolutely any shape. We made a narrower top of the stand-up collar.
The order of further work:
- Sew to the cut part of the collar (from raincoat fabric) a layer of insulation along the contour, where the second inner part of the rack will be made of elastic.
- Now we need to put the collar and vest together, flash it on a typewriter.
- Cut the second part of the collar. This will be a rectangle with a length equal to the shorter length of the stand and a width of approximately 8 cm (6 cm + 2 cm for seams). We postpone this part briefly before sewing the fastener for our vest.
We are engaged in a fastener
In any case, you need to trim it:
- First we need to measure its length. The length of the shelf with the height of the collar and half of the elastic will be the length of the sewn fastener for the vest.
- Do not forget to leave a 1 cm allowance on the collar for sewing on the elastic. We got 48 cm.
Important! We measure the length with a zipper, taking into account the increase in the tails, and after that we cut off the extra teeth and material.
Our lightning is ready!
We are engaged in the bar
It will not only protect from the wind, but also will not allow pinching the skin with a zipper on top of the vest:
- Cut a strip of the same length as the fastener, add 2 cm to the bend and the same amount to allowances for the seams.
- Fold the cut in half with the front side inward, stitch it on a typewriter, rounding the top tip.
- We turn the strip to the outside and make a line around the entire perimeter of the cut.
- We apply a zipper, bending the upper tip out.
- We flash the bar on a typewriter, cutting off the extra level with a zipper.
We decorate the zipper further:
- We attach one side of the fastener to the vest, pin it off with pins and attach it on a typewriter.
- We mark on the second half of the zipper the lines of connection of the rack and the elastic.
- Next, we unzip and attach it to the next shelf, connecting the previously created marks with seams.
- We sew the second part of the fastener in the same way as the first, fasten and check whether the seams match or not.
We sew a lining of a vest and we make out an armhole
It's time to sew a lining for the vest. In our case, we will make an insert from a thin raincoat fabric, which will give rigidity at the place where the lining is combined with the inside of the collar (elastic band):
- We cut off the unnecessary ends, chop off the side seams and grind the machine.
- Flashing combined parts. As a result, the elastic should be between the armhole of the vest and the armhole of the lining.
- In exactly the same way, we fix the elastic band on the armhole of the lining, connecting the shoulder seam on the vest and lining.
- We pin the elastic to the resulting armhole with pins, stretch evenly and flash it on a sewing machine.
- In order to make armholes for the vest, we cut out two strips of elastic with a width of 5-6 cm and the same length as our armhole (about 30 cm).
- Now we need to chop a collar with a lining on the neck of the product, and then flash it.
- We chop off the shoulder seams together and flash it on a typewriter, ironing them on the back.
- We sew the insert with a machine seam, not forgetting to sew a small loop.
- We cut out a semicircular insert and apply it to the back of the vest, turning the obtained sections.
- We attach armholes, cutting previously rounded sections. We bend the sections from the elastic to the vest and lay the machine line.
- We put the bottom of the lining and the gum face to face, pin it off with pins, stretch the gum.
- We connect the side seams on an elastic band and a shelf and flash it.
Important! Do not forget to leave a hole on one of the side seams through which you will twist the almost finished product.
- We still have a small part of the non-sewn lining. We pin the lining to the vest with a zipper, after turning the product inside out. After that, we make a line at the seam with which the fastener is sewn to the vest. Cut off the extra corner on the collar. Now we have completely sewn the lining to the vest.
- Now we need to fix the throat with lining. Combine and stitch these parts manually. If this is not done, then when hanging the vest on the hanger, the lining will constantly fall out.
- Through the previously left hole, we turn out our entire product on the front side, straightening all the corners and seams.
- Now you can carefully sew the hole with a blind seam.
Warm children's vest is ready to please your child!
to contents ↑Stock footage
Well, now you will not spend money on the purchase of a new quilted vest. To create it, you just need to buy the necessary materials and follow the steps for our step-by-step lessons. Most importantly, you will sew beautiful and warm outerwear for yourself, and spend the remaining money on other, more important, needs. We wish you a good mood and good weather in the house!
- How to choose a vacuum cleaner taking into account the characteristics of the house and coatings?
- What to look for when choosing a water delivery
- How to quickly create comfort at home - tips for housewives
- How to choose the perfect TV - useful tips
- What to look for when choosing blinds
- What should be running shoes?
- What useful things can you buy in a hardware store
- Iphone 11 pro max review
- Than iPhone is better than Android smartphones


