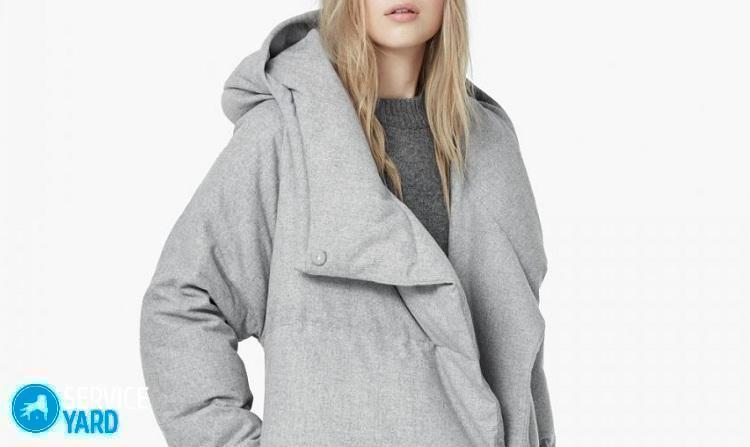
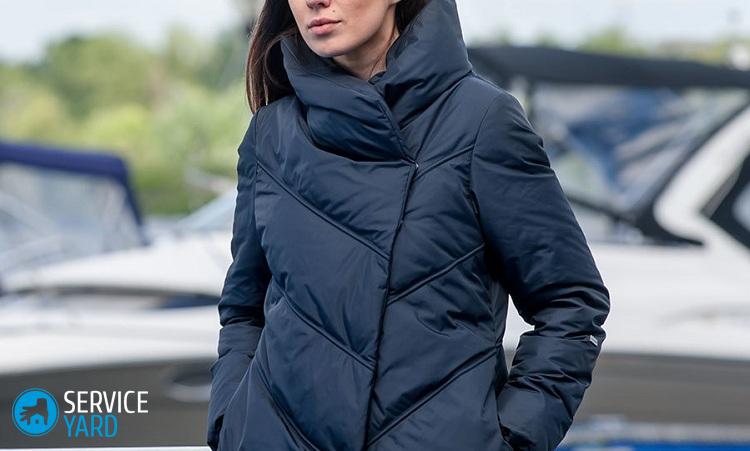
How to sew a down jacket?

A down jacket is a rather universal and functional element of outerwear that can protect you from even the most severe frosts. Sometimes, unfortunately, for some reason, products on the market or in stores are simply not suitable. But do not immediately give up. We will tell you how to sew a down jacket with your own hands. As a result, you will receive a quality-tailored and designer product that will suit you taking into account the features of your figure, and the costs will be several times less.
to contents ↑How to sew a down jacket with your own hands? Master Class
To sew this type of outerwear, you will need the following tools and materials:
- 1.5-2 meters of the main fabric for external decoration;
- 1.5 meters of lining fabric;
- 500-600 grams of fluff;
Important! You can use natural fluff for the filler, as well as its various synthetic analogues, such as isosoft or tinsulate.
- 3 meters of fabric for the inside;
- Detachable zipper 80-85 centimeters long;
- Narrow and flexible braid;
- Tailor's needles;
- Tailor marker or remnant;
- Tape measure;
- Threads in color;
- Needles;
- Scissors;
- Sewing machine.
Important! Pay attention to the fact that for exterior decoration the fabric must be water-repellent with special impregnation.
Once everything is prepared, you can safely begin the process of making a down jacket with your own hands. The procedure is as follows:
- To get started, build a full-sized pattern of the future product. For these purposes, you can use absolutely any model you like.
Important! The pattern should be one size larger. This is due to the fact that the finished product is compacted due to down lining.
- Cut out the elements of the workpieces for the outer and inner part.
Important! Do not forget to leave 1.5-2 centimeters of fabric for allowances.
- Make side and shoulder seams on elements designed for the inside of the product. After - fold them with their front sides and grind their necks and fasteners.
- Fill the finished blank with fluff and quilted with squares measuring 6x6 centimeters.
- Fold the sleeve elements with the front sides and grind them, while leaving a cut along the armhole.
- Fill the sleeves with down and quilting them in the same way as the main blank.
- Stitch the elbow sections of the sleeves, and then sew them into the armholes.
- Connect all the details of the hood, stitch it in the upper part of the down jacket.
Important! Instead of lining, you can use a regular synthetic winterizer for the hood.
- Sew all the cuffs. To do this, cut a rectangle equal to the width of the cuff x2, and a length equal to the circumference of the wrist + 3 centimeters from the main fabric. Fold them in half and grind the side seams.
- Fold the finished part with the wrong side inward and lay parallel lines, while leaving un sewn space equal to 1 centimeter on each line.
- Using pins, pull the tape through the unbroken hole.
- In the blank for the upper part, stick the inside and the lining.
- Combine all sections, fix them with tailor pins.
- Sew all three layers of the future product along the side and shoulder seams.
- On the neck of the lining, bend the cut to the wrong side. Stitch it to the seam of the hood.
- Sew ready-made cuffs to the bottom of the sleeves.
- Fold the bottom hem section to the wrong side, stitch it.
How to update a down jacket with your own hands?
If you have an old down jacket in your closet, do not rush to throw it away immediately.Having the basic skills of cutting and sewing, you can create a unique designer item from the old element of outerwear. In order to sew such a down jacket with your own hands, you will need the following materials and tools:
- Old down jacket;
- 60 centimeters of synthetic winterizer;
- Water repellent fabric 2.5 meters;
- Lining fabric 1.7 meters;
- Detachable lock 70 and 40 centimeters long;
- Sewing machine;
- Scissors;
- Needles;
- Threads in color;
- Tailor pins;
- Tailor marker or remnant.
Important! Please note that these fabric parameters are designed for size 46-48. If your parameters are different, then the amount of tissue you need to purchase based on them.
Once the necessary equipment has been prepared, you can proceed directly to work. The sequence of actions is as follows:
- Pull out the filler from the old down jacket, and then cut it into the details of the pattern.
- When applying old parts to the main fabric, cut out new ones. So you should be able to:
- 2 shelves;
- Back;
- 2 sleeves;
- Collar;
- 2 details of the middle of the hood;
- 4 side hood details.
- From the synthetic winterizer, cut out 2 side and 1 central parts of the hood, as well as 1 part of the collar.
- Cut from the main fabric pick and 2 burlap pockets.
- Cut out all the basic details from the lining fabric.
Important! All parts that are cut out of the lining fabric should be 1 centimeter shorter than the same, only from the main one.
- Attach the upper parts from the main fabric with the same from the insulation, grind them.
Important! On the right shelf, the insulation should be sharpened manually.
- From the wrong side, pin a piece of synthetic winterizer to the bar so that it comes into the old insulation.
- At the edges of the plank, stitch the synthetic winterizer to the insulation.
- Suture with a sewing machine from the neck to the bottom of the shelf.
- Place the zipper on the top shelf from the neck to the cut with the outer side, pointing it down. Stitch the zipper.
- Fold the right shelf with the left front inward so that the middle of the front remains free.
- Unscrew the zipper on the left shelf to the cut, and pin the right part to the cut of the right shelf.
- Stitch shoulder seams and iron allowances.
- Stitch side seams from the armhole to the top cut of the pocket entrance. Iron them.
- Put the burlap of the pocket from the main fabric on the back, turn it forward, align it. Stitch in this form to the back.
- Stitch the shelves of the lining to the picks, iron the seams.
- Stitch side and shoulder seams, as well as allowances.
- Attach a loop from the draw cord to the center of the back.
- Fold the top of the lined down jacket face inward, grind the sides.
- Knit the collar with a synthetic winterizer, grind along the edge.
- Put a zipper from the hood on the cut and, combining the middle of the collar, stitch.
- Unscrew the free ends of the zipper tape to the cut.
- Fold the collar in half along the front side inwards, grind its sides. Turn and straighten the corners.
- Sweep the collar with the neck of the down jacket, as well as the upper part of the back and lining. Sew them with a sewing machine.
- Stitch the seams on the sleeves, planting them around the ridges.
- Turning the sleeves to the wrong side, sew them into the lining.
- Align the shoulder seams of the upper part and the lining while aligning them with the sleeves.
- Turn the bottom hem of the down jacket on the wrong side, sweep a centimeter from the fold, not reaching the middle of the front.
- Fasten the bottom hem in several places.
- Through the gap in the lining, turn the down jacket on the front side.
- Sew the bar, sew the buttons in several places.
- Stitch to the middle part the side elements of the hood.
- Undo the half of the lock from the collar and place it with the outside on the bottom of the hood, align the middle, grind.
- Sweep the outer sides of the hood together, lay the machine line 2 centimeters from the fold.
- Sew the bottom of the hood, fasten it to the down jacket.
- Remove all threads from the seams.
Your new puffer jacket is ready!
to contents ↑Stock footage
As you can see, sew a down jacket on the fluff with your own hands not so difficult at all. The most important thing is to have basic cutting and sewing skills, patience and creativity. Only in this case, the finished product will not only warm you in winter frosts, but also emphasize your uniqueness and individuality.
- How to choose a vacuum cleaner taking into account the characteristics of the house and coatings?
- What to look for when choosing a water delivery
- How to quickly create comfort at home - tips for housewives
- How to choose the perfect TV - useful tips
- What to look for when choosing blinds
- What should be running shoes?
- What useful things can you buy in a hardware store
- Iphone 11 pro max review
- Than iPhone is better than Android smartphones


