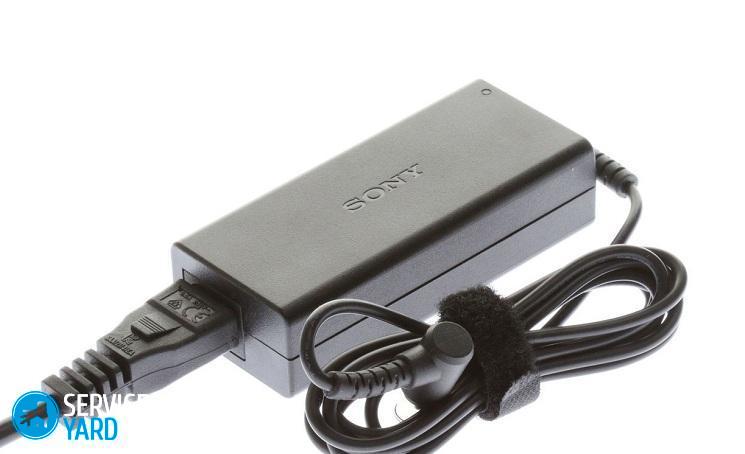
Laptop power supply repair

Often, a power adapter breaks in technology. Typically, the power supply for a laptop becomes unusable due to improper use or a sharp jump in the voltage amplitude in the power supply. If you find a lack of power in this charging component, you can immediately use the services of a service center or even buy a brand new device. Both options are unlikely to cost you cheap, but who likes the extra costs? You can try to restore the former performance of the BP yourself. Today, let's take a look at the phased repair of the laptop power supply and pay attention to the main nuances.
to contents ↑What are the causes of breakdowns?
Before you take up the tools and get to work, you should several times evaluate your abilities in this area.
Important! If you do not have basic skills in working with electrical appliances, we recommend that you refuse to carry out power supply repairs at home. Without proper understanding, you can do more harm to the component, as well as your health!
You can immediately identify some of the most common types of malfunctions:
- The problem is in the cable. In this case, the performance is violated due to a break in the wiring or because of its crease. Such damage can be caused by pets who love to chew on something.
- The problem is in the connector. If you decide to transfer your device from one room to another and forget about the wires, then you risk getting acquainted with a torn plug from the laptop’s socket.
- The problem is in the power supply of the power supply. These damages can occur due to power surges, short circuits and mechanical damage.
If any of the items are familiar to you firsthand, you can familiarize yourself with the repair of a laptop power supply with your own hands step by step and take the initiative in your own hands.
to contents ↑We repair the power supply
If you have ever held a soldering iron in your hands and know how to read at least a little electrical equipment diagrams, then you can safely undertake the reconstruction of the adapter. Let's look at the two most common causes of breakdowns.
Repair instructions
DIY laptop repair is carried out as follows:
- In order to return the electronic converter to life, it is necessary to start by opening the case from plastic. To do this, you need to get a thin blade or a flat screwdriver. Find the longitudinal seam on the device body and insert the selected tool into the gap between the halves. Take a little effort and carefully separate the parts of the case.
- Now you can start extracting the “filling”, which is usually covered by plates made of metal. You will need to carefully remove or unsolder these plates.
- After these steps, you can already assess the full extent of the breakdown. To carry out the next part of the repair, you will need to get a diagram of your PSU, on which all the elements of the circuit and their parameters will be marked.
- Next, it is necessary to determine the broken element and carefully dismantle it with a soldering iron. To replace the old one, a new serviceable part will be required, which should fully satisfy the characteristics of the circuit. Solder the new component onto the circuit and install the board back into the device case, remembering to carefully glue both parts of the PSU.
- If the glue is dry, you can put your laptop on charge using the repaired unit.
Important! If you think that this procedure is very complicated, we do not recommend that you undertake the work yourself. Better - get a new adapter.
How to fix a laptop power supply if all the components inside the case are OK? You can find the answer below.
Change the plug on the electronic adapter
The cord that comes from the power supply often suffers from various mechanical influences. If the problem lies in the wiring, then you can resort to the following instructions for carrying out restoration work:
- Cut the wire that comes from the PSU.
- Strip wiring.
- Get a new plug. Next, cut the cable and screw the plug parallel to the center wire.
- Use a special technical hairdryer to solder the junction of the elements. Also, no one forbids you to use electrical tape or shrink tubing.
Important! If you want to use the latter, we recommend that you put this component on your cord in advance.
- In order to avoid short circuits, insulate the connected elements.
- Now plug the charger into your laptop and plug it in.
Stock footage
If the charge has gone, then the desired result has been achieved. We will repeat that repairing a laptop power supply is a simple matter, but to carry out the work you will need basic knowledge of school physics and a little experience with electrical appliances.
- How to choose a vacuum cleaner taking into account the characteristics of the house and coatings?
- What to look for when choosing a water delivery
- How to quickly create comfort at home - tips for housewives
- How to choose the perfect TV - useful tips
- What to look for when choosing blinds
- What should be running shoes?
- What useful things can you buy in a hardware store
- Iphone 11 pro max review
- Than iPhone is better than Android smartphones


