How to set up an electronic clock with 4 buttons 🥝 how to set the time

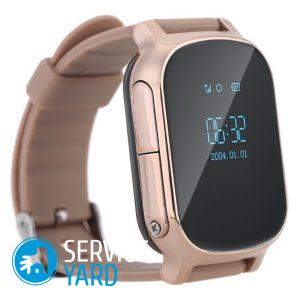
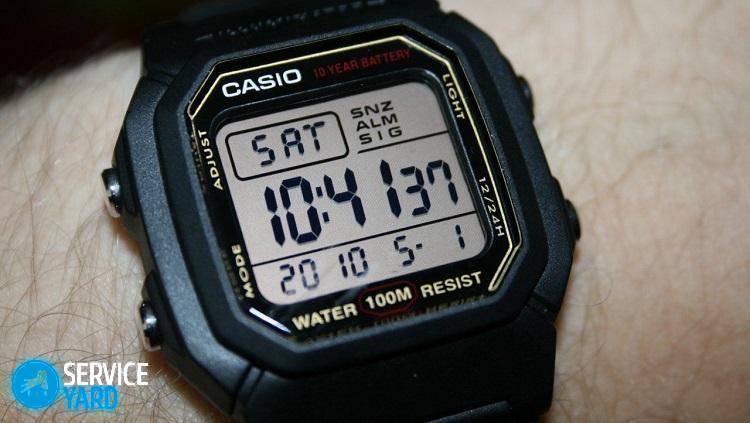
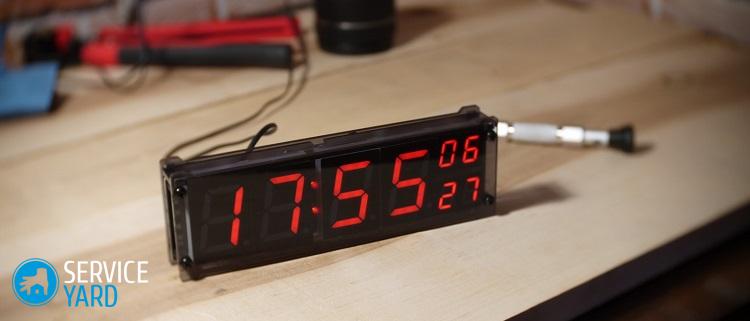
The vast majority of models of modern watches are produced abroad. To get a quality product, people order devices from the most famous companies. An electronic wristwatch has huge functionality, but rarely all this functionality is localized, which leads to difficulties in setting up. The language barrier leads to a dead end, since not every user has knowledge of the English language. How to set up an electronic watch with your own efforts? Everything is not so difficult as you might think. Now you will see this.
to contents ↑Customization
Most often, models are equipped with the MOD and SET keys. To set the time on such a watch, you need to do the following:
- Hold down the MOD key for a while. The edit box should start blinking. If several fields of the interface started flashing at once, then press the same key once to switch to the required field.
- Use the SET button to set the desired parameters. To change the values you need to repeatedly click on this button.
- Use the MOD key again and switch to other fields. Use another button again to change the parameter values.
- If the desired values have been set, then end the entire procedure with the last press of MOD.
Everything seems to be simple, but how to set up an electronic clock with 4 buttons? This procedure looks even easier.
to contents ↑Important! When you figured out the settings, it's time to think about your harmonious look with a new accessory. Find out all about:
Four buttons on the gadget
If your gadget is equipped with four buttons, then the entire setup process will look even easier:
- You also need to press the MOD button. When you make the numbers blink on the instrument screen, press SET once once, and then scroll through one of the other two buttons.
- The first key is responsible for increasing the value, and the second - for decreasing them.
- If you set the parameters, press the MOD key again.
There are such accessories on which the key is even larger. What should the user do in this case?

Setting up devices with even more controls
But in this case, an objective instruction does not exist. It is best to adhere to those recommendations that are described in the attached documentation. Often, additional keys are responsible for calling an electronic thermometer, calendar, timer or stopwatch.
Important! Such keys simply visualize the parameters, but do not configure them in any way.
If you still do not want to use the standard documentation, then you can try to make a few clicks on the MOD key, flipping through all the functions. When you find the desired option, place your finger on the SET key and set the data. Usually almost all electronic devices are configured in this way.
Important! Save yourself useful bookmarks for future reference, information from which will definitely come in handy for you in the future:
Now you understand how to set the time on an electronic watch, but how to set an alarm on them?

We set an alarm
Absolutely all models of electronic devices are equipped with an alarm function.In order to start it, you need to press “MOD” again until you find “alarm” on the display.
to contents ↑Important! The alarm time is set by analogy with the time and date setting, which was described above. The “SET” control in this field is responsible for turning this function on and off.
Setup tip
In fact, different devices are configured differently, so the surest way to parameterize is to drive the model name into any popular search engine. On the Internet, you can easily find any localized instructions for setting the time.
You can also use the services of the store in which the device was purchased. Just bring the device to a consultant and ask for help.
to contents ↑Important! Setting the time in stores is completely free, you can ask the seller absolutely any questions about your technique.
Stock footage
It doesn’t matter which country the manufacturer of your watch is: Chinese watches with aliexpress and dzhuma, casio or Montana, or Russian watches, manual or desktop and wall-mounted, they are all customizable. Now proceed with the actions, because they are extremely simple and in a matter of minutes you can set the necessary settings on your accessory.


