Printer cleaning

Any equipment needs care and maintenance, and one in which coloring substances are used - especially. Printing devices need to be cleaned at least once a month, and sometimes more often. Cleaning the printer is not as difficult as it might seem at first glance. Any owner can handle this. We will tell about how this is done.
to contents ↑Printer Types
Printing devices that are used at home and in the office are of three types:
- matrix
- inkjet;
- laser.
Matrix
Dot matrix printers appeared earlier than others. They printed slowly and noisily. The image on paper was obtained from individual points.
The head consisted of individual needles, and when washing had to manually process every detail.
Important! Such printers have almost gone out of use, they have been replaced by more advanced devices - inkjet and laser.
Inkjet
An inkjet printer is similar to a dot-matrix printer, the image is also created from dots, but instead of needles, a matrix is used that prints in liquid ink. Such a device prints rather slowly (although faster than its predecessor), but it is very high quality. The inkjet is also not the same, respectively - cleaning the printer will be slightly different, although in general the algorithm is the same.
They use different technologies:
- continuous ink supply;
- supply on demand;
- piezoelectric;
- thermal.
The differences here are as follows:
- In the first case, the dye is fed to the paper continuously and under pressure, the flow is broken at the exit.
- On Demand is the most common technology. Ink is supplied only during printing.
- In the piezoelectric method, a piezocrystal with a diaphragm is located above the nozzle.
- When current is applied, the crystal bends, pulls up the diaphragm - as a result, a drop is obtained, which is pushed onto the sheet.
- Finally, with the thermal method, a mini-heater is located in the nozzle. Under the influence of current, it instantly heats up to a very high temperature (500 ° C), as a result, bubbles form in the ink, which push droplets onto the sheet.
Important! The main disadvantage of inkjets is that prints are afraid of water, which must be taken into account when cleaning this type of printer is planned.
Laser
The laser printer is the fastest. Many printers provide fairly high print quality. Such a printer is in many ways akin to Xerox. Printing takes place thanks to photo exposure: a laser beam illuminates photosensitive elements. How the cleaning of the laser printer cartridge takes place, we will consider a little later in the text.
As for the ink transfer methods, there are three of them:
- two-component;
- two-component mixed;
- single component.
to contents ↑Important! In a two-component system, toner dust particles, which should get on paper, adhere to the particles of the developer - a special magnetic powder. This happens in the development unit. Developer particles get a charge by rubbing against each other. In a two-component mixed system, the toner and the developer are already mixed. For single-component feeding, dyes are used, the dust particles of which already have magnetic properties.
When should I clean the printer?
Wipe the case regularly so that dust does not accumulate on it.As for the cartridges, then:
- Inkjet printers clean them if the ink is dry.
- The laser printing device must be serviced at least once a month, and if you have to print a lot, then more often. It also depends on the model of the device.
Important! Inadequate cleaning of the printer often leads to breakdowns. So, if you are not very sure that you figured out how to do this, it is better to contact the service center. Unfortunately, not all manufacturers complete their products with clear instructions, in which the whole procedure would be outlined to the smallest detail.
General security measures
Before you start servicing a laser printer, remember what absolutely can not be done:
- apply chemical and organic solvents for cleaning internal cavities and external elements;
- apply acids;
- intensively use liquid detergents;
- unscrew parts screwed down;
- to service the device connected to the network, as well as not having time to cool down;
- subject the printer to mechanical stress, such as shock and vibration;
- print immediately after cleaning.
Important! Before cleaning, leave the device alone for about twenty minutes to allow it to cool. After cleaning, wait about an hour, only then start typing.

We clean the case
The device case must be kept clean. In order to put it in order, you will need a damp cloth. It is better to buy special napkins for printers, but if suddenly they are not at hand - you can use the usual hygienic:
- Wipe the case.
- Process the paper tray.
- Clean the controls.
- Wipe the output tray.
- Wipe all surfaces with a dry cloth.
Important! If there are no wipes, you can clean the case with a damp cloth, but one that does not leave a lint. Microfiber is very suitable.
How to remove stains?
If there are spots on the surface that you just can’t erase, you will have to use a detergent. Suitable liquid or gel for household appliances. The cloth should be slightly moistened with a cleaner, rub the stain until it disappears, and then wipe with a napkin. And if your hands get dirty in the process, find out how to wash paint from hands.
Important! Do not use abrasive products!
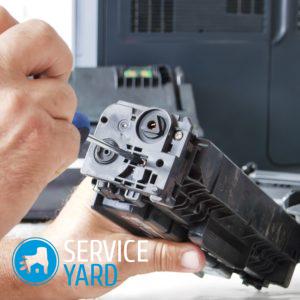
Cleaning the laser print cartridge
The cartridge is the most important part, and at the same time, the most vulnerable. This part of the printing device is naturally the most in need of cleaning. You can tidy the cartridge in several ways:
- using special programs;
- using special fluids.
Software cleaning
When you bought a new printer, you probably noticed that the disk came with it. It contains a manual, instructions, drivers, as well as the installation program. Here you need it now:
- Run the program on the computer.
- Find the “Toolbar” tab in the menu.
- Find the “Clean Cartridges” tab.
- Further, the device will do everything without you.
Cleaning with liquids
Even if you monitor your device and regularly clean the laser printer cartridges programmatically, there comes a time when they are best washed. You need:
- plastic container with a flat bottom;
- tissue that absorbs water well;
- printer cleaning kit.
Important! You can take any container, which you can then safely throw away - a single plate, for example, or a single container for food. An ordinary bandage is suitable as a rag. As for the cleaning kit, you can buy it at any computer store. They are of two types:
- standard;
- aggressive.
If the heads are relatively clean, a standard set is suitable, if very dirty - aggressive.
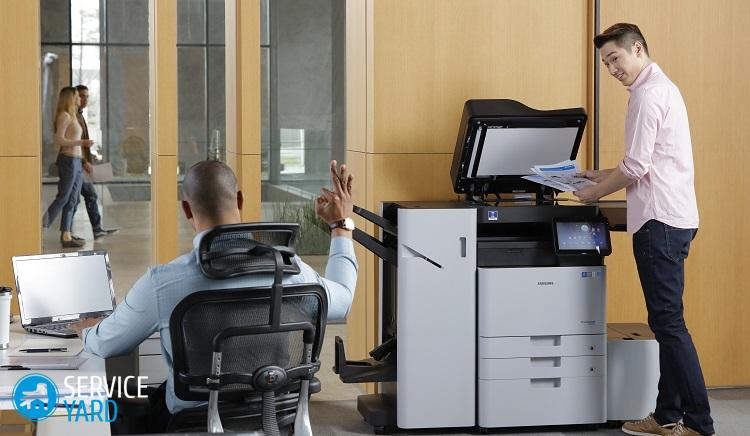
Clean the laser printer cartridge using these tools in this way:
- Pour liquid cleaner into a container.
- Wet the rag with plain water.
- Wipe the bottom area of the head.
- Wet another flap with service fluid.
- Wipe the entire head along the nozzle outline.
- Use dry gauze to remove the ink tank seal.
- Rinse it with running water.
- Replace the gasket.
Important! Try not to touch the nozzle with a rag - the printing elements on the head. Contaminated liquids should not be allowed on nozzles.

We clean the inside head and nozzle
Cleaning the outside is not even half the battle. The most important thing is yet to come. We proceed to cleaning the inside of the head:
- Put cheesecloth folded in several layers under the head.
- Preheat the service fluid to approximately 55 ° C.
- Take the syringe from the kit and draw fluid into it.
- Apply a few drops to the intake fittings.
- Continue to rinse until traces of ink remain on the gauze (gauze must be changed periodically).
- When the marks on the gauze cease to appear, flushing will end.

Cleaning the printer drum
The drum unit, also called a photoreceptor or just a drum, is the main part of the cartridge. If, God forbid, scratches or streaks appear on its surface, you will have to say goodbye to the dream of quality printing. Before you begin to put in order this crucial part, which is not without reason called the "heart" of the cartridge, you need to understand how it works.
A drum is a selenium-coated roller. Usually it is blue or light green in color. The principle of its operation looks something like this:
- An image is projected onto the selenium coating.
- Toner gets onto the illuminated area.
- The drum transfers toner to the paper.
- The toner melts and sticks.
Important! Up to 12 thousand pages can be printed on a single drum - this is a pretty solid resource. However, quite often the roller fails much earlier. The service life is affected by:
- type of toner;
- type and quality of paper;
- humidity;
- compliance with the temperature regime in the room.
If the printer is new, the drum does not need to be cleaned. This will make a special device for you - a squeegee. This is a blade that erases over time and stops removing ink.
Of course, foreign objects should not fall into the drum - most often these are paper clips. The roller should be cleaned periodically, and if dots and dashes appear on the paper, the process must be carried out immediately. This element should be put in order immediately after the cartridge is refilled.
Important! Use ink from the same company as the drum unit.
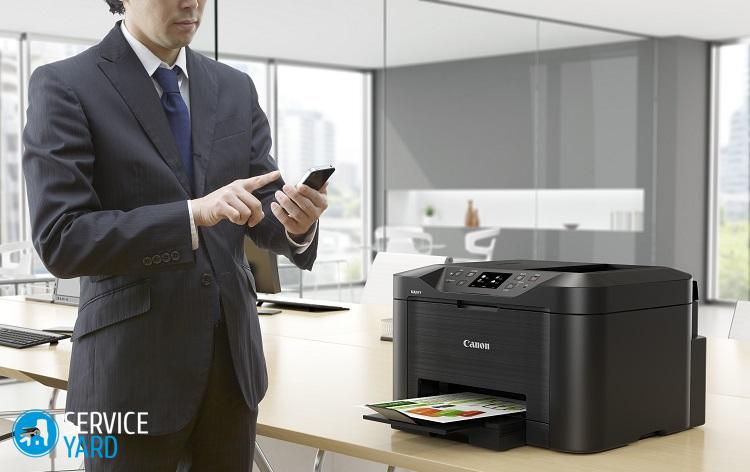
Start cleaning
The drum unit is only serviced manually - there is no software method:
- Turn off the printer.
- Open the front cover (there is a special button on the case).
- Lower the lock that is on the left.
- Remove the cartridge. Find out how it goes. replacing a cartridge in a Canon printer.
- Slide the curtain.
- Take the drum by the ends.
- Gently rotate without touching the selenium surface with your hands.
- Place the roller on a blank sheet of paper.
- Wipe the surface with a lint-free swab or a damp cloth.
- If you used a napkin, wipe the part dry.
- Replace the drum by pushing it until it clicks.
Important! Do not clean the drum unit in bright light - this can cause serious damage to the photocells. And do not use detergents containing alcohol or ammonia.
Daily service
The printer requires more than just cleaning. It must be serviced constantly:
- Wipe the case once a week with a damp cloth, especially if there is a lot of dust in the room.
- Periodically clean the printer cartridges programmatically.
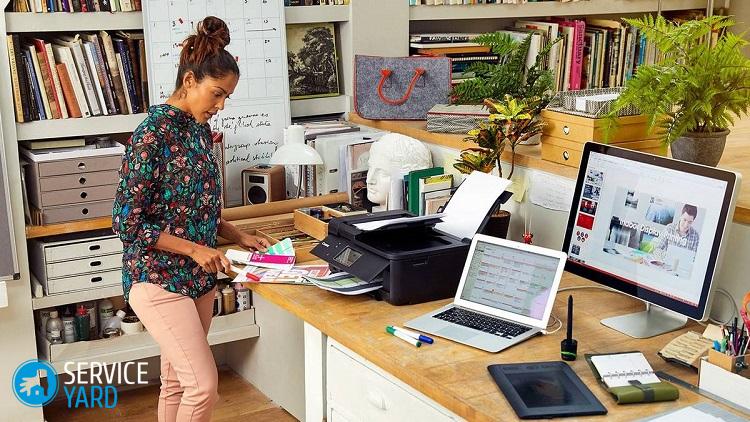
Clean the inside of the printer
Prepare everything you need to get started. It is very important to ensure that there is no lint on the material with which you will wipe the parts.
You will need:
- special swabs for the printer;
- large format paper (you can take newspapers);
- respirator;
- latex gloves;
- special napkins;
- a vacuum cleaner;
- soft brush;
- isopropyl alcohol.
Important! Tampons can also be taken with ordinary lint-free ones, but special ones are more convenient because their holders are longer.
Safety precautions
Cleaning is a dirty process when particles of various substances appear in the air that a person inhales. The risk of such particles entering the lungs should be reduced:
- Remove the remaining paper.
- Turn off the printer and let it cool.
- Close the doors and windows in the room so that there is no air circulation.
- If you use an air conditioner or fan, turn off the appliances.
- Wear a respirator and gloves.
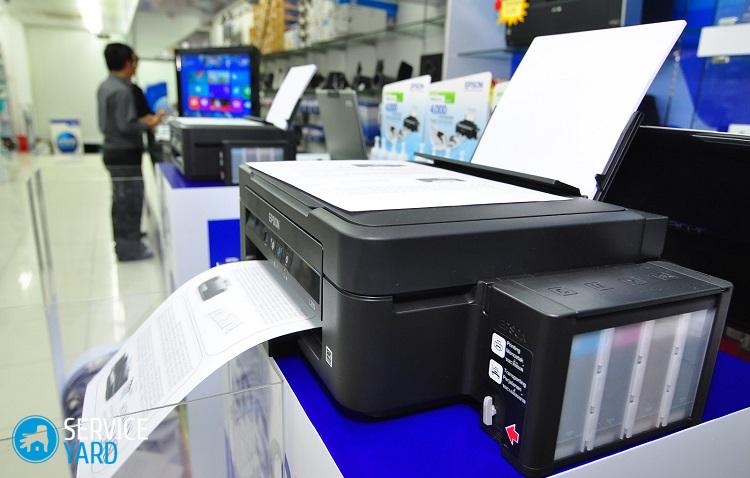
Sequencing
Work must be carried out on a flat surface. If you do this on a table, it is better to close it with something - newspapers, pieces of wallpaper, etc.
Further, the printer cleaning algorithm is as follows:
- Put the device on the newspaper.
- Open the printer and remove the cartridge.
- Start stretching a tissue designed to clean the printer.
- Wipe the cartridge.
- Put it on a clean rag.
- Clean the inside of the printer with a vacuum cleaner or use a swab moistened with isopropyl alcohol.
- Use a soft brush to clean all loose parts.
- After everything is cleaned, reinsert the cartridge.
- Close the cover.
- Connect the printer.
- After a while, run a test print.
Important! The vacuum cleaner must be powerful, keep the nozzle at a certain distance so that it collects toner particles well, but does not touch fragments of the printer. But it is better to use a toner vacuum.

You can just wipe
If you are afraid to use a vacuum cleaner, clean the inside of the printer with cotton swabs moistened with isopropyl alcohol. This is a gentle, albeit more laborious, option. But there is a guarantee that you will not damage the numerous fragile wiring that your unit is full of.
to contents ↑Important! It is necessary to carry out the swab carefully, without any pressure.
Clean the inkjet printer cartridge
The inkjet cartridge is usually cleaned when the printer has been idle for a very long time. Sometimes you have to buy a new one, and on some models it is not possible to clean the cartridges at all. But in most cases it makes sense to try.
First, make sure that there is no dirt or ink on the electrical contacts. Prepare the necessary materials and tools:
- Wiper “Master Shine”;
- distilled water;
- vise;
- pliers;
- napkins.
Important! As a result of untimely refueling or prolonged downtime, the cartridge may dry out. On our site of useful tips, we prepared a separate review where we collected the best ways ink cartridge recovery cartridge.
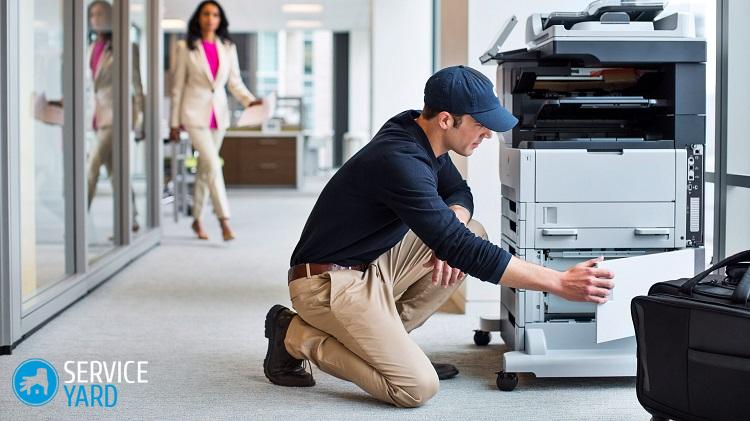
The cartridge should be stationary during operation. Therefore, it is necessary to carry out cleaning in the following sequence:
- Secure the print head in a vise.
- Use a pair of pliers to remove the cover.
- Dilute the wiper with water in a 1: 1 ratio.
- Refill cartridge.
- Drain the liquid.
- Rinse the cartridge with hot water.
- Repeat flushing until the water becomes clear.
- Blow through the housing.
- Rinse the cartridge with distilled water.
- Blow it again.
- Place a sponge.
- Refill the cartridge.
- Pump out excess toner with a syringe.
- Close and fasten the cover.
Stock footage
The most important preventive measure is to prevent the printer from being lazy. It should work constantly, while ink of all colors should be used. Then cleaning the printer will be easier for you.


